60 Cube 3.0 Build

MHG

Active member
So its time for the 3rd incarnation of my system. The first two can can be looked at here.

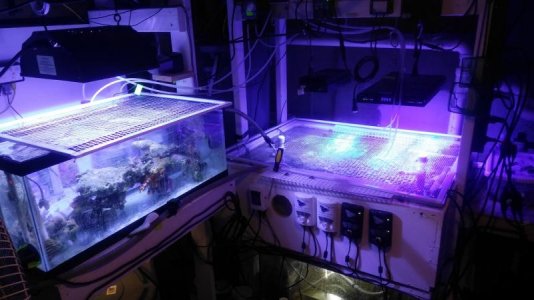
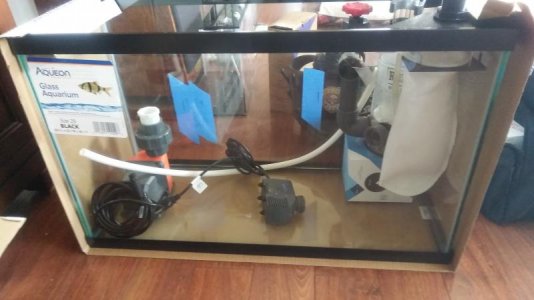
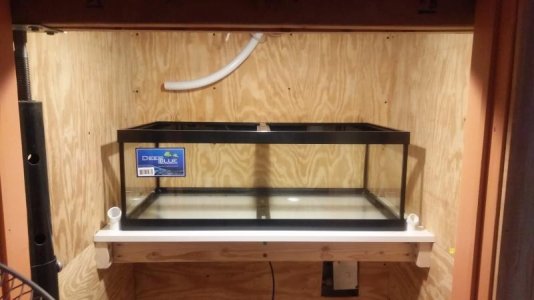
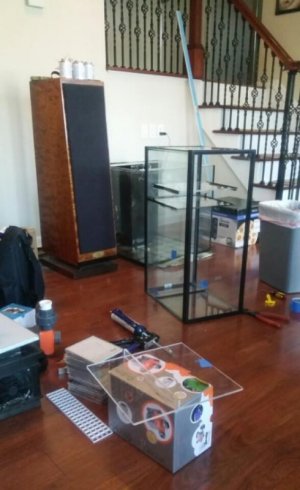
This time its a complete tear down and rebuild. So some would say this is 2.0... New fish room (well fish closet), new sump, bunch of new gear, and a rebuild of the stand and canopy. If I can come across a 150 DD for a good price, I would upgrade. Perhaps a 150H. The problems with the 150H is the return is on the wrong side. I found a 74 gallon Deep Blue "Cube" (not really a cube) but its only low iron glass on the front and the return is on the wrong side. Could just spin it but then I am looking at the side seams with the star fire glass facing the stairs.

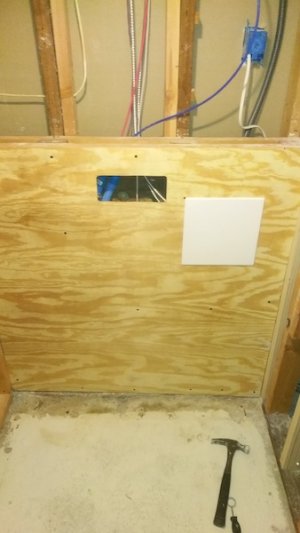
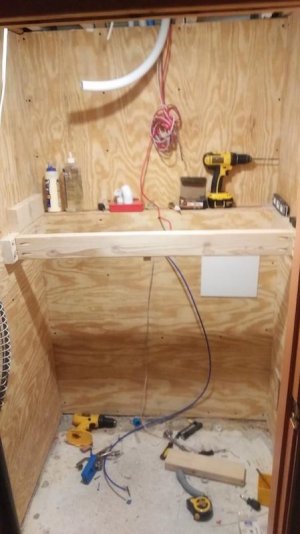
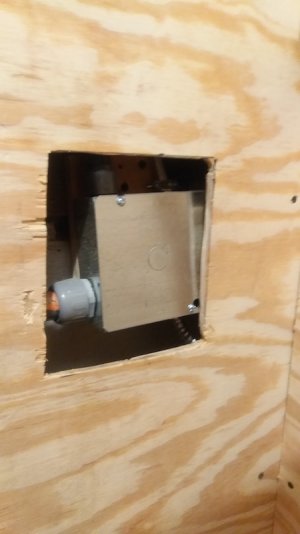
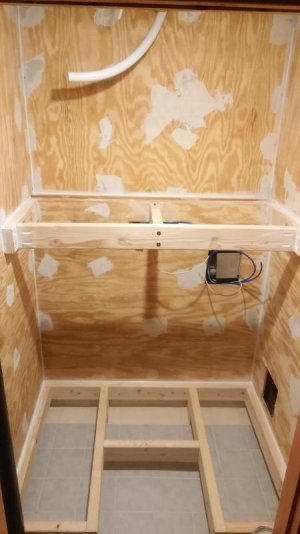
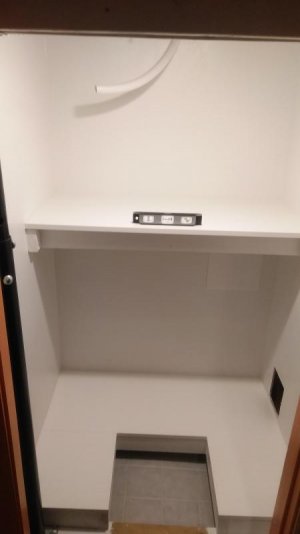
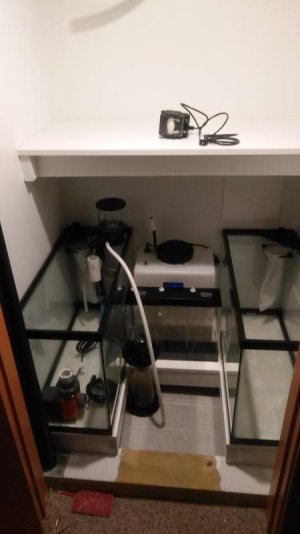
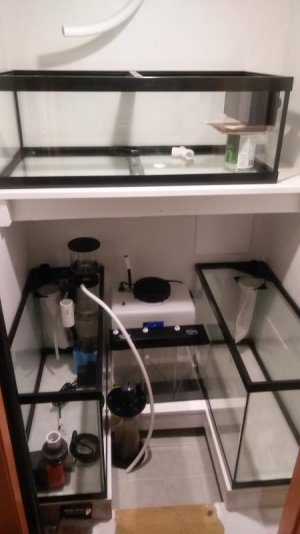
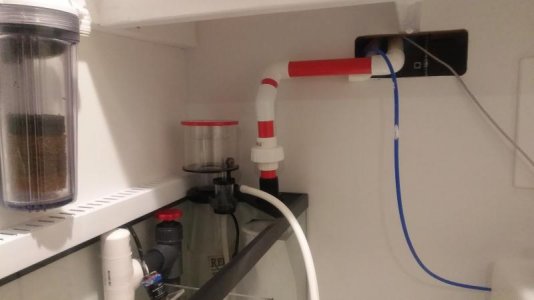
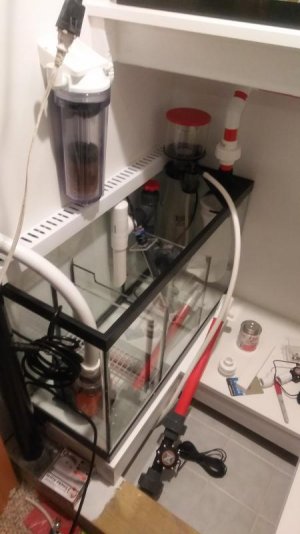
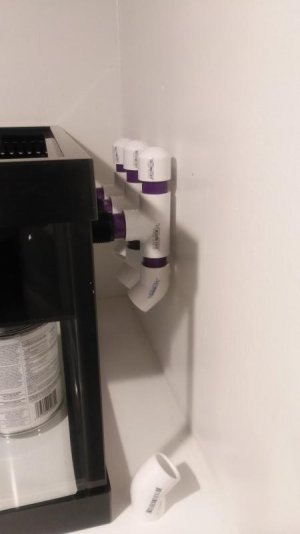
The fish room is the closet located in my basement directly below the tank. Just finished the electrical , covering the walls with plywood. I am starting on the shelves now.
 
Made a few changes since these pics were taken.
 

Attachments

  • IMG_20180317_180510.jpg
    IMG_20180317_180510.jpg
    66.3 KB · Views: 6
  • IMG_20180317_172251 copy.jpg
    IMG_20180317_172251 copy.jpg
    78.1 KB · Views: 6
30 gallon across the top will be the new FT. Below that will be a 29 gallon on each side. One is the sump for the DT above, the other is the sump for the FT. Will be just enough room for me to stand between the two sumps... But this will free up the old fish room space for storage.

Here is the old fish room..
 

Attachments

  • IMG_20180304_132041.jpg
    IMG_20180304_132041.jpg
    55.3 KB · Views: 4
Needed to consolidate some circuits and get rid of a few wires. Bigger 4-11/16 box now. Cover plate is spring loaded and Ill silicone it after I paint the room..
 

Attachments

  • IMG_20180401_165429.jpg
    IMG_20180401_165429.jpg
    75.7 KB · Views: 5
  • IMG_20180401_165454.jpg
    IMG_20180401_165454.jpg
    33.4 KB · Views: 5
  • IMG_20180401_165417-2.jpg
    IMG_20180401_165417-2.jpg
    83.7 KB · Views: 6
Doing some dry fitting
 

Attachments

  • IMG_20180406_161228.jpg
    IMG_20180406_161228.jpg
    42.3 KB · Views: 5
  • IMG_20180406_161105.jpg
    IMG_20180406_161105.jpg
    41.7 KB · Views: 4
Might actually get it painted today
 

Attachments

  • IMG_20180407_114225.jpg
    IMG_20180407_114225.jpg
    41.2 KB · Views: 4
The access panels will be siliconed in. If I ever need to run something I will need them. Next up. Dry fitting
 

Attachments

  • IMG_20180408_123430.jpg
    IMG_20180408_123430.jpg
    19.4 KB · Views: 4
Ok, while the paint dry es it's time to drill the FT and install the overflow. Got it on eBay. Fine for the price but if it was for a DT I would have sent it back. Seams are in the front instead of the side. It's the little things that drive me nuts.

It looks like RTV103 is discontinued. Too bad. I like this stuff.
 

Attachments

  • IMG_20180408_172247.jpg
    IMG_20180408_172247.jpg
    43.8 KB · Views: 4
  • IMG_20180408_172232.jpg
    IMG_20180408_172232.jpg
    38.6 KB · Views: 4
  • IMG_20180408_172226.jpg
    IMG_20180408_172226.jpg
    32.8 KB · Views: 4
I drilled them a little lower than I would have liked. Originally I was gonna do a single drain and an emergency but decided to go two drains for a higher flow rate.
 
Ahh it all fits... Not sure if I am going to leave the ATO in there because I don't want the skimmer reservoir on the floor. I'll pick it too much..
 

Attachments

  • IMG_20180408_181720.jpg
    IMG_20180408_181720.jpg
    30.7 KB · Views: 3
  • IMG_20180408_181805.jpg
    IMG_20180408_181805.jpg
    31.9 KB · Views: 4
One issue.. I prefer the socks in the corners if each sump to the plumbing comes down the corner. Just like the way it looks. This will put the skimmer where I can get to it easier. The problem is the skimmer output makes it a pain to change the sock.
 

Attachments

  • IMG_20180408_181812.jpg
    IMG_20180408_181812.jpg
    25.9 KB · Views: 7
Good place y stop for the weekend...
 

Attachments

  • IMG_20180408_195704.jpg
    IMG_20180408_195704.jpg
    36.3 KB · Views: 7
  • IMG_20180408_195711.jpg
    IMG_20180408_195711.jpg
    22.1 KB · Views: 6
  • IMG_20180408_194831.jpg
    IMG_20180408_194831.jpg
    36.4 KB · Views: 4
Skimmer in the front corner near the wall??
Would eliminate sock problem.

Not a bad idea. but I like to run [skimmer][fuge][bubble trap][return]. This requires me to have the sock and skimmer on the same side. I think I will just need to put the skimmer against the wall and the sock to the right?
 
Last edited:
I am so tried of diy sumps. Functionally they are fine. But it is impossible to silicone between the bubble trap and in some hard to reach areas. Sometimes I feel like I would have been better off with an oven mitt.
 

Attachments

  • IMG_20180414_082347.jpg
    IMG_20180414_082347.jpg
    47.2 KB · Views: 5
Last edited:
Well first sump is done. Integrated a heater mount. May need to do a double heater mound in the FT sump. The fish room while in the heated part of the house gets cold. I typically need two bigger heaters in the FT and a third in the sump
 

Attachments

  • IMG_20180415_073739.jpg
    IMG_20180415_073739.jpg
    42.6 KB · Views: 5
  • IMG_20180415_073846.jpg
    IMG_20180415_073846.jpg
    37.1 KB · Views: 5
OK, decision time. The drain, emergency drain and return will all have ball valves. However for the purpose of setting the drain valve, I think it should go uder the tank and not in the fish room. Or should I place it in the fish room to keep it all down there and have a cleaner set up by the DT? I am leaning towards upstairs.
 
Committed now. Well actually just dry fitting
 

Attachments

  • IMG_20180415_135123.jpg
    IMG_20180415_135123.jpg
    27.5 KB · Views: 6
  • IMG_20180415_135111.jpg
    IMG_20180415_135111.jpg
    42 KB · Views: 5
  • IMG_20180415_140245.jpg
    IMG_20180415_140245.jpg
    20.6 KB · Views: 5
Back
Top