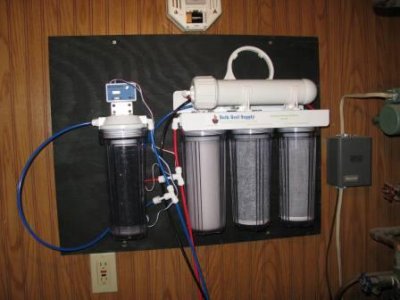
Well with m stand moving along, I installed my RO/DI Unut from BRS. It is a standard kit... I figured woulod start my build thread....
Here is my stand thread...
http://www.reefcentral.com/forums/showthread.php?t=1997493
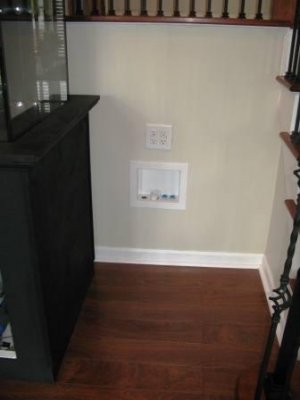
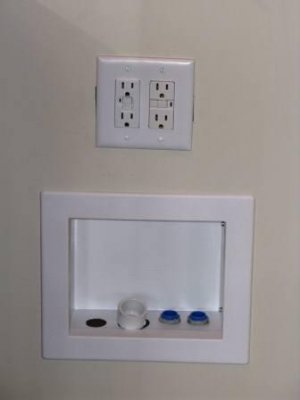
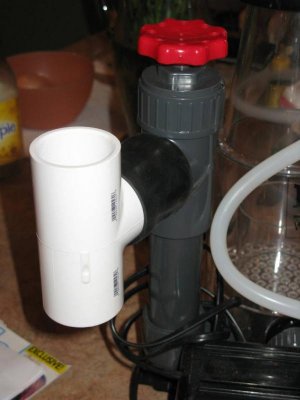
My RO DI install is just temp. I will hard pipe it to my water supply. For now it is istalled over my slop sink. Eventually I will tube it over to my tank which is one floor up. My slop sink is next to my furnass so the watter may be a bit warm. If it is, I will need to move it... However about 30' of tubing should be room temp...
Whats to come
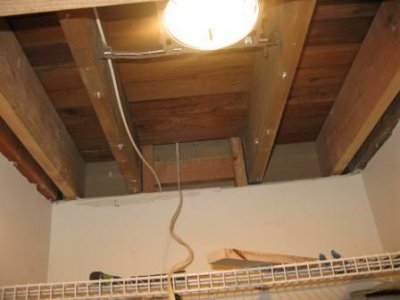
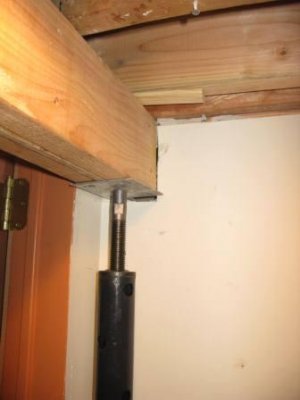
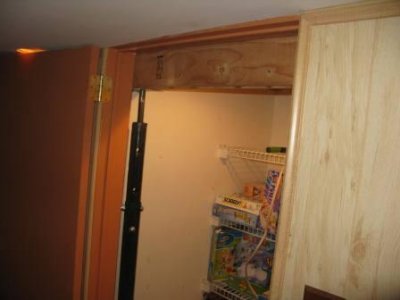
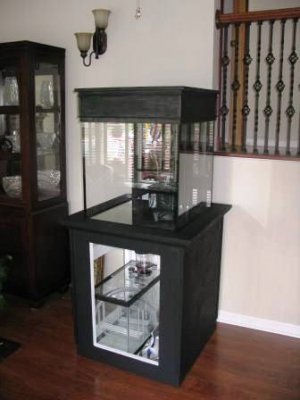
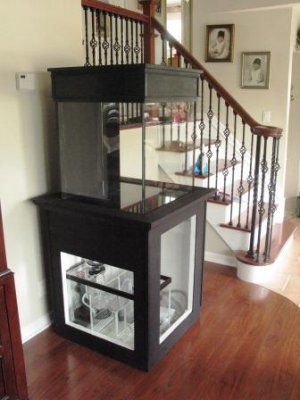
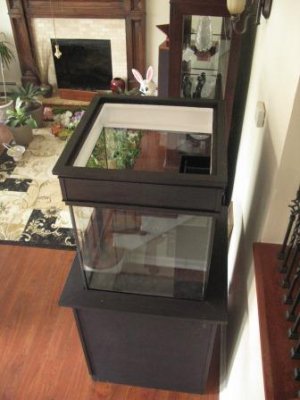
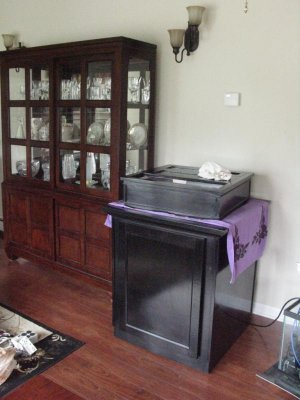
My custom DIY stand
36 LED Light kit from REEFLEDLIGHTS.COM 50/50 white/Blue XPE
Reef Octopus 4 Skimmer
Sump Refuge build (Dome) wirh RDSB Here
Aquacontroller
About 40-50 punds of dry rock
10-20 punds of live rock
shallow sand bed
Circulation pumps (TBD)
Hidden circulation closed system (all internal no drilling)
Leak Detection, leak detection and more leak detection with RO/DI shut off and email alerts
Here is my stand thread...
http://www.reefcentral.com/forums/showthread.php?t=1997493
My RO DI install is just temp. I will hard pipe it to my water supply. For now it is istalled over my slop sink. Eventually I will tube it over to my tank which is one floor up. My slop sink is next to my furnass so the watter may be a bit warm. If it is, I will need to move it... However about 30' of tubing should be room temp...
Whats to come
My custom DIY stand
36 LED Light kit from REEFLEDLIGHTS.COM 50/50 white/Blue XPE
Reef Octopus 4 Skimmer
Sump Refuge build (Dome) wirh RDSB Here
Aquacontroller
About 40-50 punds of dry rock
10-20 punds of live rock
shallow sand bed
Circulation pumps (TBD)
Hidden circulation closed system (all internal no drilling)
Leak Detection, leak detection and more leak detection with RO/DI shut off and email alerts