jcolletteiii
New member
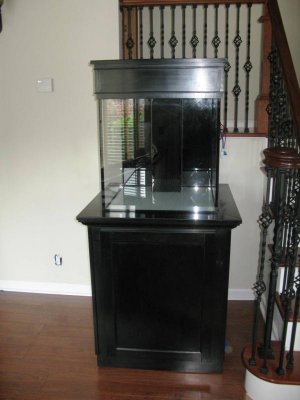
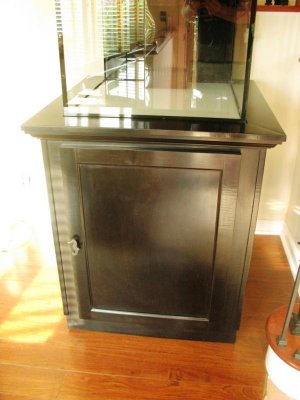
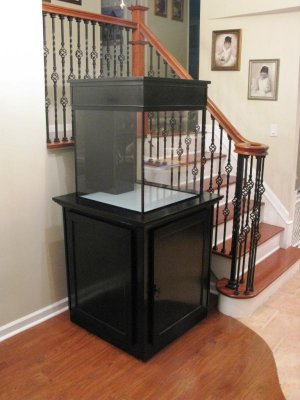
Looking good! Nice job on the finish of the stand as well. Good tip on the return hole as well - I wasn't looking forward to a half inch return line.
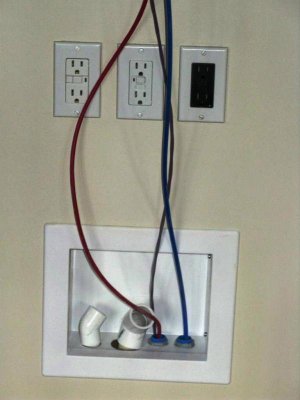
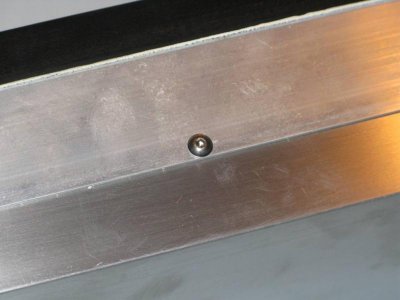
looks awesome...and those outlets look much safer now too...i would think that chip is nothing to worry about...is the bottom pane of glass beveled and polished too?
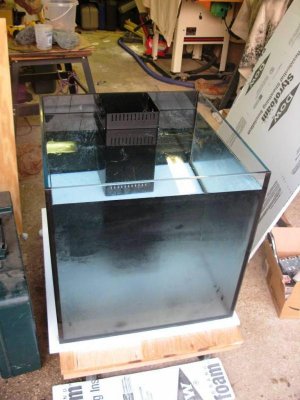
Wow, would not have expected any bow in a 24" glass pane that thick. Interesting. By bad silicone are you referring to the inside of the overflow, or the outside? Picking my CL 60 and 18g. sump up this evening - hope not to have any issues.
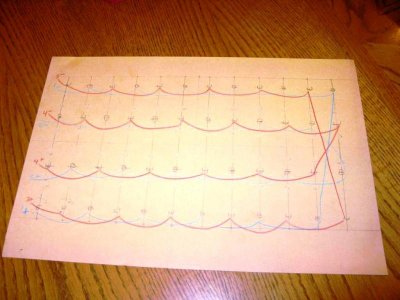
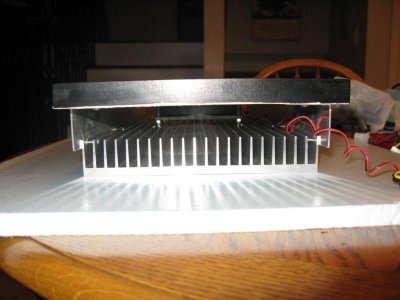
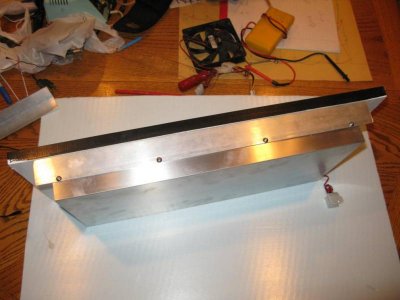
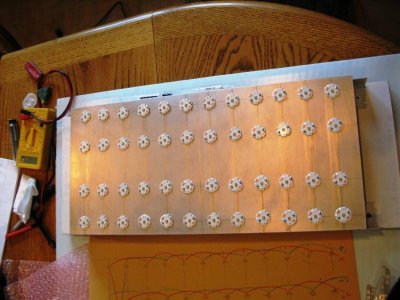
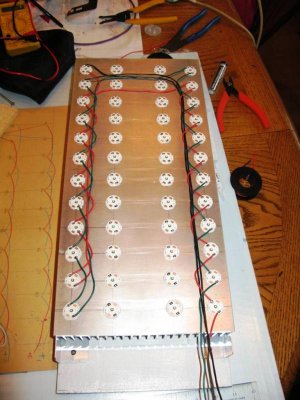
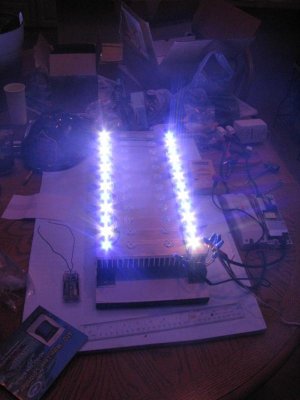
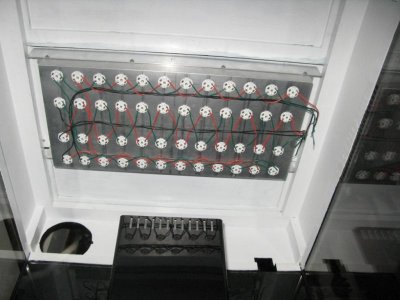
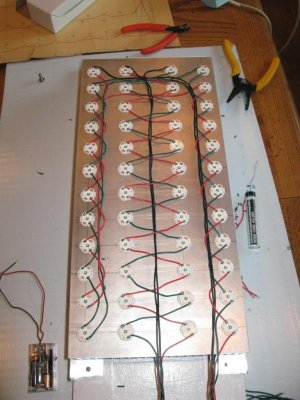
Nice LED setup. Now I am thinking, I just got my 36 LED DIY items. Should I went with the 48 instead? thought 48 is over kill for a 60 cube. But looking at your setup, makes me wonder if I should've went with the 48.... are you afraid of spotting since your pretty close to the water with that canopy??