A little while ago I posted that I was working on a two cube waterfall scrubber which operated a bit differently. The design is pretty much finished, just have a few minor changes to make in the next revision. A few people asked I post up some pics, so here's what I've got so far. My goal with this scrubber was to make it as compact as possible, whilst still getting the performance benefits from it being a waterfall scrubber. It measures: 5.5 inches square, by 7 inches tall.
The biggest difference is probably that the LEDs are inside the unit, instead of being on the outside (and shining in) on typical waterfall scrubbers. The screen being on the outside, and on all four sides means maximum surface area. A four cube version of this scrubber is only taller by about 3 inches.
The design has three sections. The top and bottom sections contain strong neodymium magnets which hold the middle (scrubber screen) section in place. It's easy to disassemble just by pulling the middle section down and apart for cleaning. Water can only flow down, so it can't overflow like a poorly designed traditional waterfall scrubber would. I need to do some more testing, but from what I've seen so far, if the bottom water exit point ever did get clogged, the water would cascade down over the external sides of the middle unit.
The top section contains the top control side, sealed water intake, the heatsink and the PCB. Water comes in through the hose barb on the top side, and is forced down over the sides of the middle section, containing the screen. The water exits down through the bottom section. The bottom of the unit is designed to sit flush with the water level - so it could sit propped up on some egg crate etc. It's nice and quiet too.
The screen is 3D printed. I grew algae on an ABS 3D printed screen back in 2014, but am switching to PETG as it's naturally food safe. It's better than ABS in pretty much every way, it's also easier to print, so it's a win win. There's a red and violet LED on each side of the heatsink, eight total. It pumps out plenty of light.
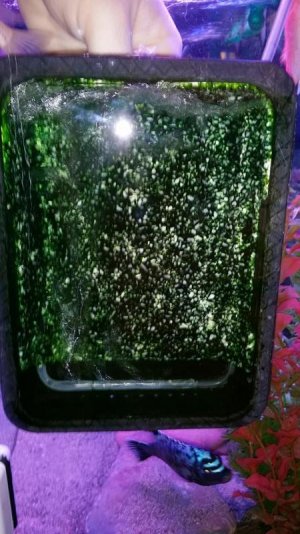
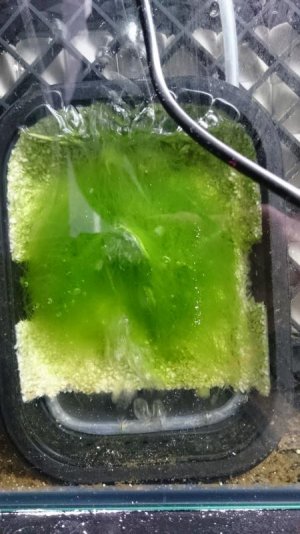
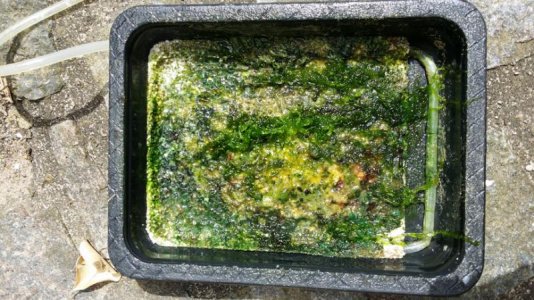
Some pics:


Pic of growth on an earlier revision - with an aragonite screen:

Video of the control unit in action if anyone is interested:
https://vimeo.com/172198657
") )-
)-