Astyanax
Member
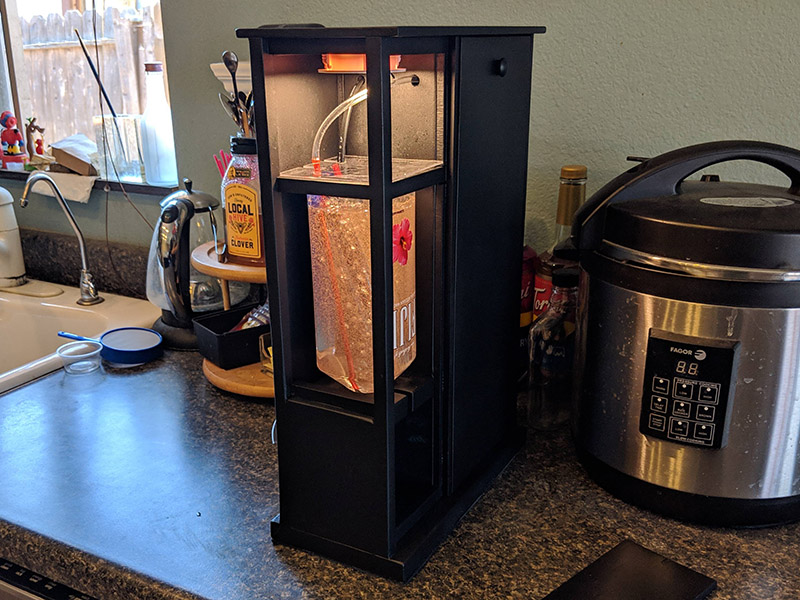
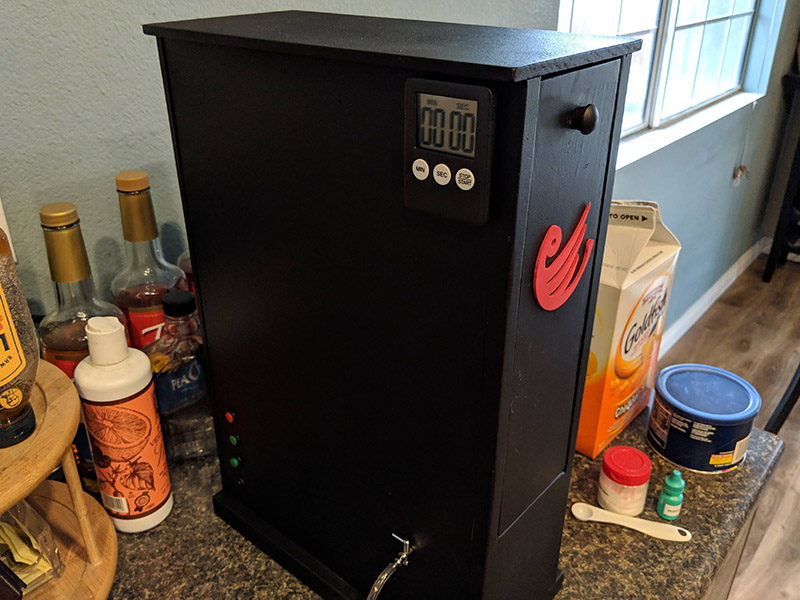
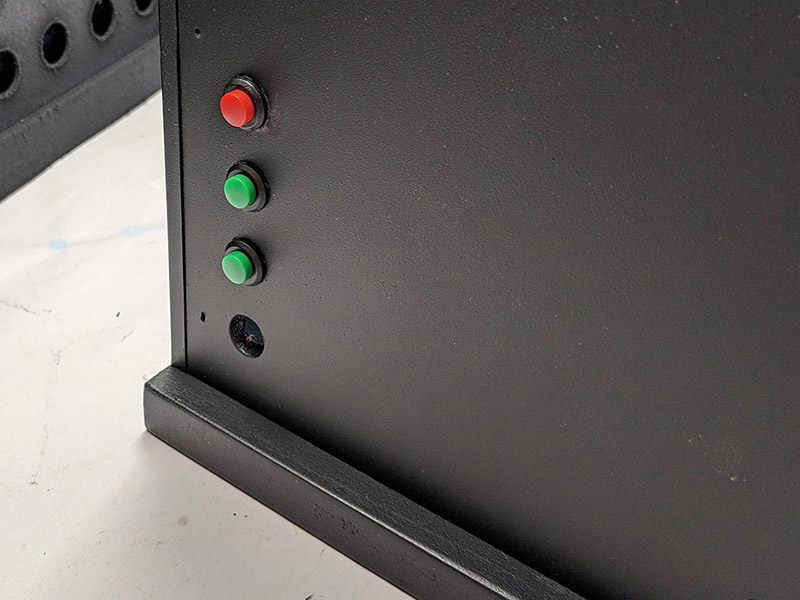
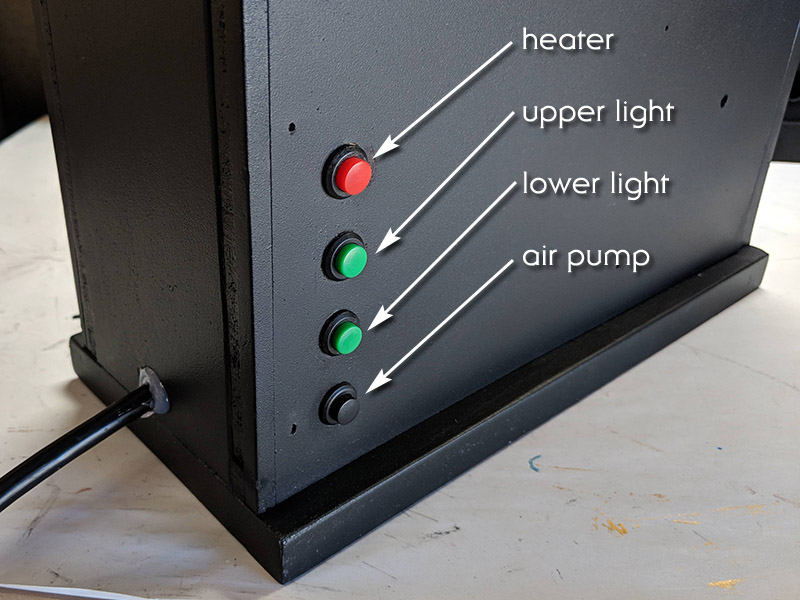
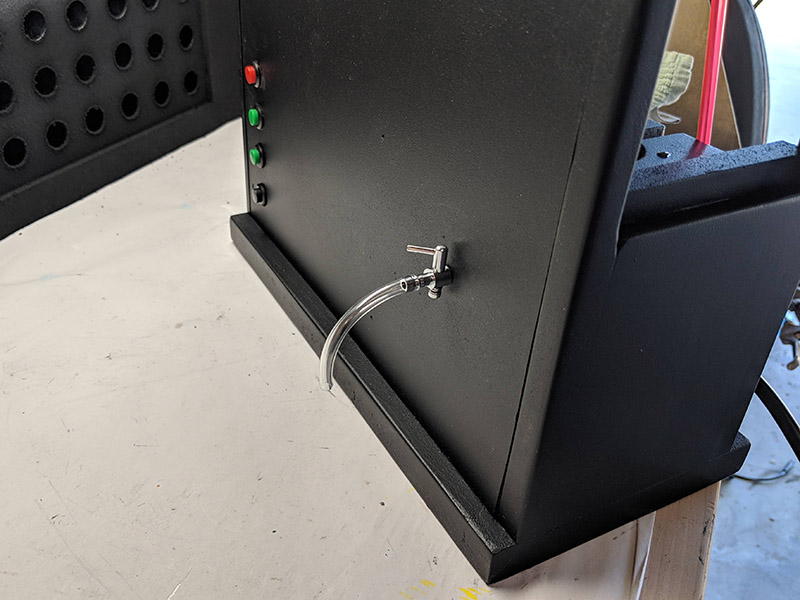
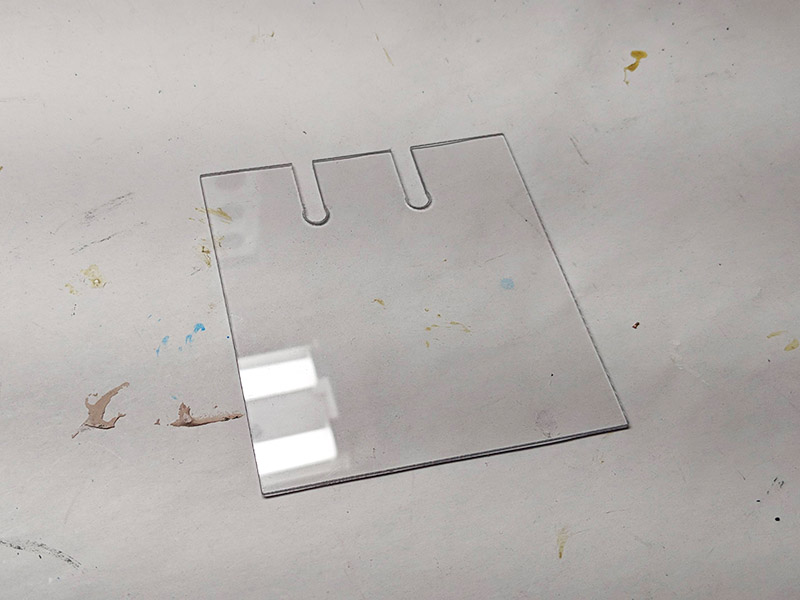
I have four components (upper light, lower attracting light, heater, pump) for this build, but only three holes for switches. I had planned not to need one for the heater, but as I gave it more thought, I realized that I need to be able to easily turn off the heater as well.
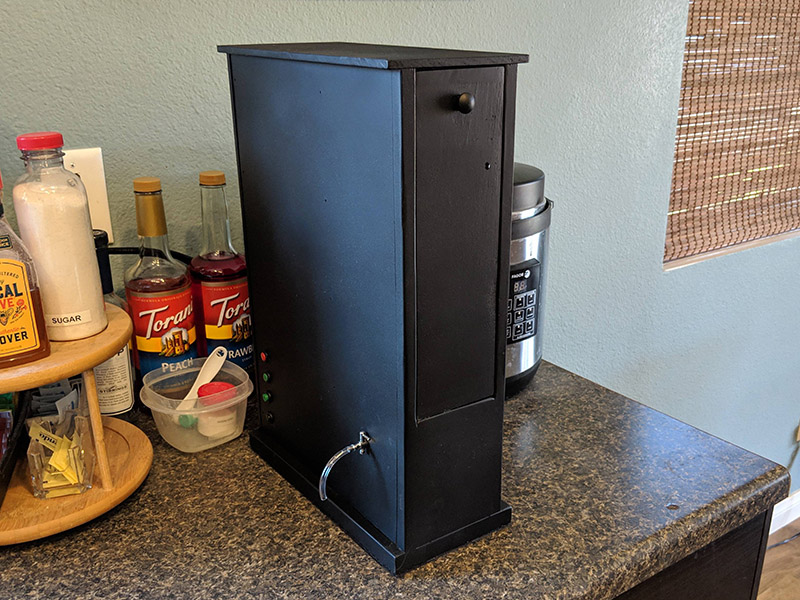
So I put another switch hole next to the others. That one went very poorly, probably due to the fact that my thick paint finish would rather be broken off than cut through. But the hole is intact!

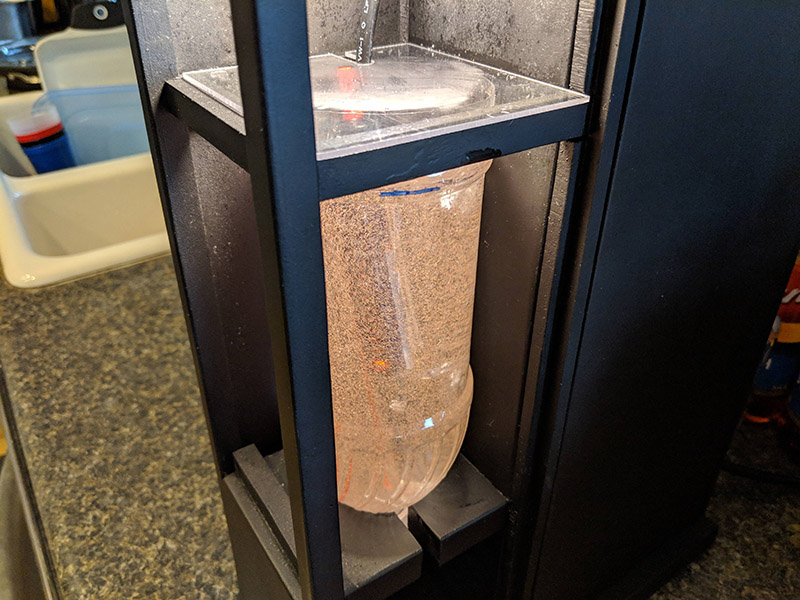
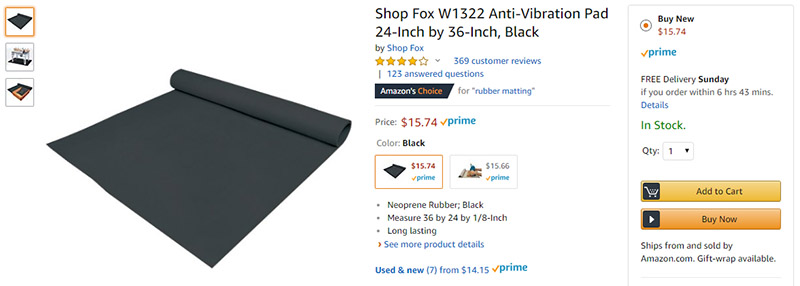
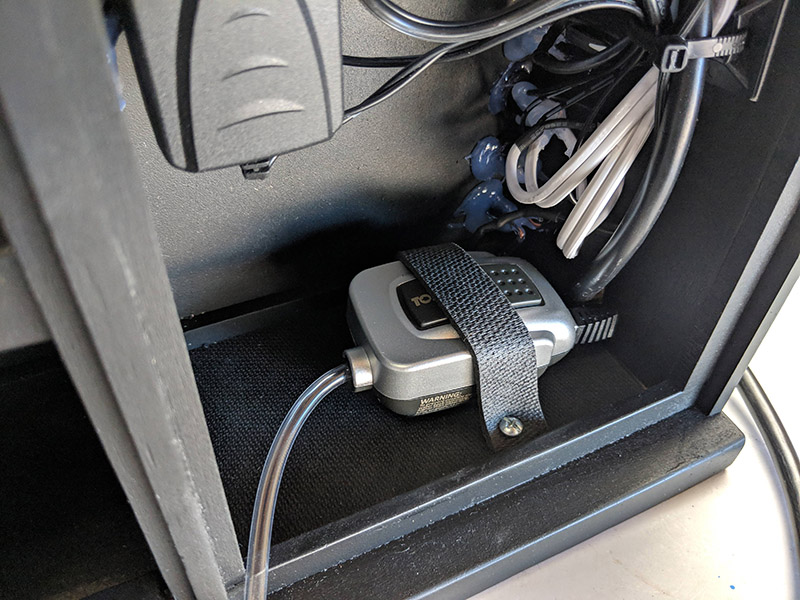
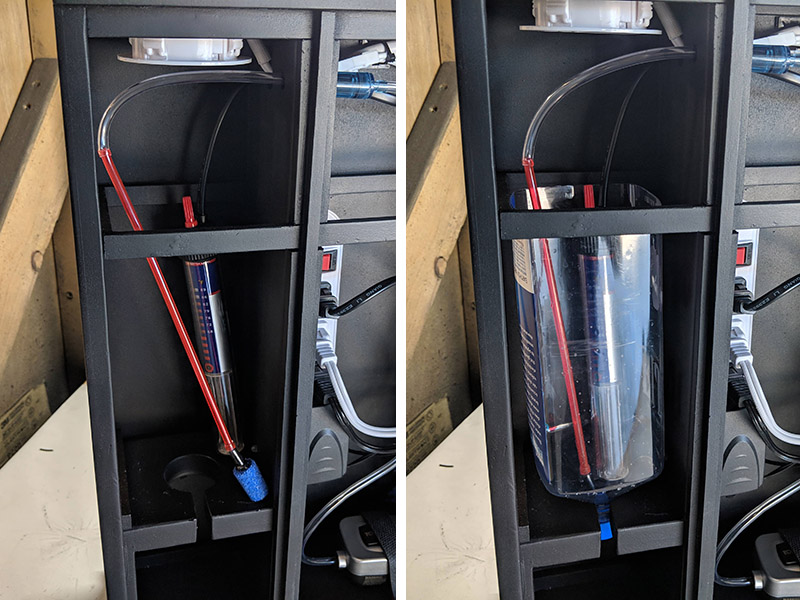
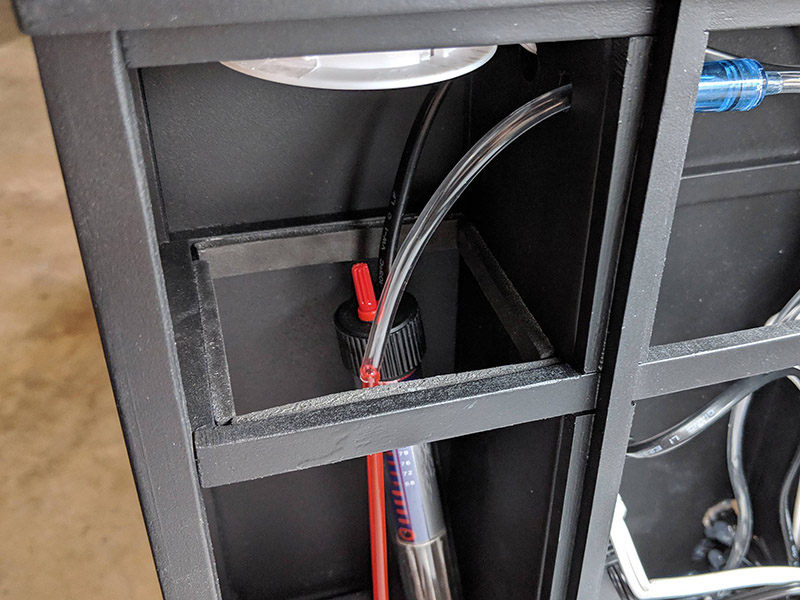
For heater selection, I went with the smallest submersible heater I could find, but still adjustable. I need to get the hatchery's temperature up to the mid-80s Fahrenheit, and all the tiny heaters are pre-set to 78 degrees. No good! So I settled for this 25-watt Penn-Plax model from Amazon:
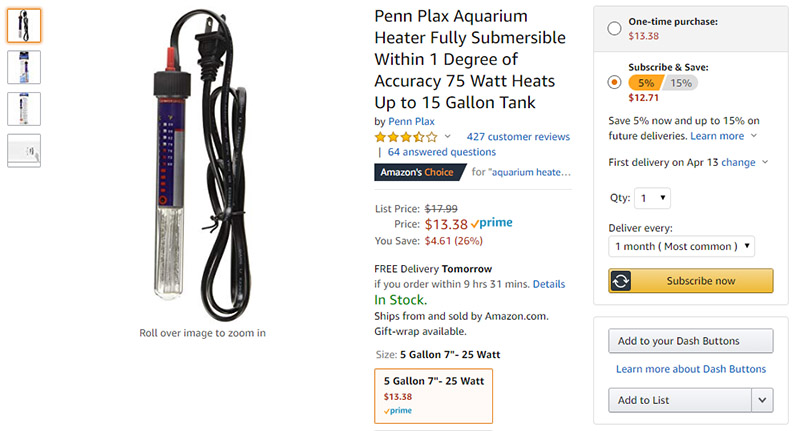
I recognize that this is serious overkill for one liter of water, but I didn't really have any choice if I wanted to keep the temperature consistently high.
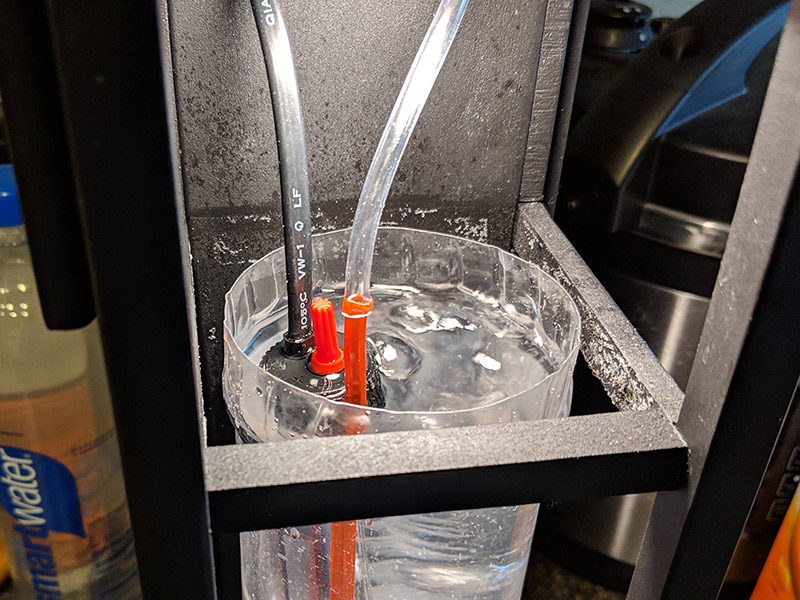
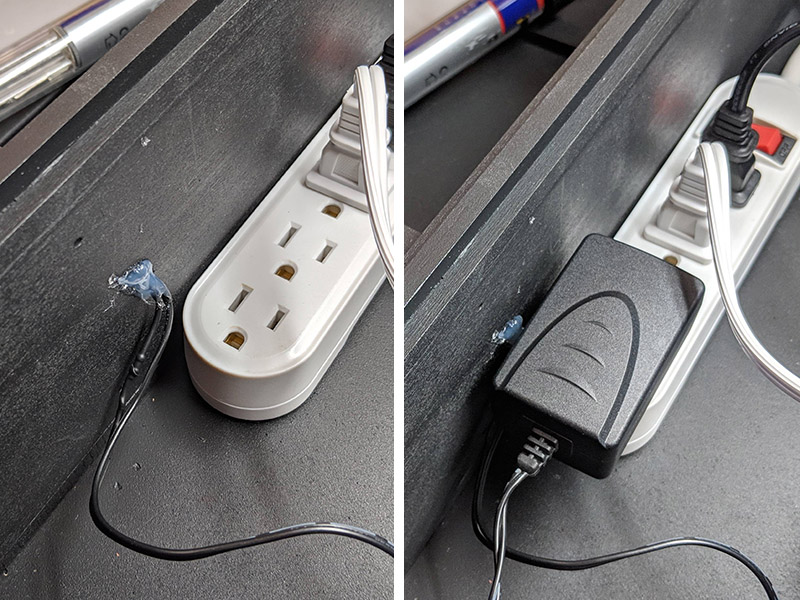
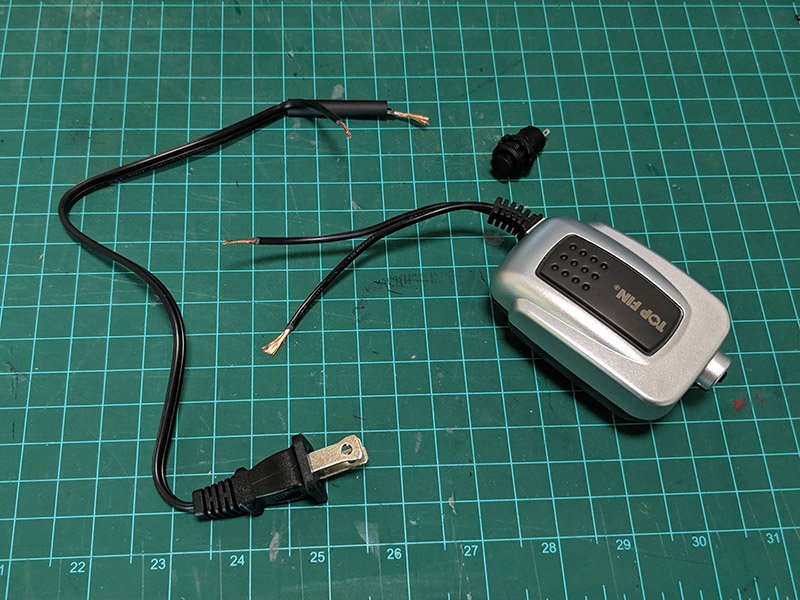
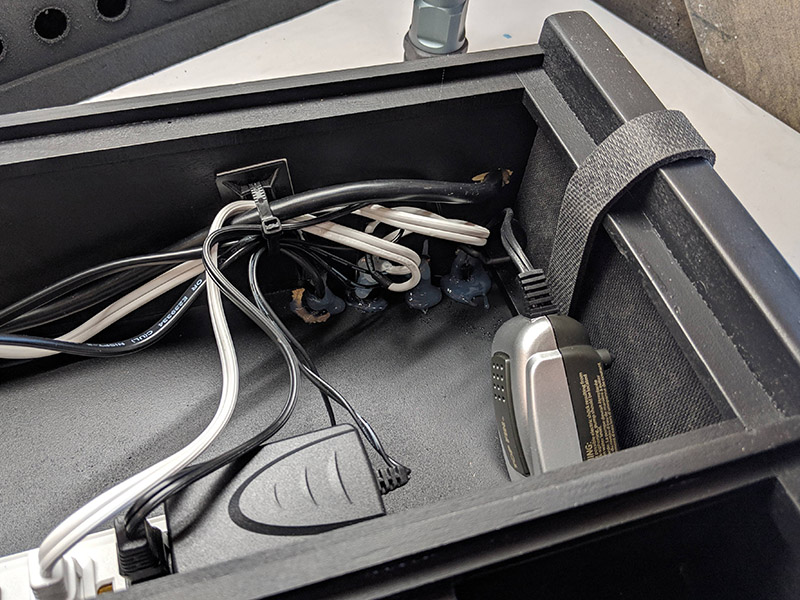
Similar to what I did with the light, I chopped up its cord and started splicing. This will use a red-colored push-button (I only have the three colors).
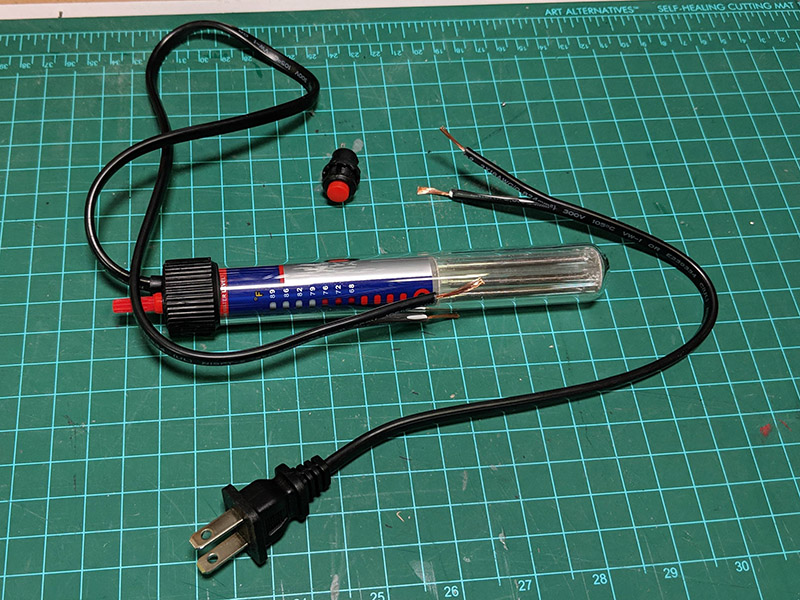
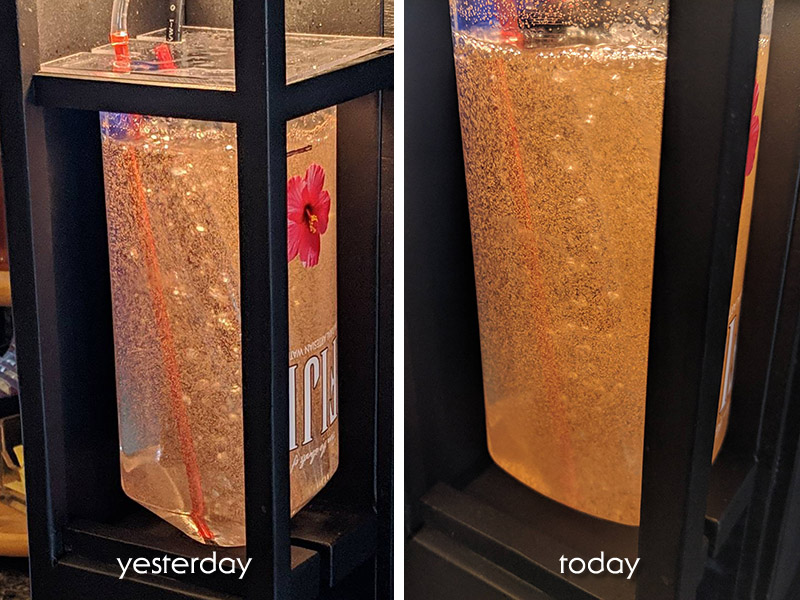
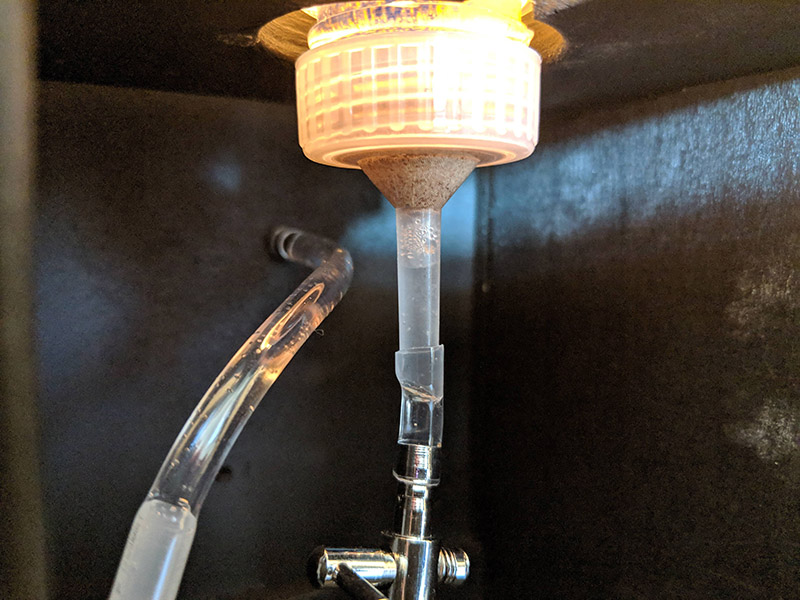
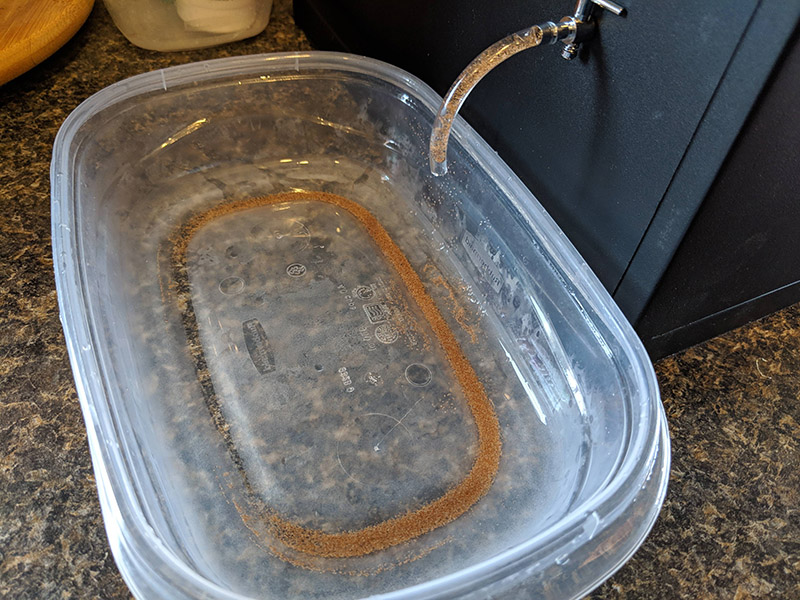
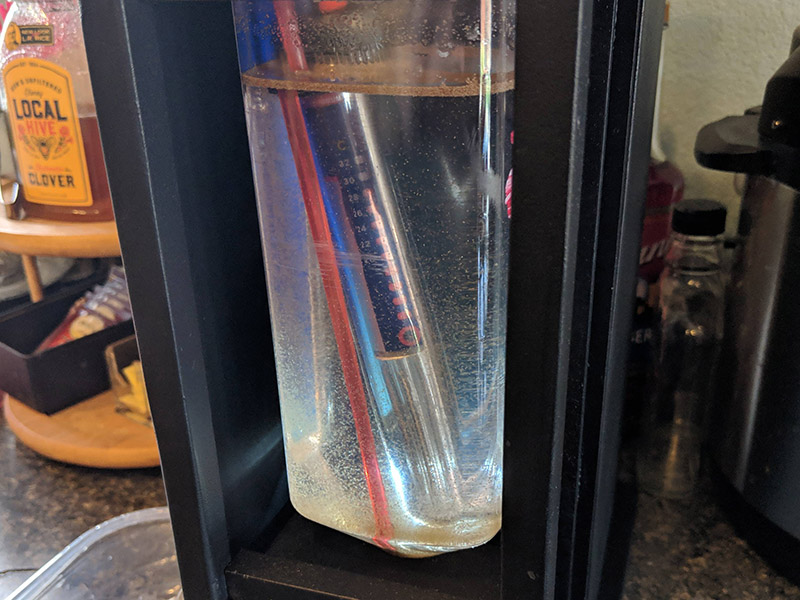
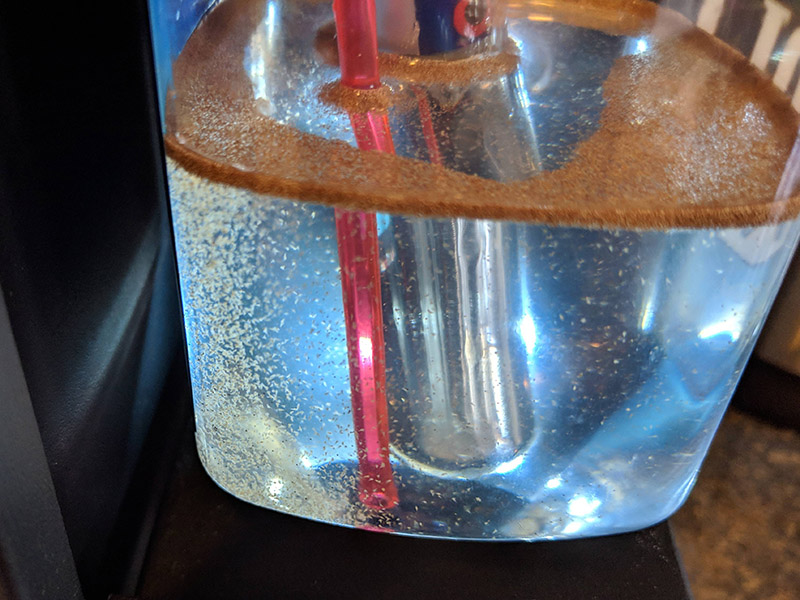
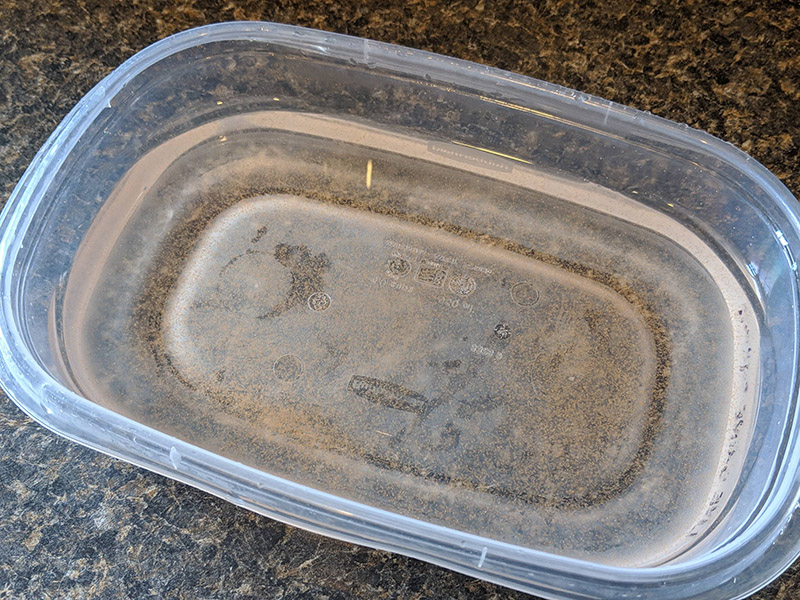
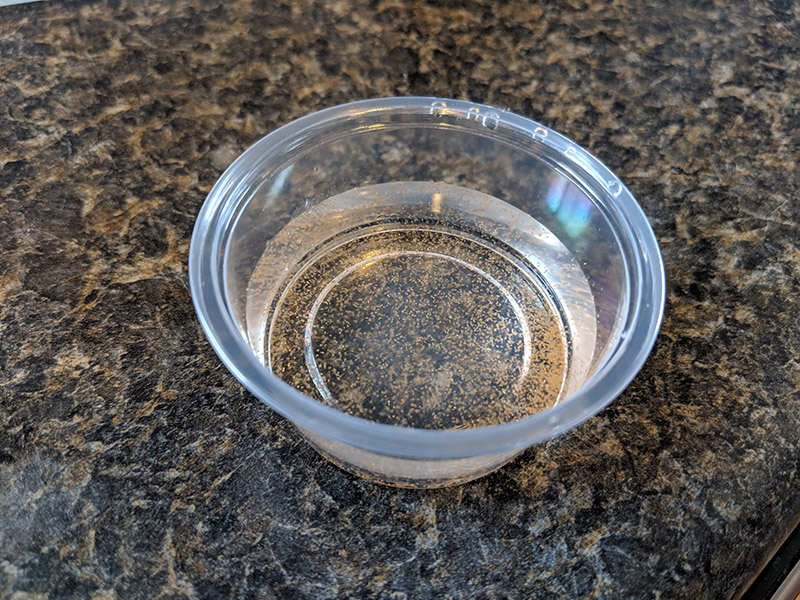
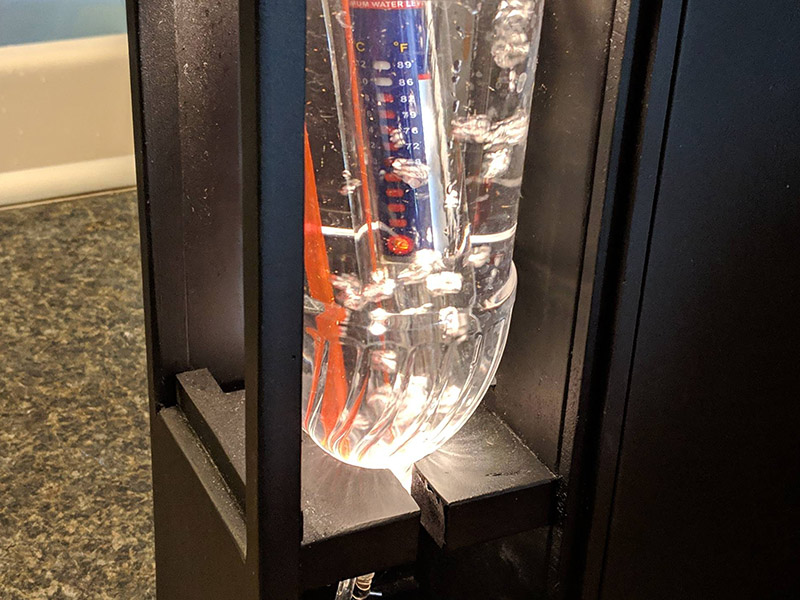
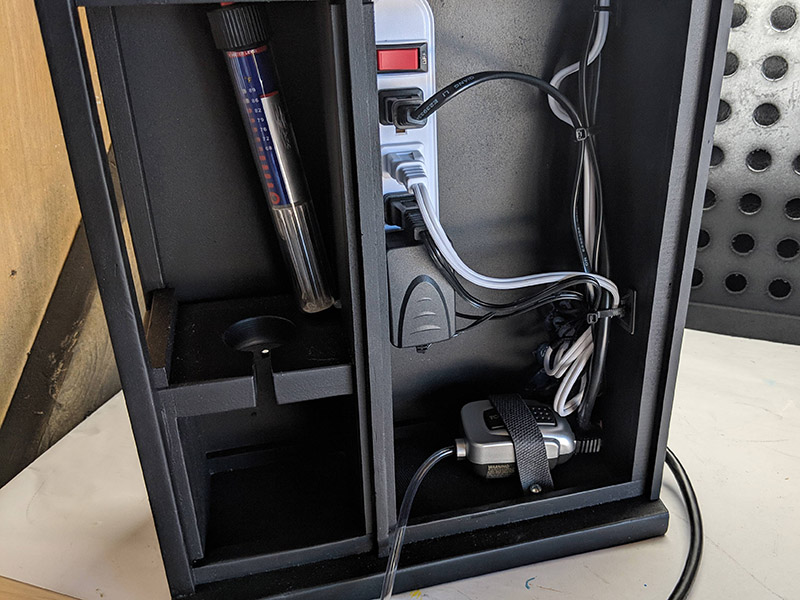
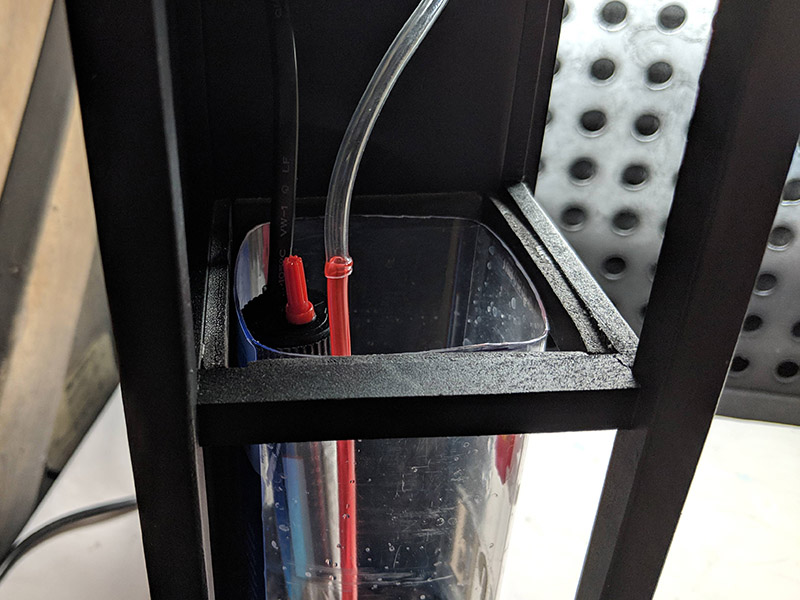
I wired it up similarly to the overhead light, and then tested it in some water.

Setting it to 82 degrees Fahrenheit gave me a water temp of 85 degrees, and it seemed to stay there. Perfect! I do expect it to run a little hot, because water temperature will continue to rise a couple degrees in that small of a volume while the heater cools down. At least it won't drop below 82 degrees, so I'm satisfied. I'm hoping for less than 24 hours hatch time with that temperature.
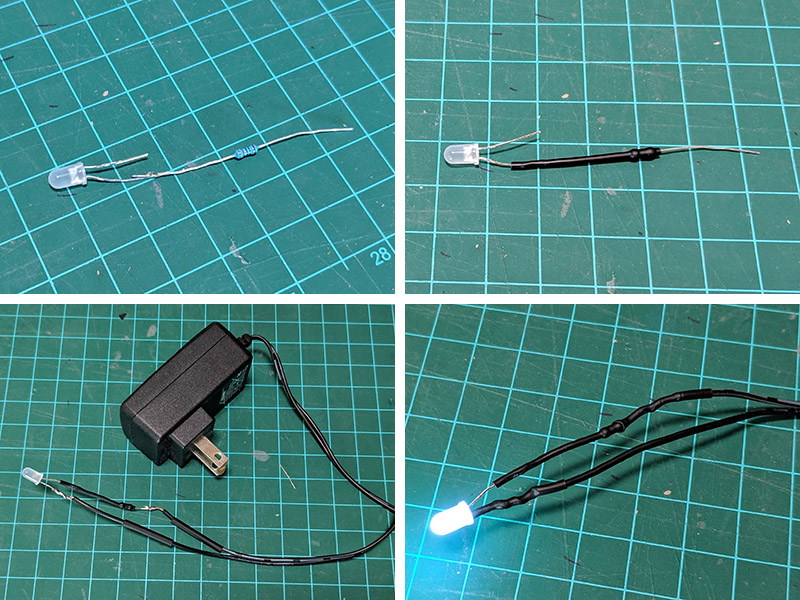
Next up, hopefully later today, the tiny LED light to attract the hatched shrimp back down to the bottom!
Thanks for reading,
Bill
So I put another switch hole next to the others. That one went very poorly, probably due to the fact that my thick paint finish would rather be broken off than cut through. But the hole is intact!
For heater selection, I went with the smallest submersible heater I could find, but still adjustable. I need to get the hatchery's temperature up to the mid-80s Fahrenheit, and all the tiny heaters are pre-set to 78 degrees. No good! So I settled for this 25-watt Penn-Plax model from Amazon:
I recognize that this is serious overkill for one liter of water, but I didn't really have any choice if I wanted to keep the temperature consistently high.
Similar to what I did with the light, I chopped up its cord and started splicing. This will use a red-colored push-button (I only have the three colors).
I wired it up similarly to the overhead light, and then tested it in some water.
Setting it to 82 degrees Fahrenheit gave me a water temp of 85 degrees, and it seemed to stay there. Perfect! I do expect it to run a little hot, because water temperature will continue to rise a couple degrees in that small of a volume while the heater cools down. At least it won't drop below 82 degrees, so I'm satisfied. I'm hoping for less than 24 hours hatch time with that temperature.
Next up, hopefully later today, the tiny LED light to attract the hatched shrimp back down to the bottom!
Thanks for reading,
Bill


")