First big tank/tank build 210

Ohhhh I like those containers, where'd they come from???

Thanks, picked them up from Premium Aquatics I have the 2.5 liter stackable ones. There are non-stackable, and a couple more sizes.


The ATI Sunpower fixture 8*80 came today, along with a pond liner that I am going to place in the stand under the sump (( well, the whole length of the stand. Will caulk it to up the sides a few inches )), to catch any spilled water.

Besides some odds and end, and the plumbing, just need a skimmer and the controller -- APEX. Plus, schedule a time for the electrician to come out, which after a few texts seems like it will have to be some Sunday.
 
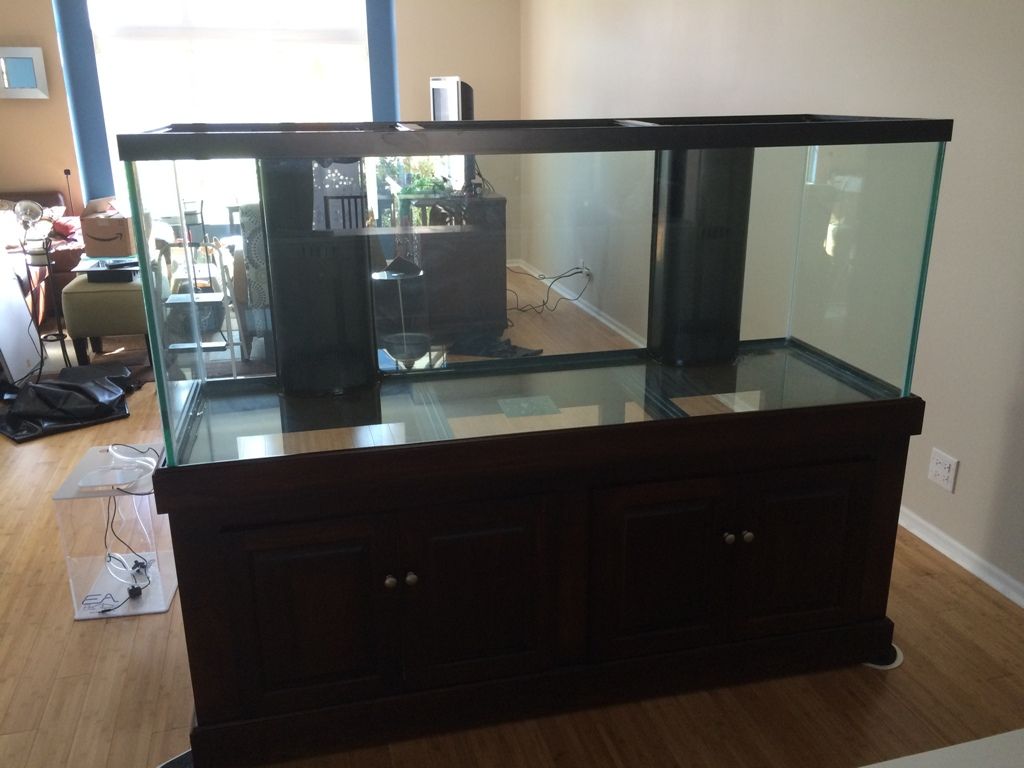
Great choice of equipment. Love the new sump and ATO. Cant wait to see your tank wet.

Thanks a lot. I am looking forward to getting the tank, and having it wet too. And really looking forward to having an ATO, going to make life easier for me and for the people that watch the tanks when I am out of town.

Realized that my OCD will get the best of me --- can't find an 2 gang outlet cover that have one GFCI and one normal outlet (( want a few critical items to be on a normal outlet, read too many stories of a GFCI tripping and the main pump staying off )), so going to have to spend a bit extra to get a GFCI breaker instead of outlet. All this so I can get a matching outlet cover that won't be seen.

Either that, or I will have to figure something out, need to talk to my electrician about this before doing anything. Maybe those stories come from cheap GFCI outlets?
 
May I ask how much the sump and the ato was? U can pm me if needed! Thanks. Also great setup;-)

Have no problem with that...

The sump (( model 3 )), was $525 -- the pictures on their site are the old ones, would look like mine.

The ATO was $175. Could have found something cheaper, but my OCD wins over too much.

Case in point, going to have to get a Non-GFCI, but GFCI shape outlet to match the GFCI outlet that will be in the same 2 gang box, just so I can get the outlet cover that is the same as the rest of the house. Should note that the outlet cover will be behind the tank.
 
Some updates...

Had the electrician out the other day, ran 2 20 amp circuits just for the tank --- on of them (( on the outlet )) is GFCI, and the other is normal. Have read too much about T5 ballasts tripping GFCI outlets, and on tripping at the worse possible time. Figure I will have the lights, main pump and a few other "dry" items plugged in to the normal outlet.

Received my skimmer the other day, Skimz Leopard SL203 DC, which fits perfectly in the sump. Though I wish the adjuster and main pump were on the same side. As I have it, the adjuster is in the back, and the pump is in the front. I figured it was easier to reach for the adjuster, as opposed to reaching for the pump when it comes time to clean it.

Ordered my plumping parts last night (( from both BRS and PVConline )), have a feeling that I am going to have missed a part or two. With using Schedule 80, no running to Home Depot for the missing part. (( should note, the missing part wouldn't be because of a screw up from them, but a planning screw up on my part )). At least I am not in a huge hurry, so I will be able to wait for any parts.

Have to say, pleased with PVC online. They called me this morning to confirm 2 parts, which didn't match up with the rest of my order (( all Sch80, but 2 were CPVC, and the rest is PVC )). Nice to see that they look over the orders that closely.

I plan on trying to run "Herbies" in both overflows, using the 3/4" as the main drain and the 1" as the emergency. There shouldn't be much difference, since all the pipe/fittings will be 1", except for the actual bulkheads on the main drain. Will run the return up and over the back of the tank --- the tank will be as close to the wall as possible, so I will a have to be smart on the returns. I have read about the issues that may come up with using the way in dual overflows, but if there ends up being a bit of noise, that won't be the end of the world; the tank is in the family room/dinning room. Plus I figure it will be quieter than the current 40 breeder.

Lastly, and most importantly, the tank will be here in 7 days. The canopy won't be ready yet, but that won't matter just yet.
 
Still getting things ready for Friday.

On Sunday I managed to take down the 40 breeder and move it out to the garage --- stupidly moved it by myself, which is dumb after 6 back surgeries, in a good deal of pain. But, on a better note, I did find a buyer for it.

A few pictures of that process,

40_1_zps6ef5f034.jpg


Almost there,

40_3_zps05f67c3b.jpg


Over all, looks pretty good. Though, still have to take down the 3 pictures,

40_4_zps93f106b6.jpg


And found a fish -- never knew what happened to it, not sure how it got out, must have been right before/after a water change when the top was off. Still sucks, but nice to know there wasn't some thing I did (( meaning lack of food, water conditions, etc )).

a15b4246-67bc-45c6-91b9-cc50a8ca0989_zps2599f92d.jpg


Lastly, most of the plumbing came today -- still waiting for the 1" gate valves and a few other pieces. Will be interesting to see if there is anything that I forgot to order when I start plumbing it.

(( in front of the 75 that will be taken down { a lot of the 40 breeder is in there }, when the 210 is up and running ))

Pipe_zps997aae59.jpg
 
Following along as for I just completed my 180 in wall build. Looks like you are off to a great start.

I have had several tanks and I really took my time with this one took me about 7 months to get salt water in it.

Like you I probably could have done things cheaper however I wanted things to look good or look right. I had a custom built ATO tank to match my 48" long sump. Plan to have my dosing containers built to match those but I am not ready for that part as of yet.
 
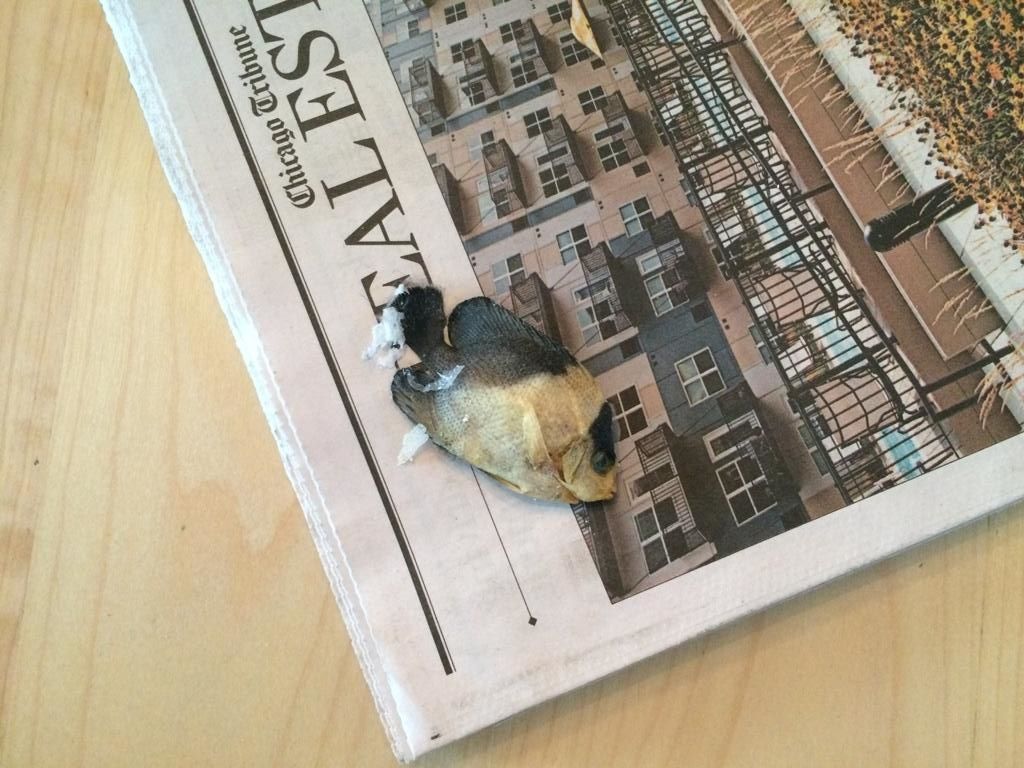
Looks like a Venusta, no?

Good eye. Had it for 4 years. Have another one in my 75 (( was part of a pair, but the larger one never ate prepared foods )), that will be going into this tank.

The one that I found in happier times,

vent2.jpg


vent.jpg


Following along as for I just completed my 180 in wall build. Looks like you are off to a great start.

I have had several tanks and I really took my time with this one took me about 7 months to get salt water in it.

Like you I probably could have done things cheaper however I wanted things to look good or look right. I had a custom built ATO tank to match my 48" long sump. Plan to have my dosing containers built to match those but I am not ready for that part as of yet.


Thanks.

Any pictures?


More stuff should be coming today, at this point I can't recall exactly what, home stretch of the orders, but I think it is the controller.


To add to the work, we have decided to paint that room (( family room/dinning room )). Have plans to have someone paint the staircase (( not going to do that myself, don't want to be on a 25 foot ladder )), and figured to use the same color paint for the family/dinning room. With the 40 breeder down, now is the time. Not ideal, but not much can be done about it.
 
Well, the tank came on Friday, and was brought into the place without an issue --- though I am glad that I didn't have to do it, didn't look like fun.

There was one minor issue (( and mainly it was my fault for not checking this first )), both holes in each overflow are 1", and not one 1" and one 3/4" like on my other RR tanks. The problem is that I bought plumbing for two 1" and two 3/4" holes. Placed a new order for 1" parts, hopefully they will be here on Tuesday and I can move onto getting this thing plumbed.

I am not sure that I will be able to get everything I want under the tank (( at least as neat as I want it to be )), so I am thinking that I will have the ATO container next to the tank. (( in the pictures below it would be to the right of the tank, near the ladder )). Might even get the stand builder to make some sort of cabinet to hold the container (( and perhaps the Vortec battery back up )), that would match the stand.

Right now the tank/stand are on those sliding moving pads, which will make working on the plumbing and what not a lot easier. Once all that is done, will remove them and add water/sand/rocks.

Now some pics;
While waiting for it to be delivered I decided to make a "stand" to raise my skimmer up a bit over 1".

So much easier to cut PVC with power...

skimmerstand2_zps84f5ebbe.jpg


Egg crate and zip ties finished it off,

skimmerstand1_zps64382966.jpg


Placed in the sump (( might a piece of acrylic )) to help support the skimmer better. (( should add, the outlet cover is off because we put up the second coat of paint in the morning ))

sump9_zps6bcbf780.jpg


sump8_zps8d4c5fd0.jpg


Tank in the house!! (( the dinning room table was out of the way, made it easier for the movers ))

tank3_zpsb2978d3f.jpg


Con't.
 
Some covers for the overflows --- keep algae to a minimum.

overflow_zps3a9a0d26.jpg


Rough placement of where the tank (( might move it a bit left/right, but overall this is the place. The ATO container will be near the ladder, but right next to the stand ))

tank2_zps538fcd67.jpg


tank1_zps00575610.jpg


Some pics from under the stand (( not shown is the controller ))

Left side -- doser & dosing containers and one of the two reactors --- I had forgotten about those 2, part of the reason I have to move the ATO container.

stand_zpsd3e8760d.jpg


Inflow and skimmer sections of the sump,

stand1_zps216dc6ce.jpg


Fuge and return section

stand2_zps8cbafab6.jpg


ATO container and battery backup. (( which will be moved ))

stand3_zpsd5fc52d4.jpg


Lastly, put a pond liner in the base of the stand, and up the sides a few inches, to catch the spills that will happen.

stand4_zps6a7ba798.jpg
 
Just a small suggestion, not world-shaking or anything, but down the road you will really appreciate it if the entire interior of your cabinet is white, including your liner. Trying to see anything inside a small, enclosed space full of running equipment becomes a real chore, and enhancing viewability will be much appreciated when you're working on the system.

Dave.M

Not a bad idea --- will have to see how easy that will be to do, the sump was dropped into the stand.

At least I plan on adding some lights to the stand, to help me see what I am doing.

Thanks.
 
Back
Top