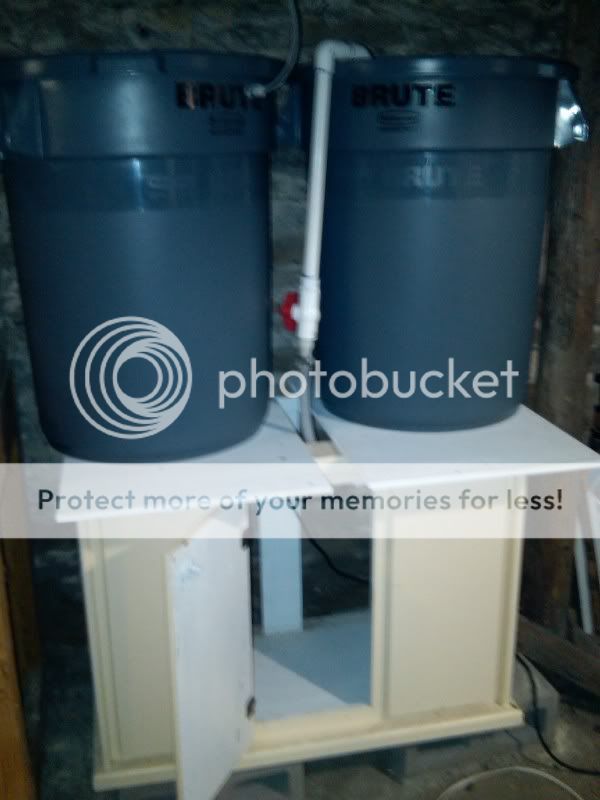
High time for some photos. I mentioned the basement water change/topoff station. Here it is:
(warning: my basement is a 200-year-old dungeon)
Tank on the left is for RO/DI storage. There's a line from the RO unit (located on an opposite wall, maybe 8 feet away) running to that tank with a mechanical float valve. Will also have an electric float switch above the valve to alert me to valve failure.
Tank on the right is saltwater mixing/storage. I'm planning on many small changes (maybe 3 gallons/day). The changes will be automated, so all I'll have to do is keep that container full of saltwater.
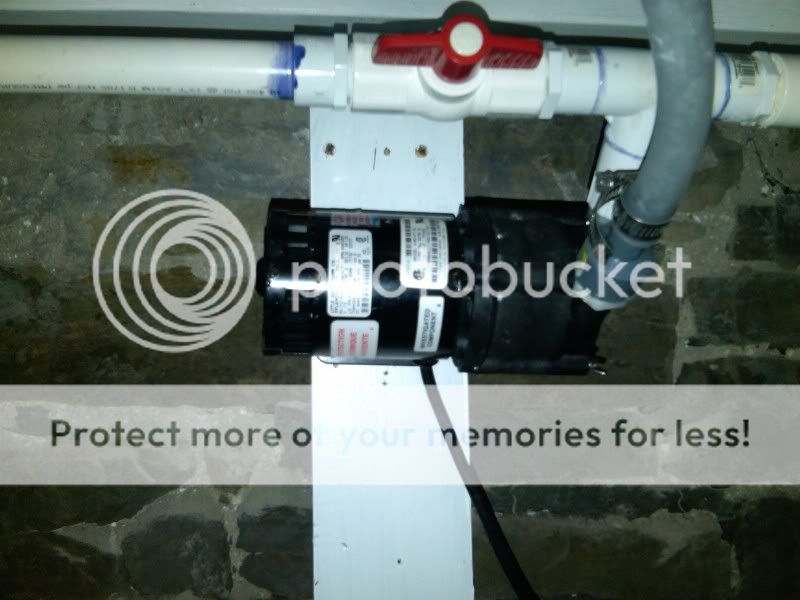
There's a pump mounted in the stand below the tanks:
The pump has it's output running into the pipe you see going up over the top of the salt tank. Inside the tank, it goes down about a foot then hits a T splitting it to either side of the tank.
The input of the pump is connected to a T with one leg running to the bottom of the RO/DI container, and one leg running to the bottom of the saltwater container. There are valves on both legs of the T, and on the output. This way, I can operate the valves to "switch" the pump from pulling RO/DI water to pulling saltwater - so it can function as a transfer pump AND a mixing pump.
Basically, to make a batch of saltwater, I'll do the following:
1) With the pump off, open the intake valve from theRO/DI tank and close the intake valve from the saltwater tank.
2) Turn the pump on. This will drain the RO/DI tank and fill the saltwater tank with RO/DI water.
3) When the saltwater tank has filled to a pre-marked line, close the intake valve from the RO/DI tank and open the intake valve from the salt tank. This will close off the RO/DI tank and cause the pump to act as a mix pump for the saltwater tank.
4) Dump in a pre-measured bag of salt mix.
5) Walk away for a few hours, then check salinity and adjust as required.
I'm hoping I can do this in just a few minutes on a weekend. Then, the auto-change system will take care of the actual changes, and the ATO will topoff for evaporation from the RO/DI system, meaning little or no water maintenance will be required during the week.
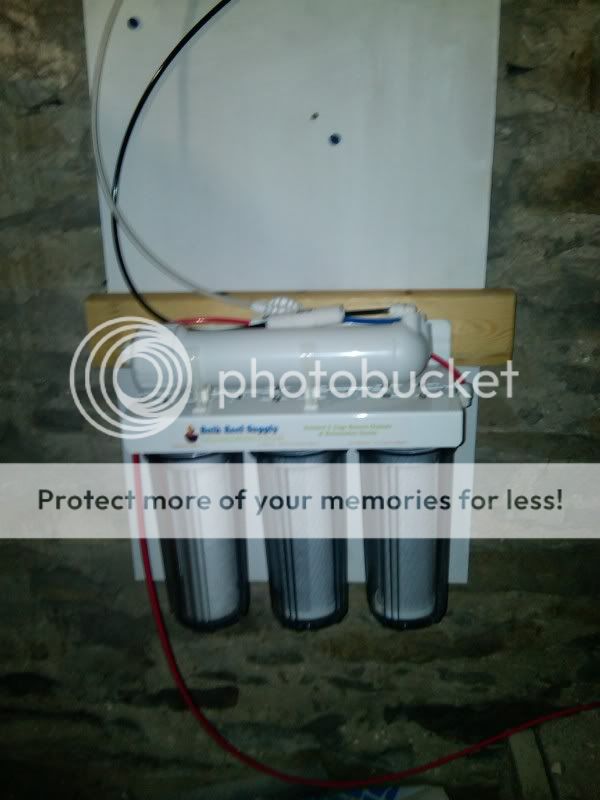
Also, the RO/DI unit itself was mounted on plywood:
I left a good bit of room above the unit so I can attach a shelf for other equipment. Also have a lot of room inside the stand that the two waterchange containers are sitting on.
Calcium and alkalinity will likely be automated two-part dosing, so the containers for two-part will likely be down here, too. Or, perhaps, under the tank - since there's going to be a fair amount of "floor space" inside the stand.
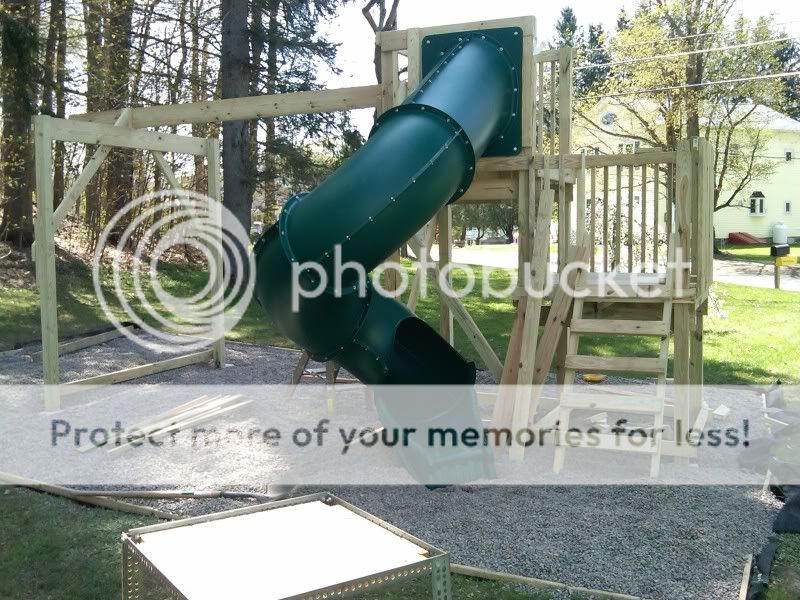
Oh, and I snapped a picture of one of my "excuses" for being delayed over the last few weeks. I've been designing and building this:
Tonight the last few bits go on. I think I'm more excited to try that slide than my kids are. :lol:
") I attribute my relative success so far to spending the last several months/years researching and planning, and lots of bugging other people who've built plywood tanks for info.
I attribute my relative success so far to spending the last several months/years researching and planning, and lots of bugging other people who've built plywood tanks for info.")


 :fun2::sad2: