Thanks for the welcomes back everyone. Life has been interesting lately. Suffice to say, fish tanks weren't a priority. It feels really good to be back at a point where I can dip my toe into a hobby that's been there for me for so long.
I looked back through the demo photos and they weren't as interesting as I'd remembered but here they are anyways:
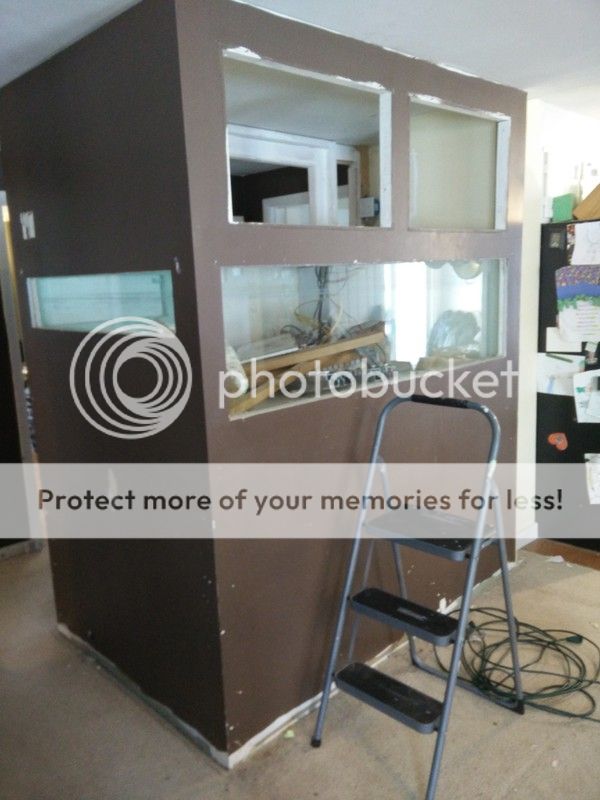
Tank is empty, equipment is gone, trim is off the drywall. Time to have some fun. The carpet through the whole first floor was coming up as part of this remodel so I didn't bother protecting it. I used a sawsall style demo saw with demo blades, and an old circular saw with a demo blade. Ironically, this was the very same circular saw I used to cut the plywood when I built the tank.
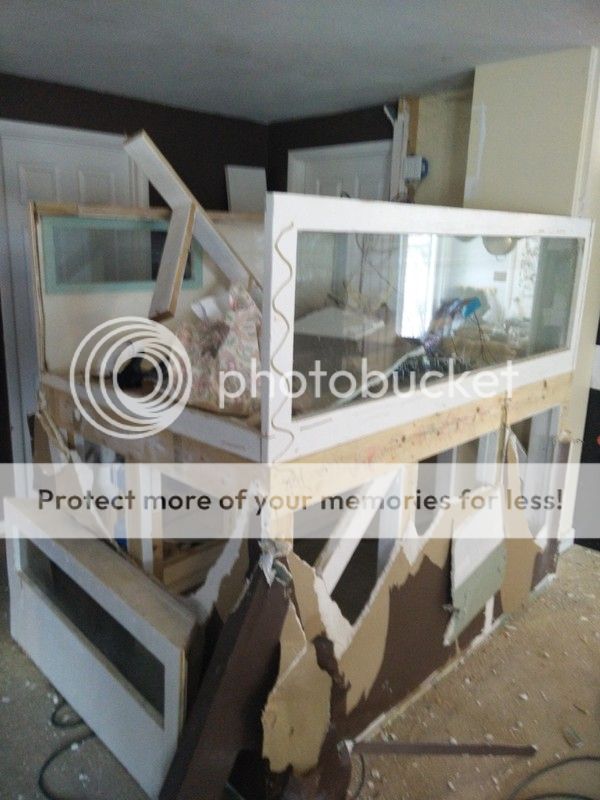
Drywall and hood section are off and the end of the tank is cut off. Yes, I cut the tank up to remove it. Way easier than trying to carry it out in one piece. The tank cutting was all done by the circular saw, the sawsall didn't have the muscle to be effective. It's tough work cutting through plywood with a thick coat of epoxy and heavy duty screws every 3 inches.
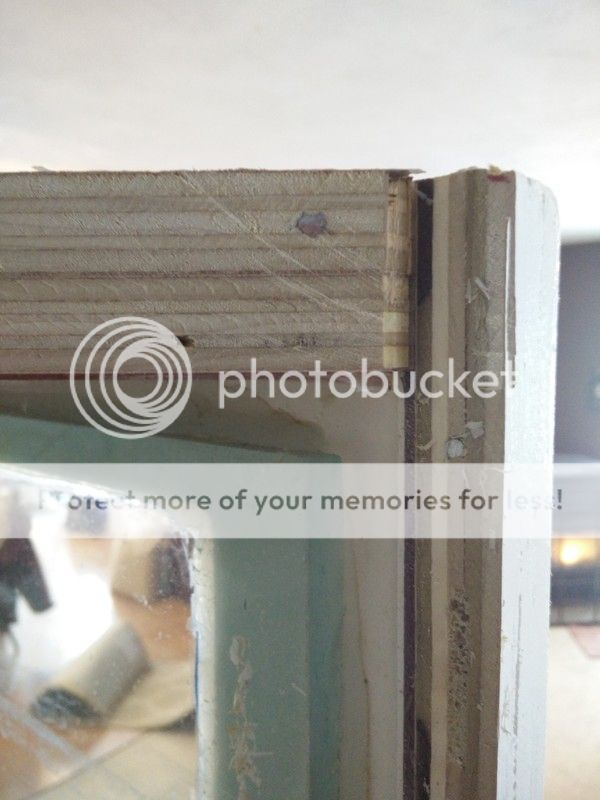
Cross section of the top eurobrace and the end wall, with the front glass panel in view. You can see the differences in the epoxy thickness between the end wall and the underside of the eurobrace. People who followed the thread will remember the trouble I had with the eurobrace getting wet through pinholes. This was the biggest lesson learned. Don't underestimate the places water can go. You don't necessarily need a thick epoxy coat, what you need is one without pinholes in it. Everyone watches for bubbles, and putting multiple coats on helps avoid issues with bubbles, but what I didn't do was correctly fill the small voids left from cracks or splits on the inner veneers of the plywood, such that where the edges of the plywood were exposed, those imperfections translated to cavities that didn't get properly sealed. I rushed through that process because I hadn't planned on the eurobrace being in direct water contact, then at the last minute I decided to raise the water level such that the bottom of the brace was underwater. Bad idea.
Anyways, onwards...
Here's a nice thick epoxy layer in profile. The really dark stripe is the outermost core veneer in the plywood, it's dark because it soaked up epoxy. The kinda-dark stripe to the right is clear epoxy. I only tinted the outermost coat of epoxy, which explains why the white stripe is so thin in comparison.
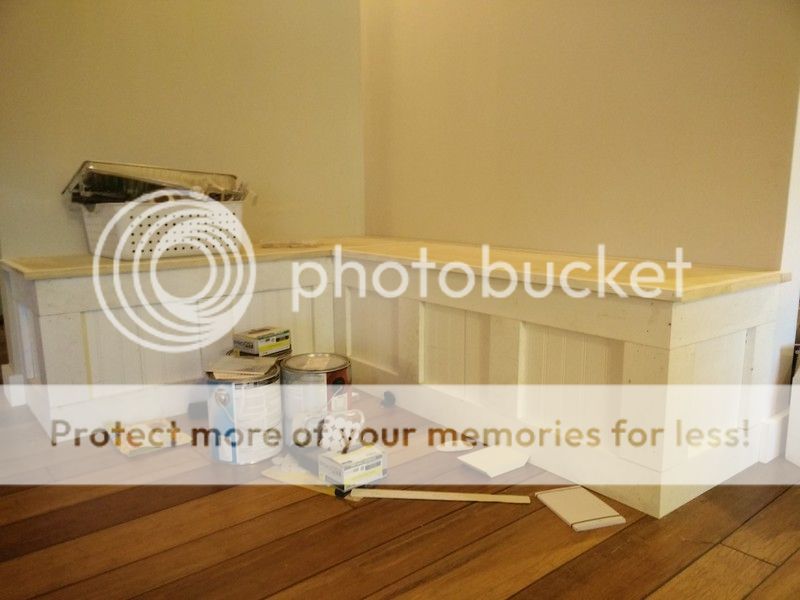
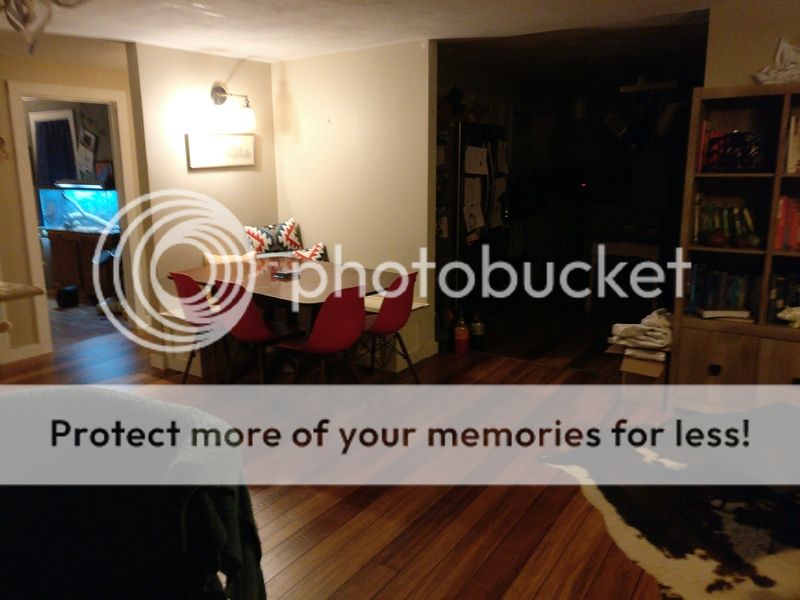
Once the tank was gone, I installed new hardwood flooring. I couldn't have a huge awkward spot in the middle of the house, so I built a wall right about where the back of the tank was and did a built-in bench along it to form a breakfast nook.
Yes, I am still bad at photography...
The new nano tank is going on a nearby wall next to the TV. The components have started to arrive, I'll go start the build thread when I have a chance. Otherwise, I guess it's safe to say that this thread now has reached it's conclusion. Thanks everyone for all the support and help along the way, it's been a lot of fun. Onwards and upwards, to more of life's mountains of sawdust!
")


 I'm guessing most of us have that problem unless retired or better time management and/or financial bliss
  Car, scuba diving, etc and I'm not great at time management!