Pristine?
Pristine?
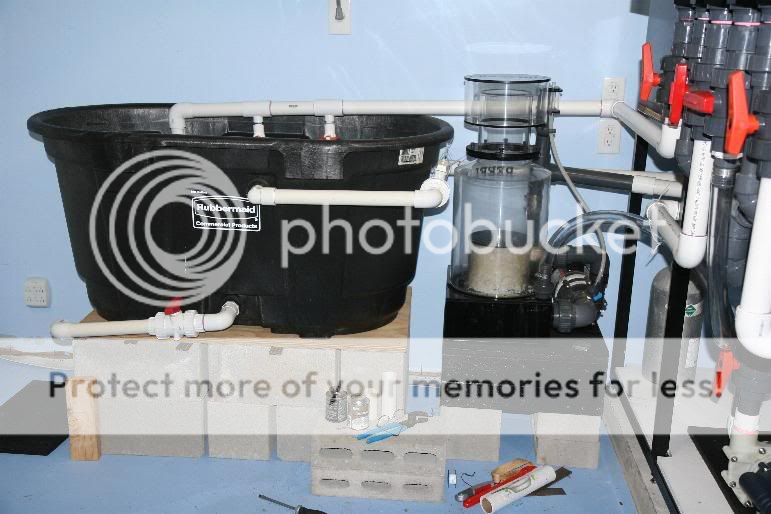
Not pristine, but I'm pretty happy everything works in our first serious PVC plumbing effort...
Raw materials:

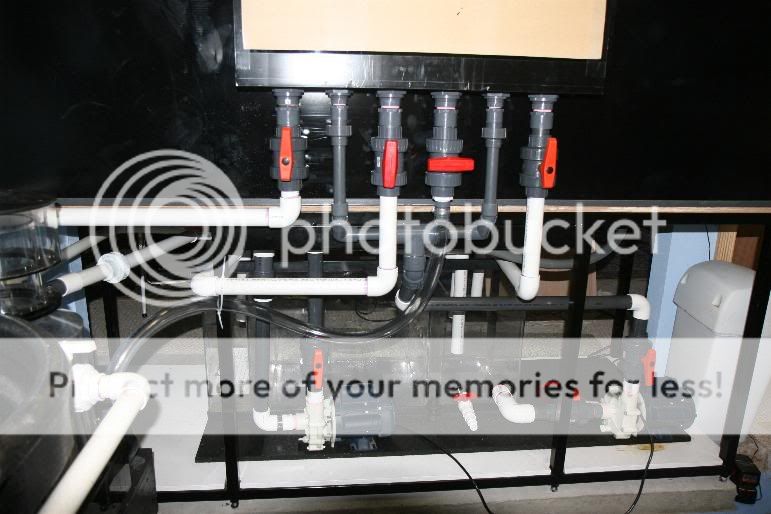
Overflow & Returns:

The closed loop "harness" of 1" gray flexible PVC:

The above harness attaches to the five closed loop returns drilled in the tank's PVC bottom, like so:

More of the return and overflow system -
Pristine?
Not pristine, but I'm pretty happy everything works in our first serious PVC plumbing effort...
Raw materials:
Overflow & Returns:
The closed loop "harness" of 1" gray flexible PVC:
The above harness attaches to the five closed loop returns drilled in the tank's PVC bottom, like so:
More of the return and overflow system -
")
 ) wallet out!!

")


