Show off your SUMP!

huskysglare1

New member
Please take pictures and show us your tank. Also, how would you rate it's functionality? do you like it? what would you change?

I am building a sump and i would like some ideas.

thanks guys.
 
40 breeder, has not seen water yet so i cant comment on function yet.
light002.jpg


sumpbuild003.jpg


33 long from my 210 setup, external fuge was nice, kinda cramped but what sump isn't
i like taht i can redirect the drains to replace the dirty filter socks
2009083.jpg
 
I like the double filter sock idea. I am going to have to use that idea on the one that I am currently building. I am trying to get away from the old wheel style I am currently using.
 
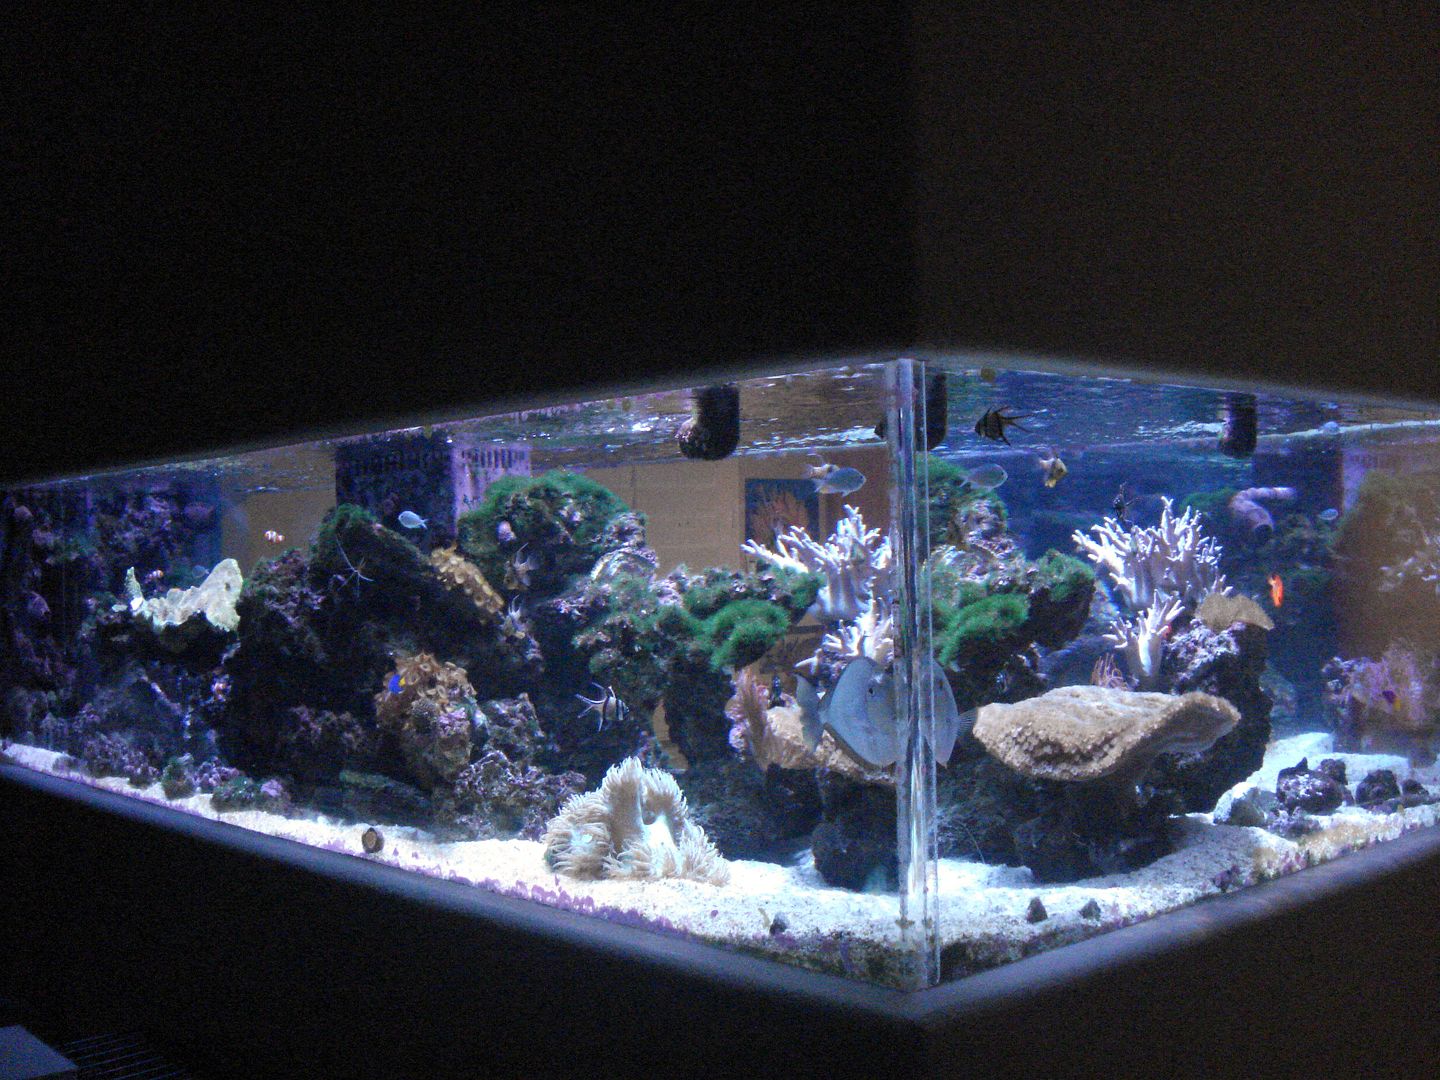
My tank is 480G plus the sump and fuge.
DSC01726.jpg


The sump is about 90G and the fuge is about 80G. My system has been running for several years since its last tear down. Up until a year ago it was running with a lagre wetdry filter that had a combination of bio balls and live rock. I designed the wetdry about 17 years ago when I originally had my tank made. It served me very well but it was time for a change. One of my motivating factors in the change over was eliminating some of my pumps. The tank was originally running with 4 or 5 large pond pumps which were pretty efficient but I decided there was better more efficient ways of accomplishing the same thing using much less power. I was also using a large beckett skimmer which required serious pump power as well so the change over needed to be pretty drastic.

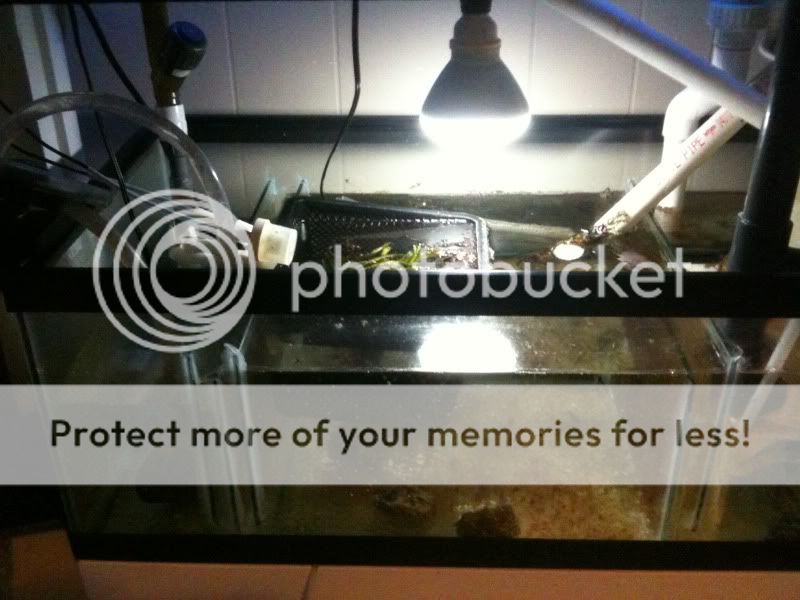
Here is the old wet/dry.
DSC00351.jpg


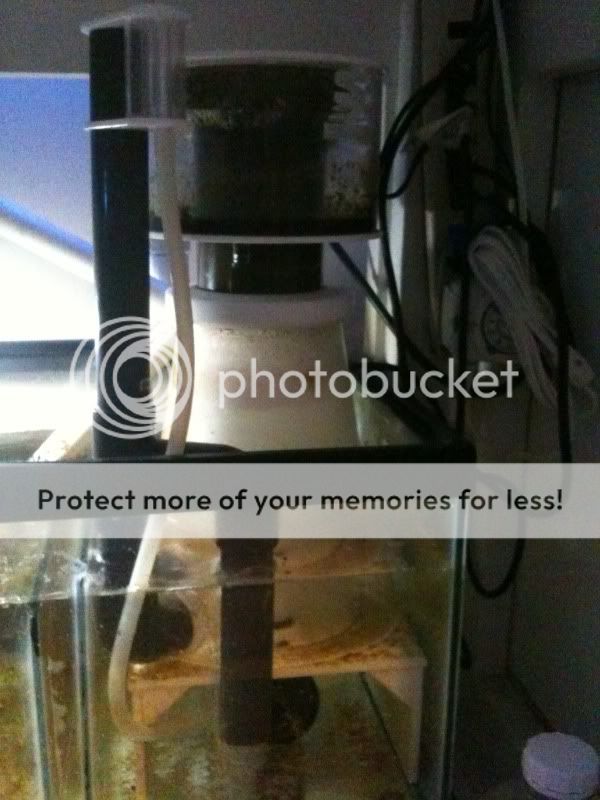
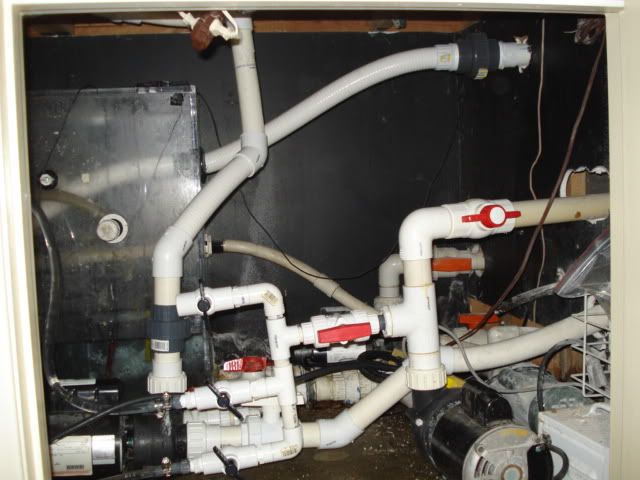
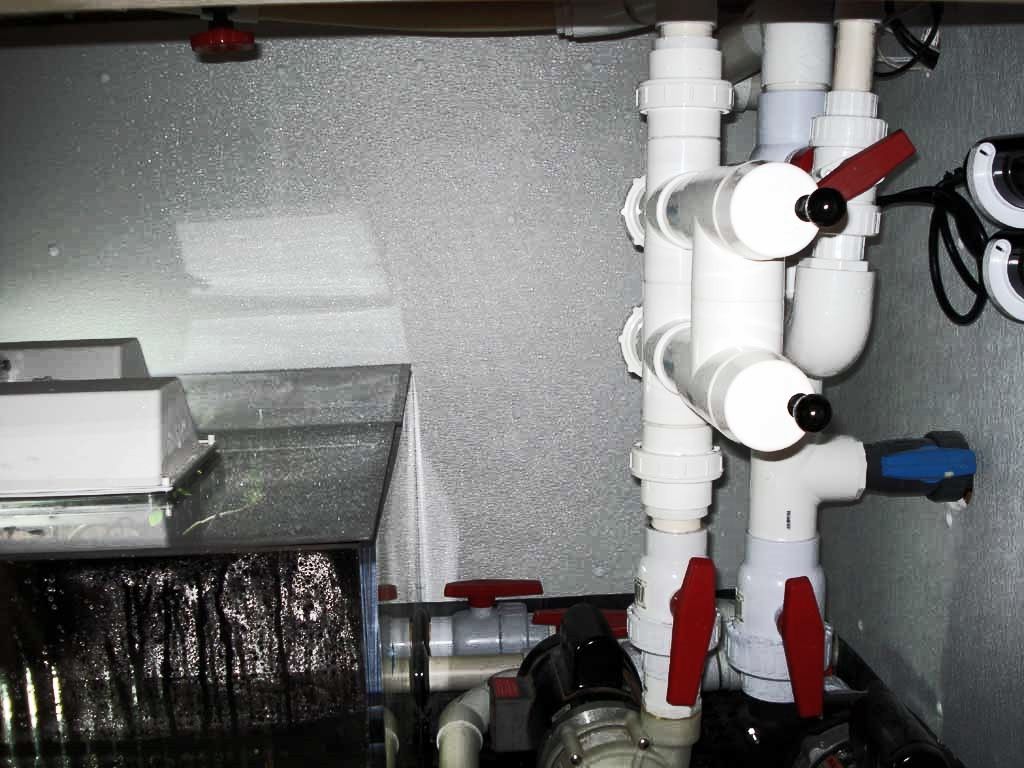
Here is the old pump setup. It was kind of kludgy as I added and changed things over the years.
DSC00345.jpg


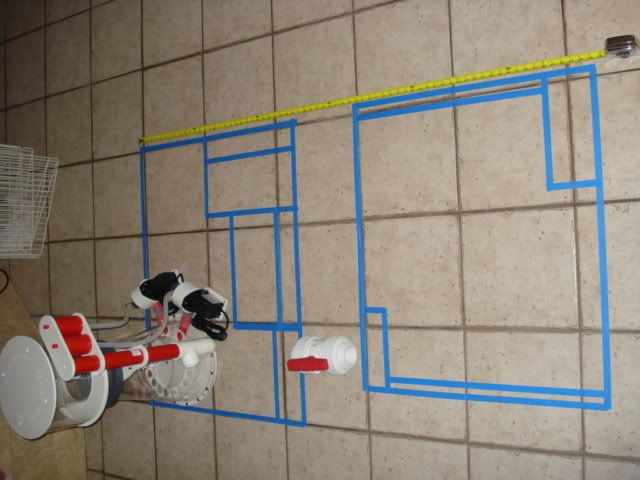
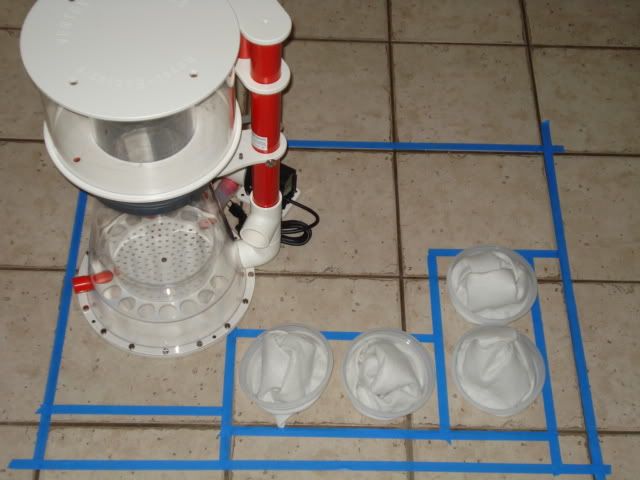
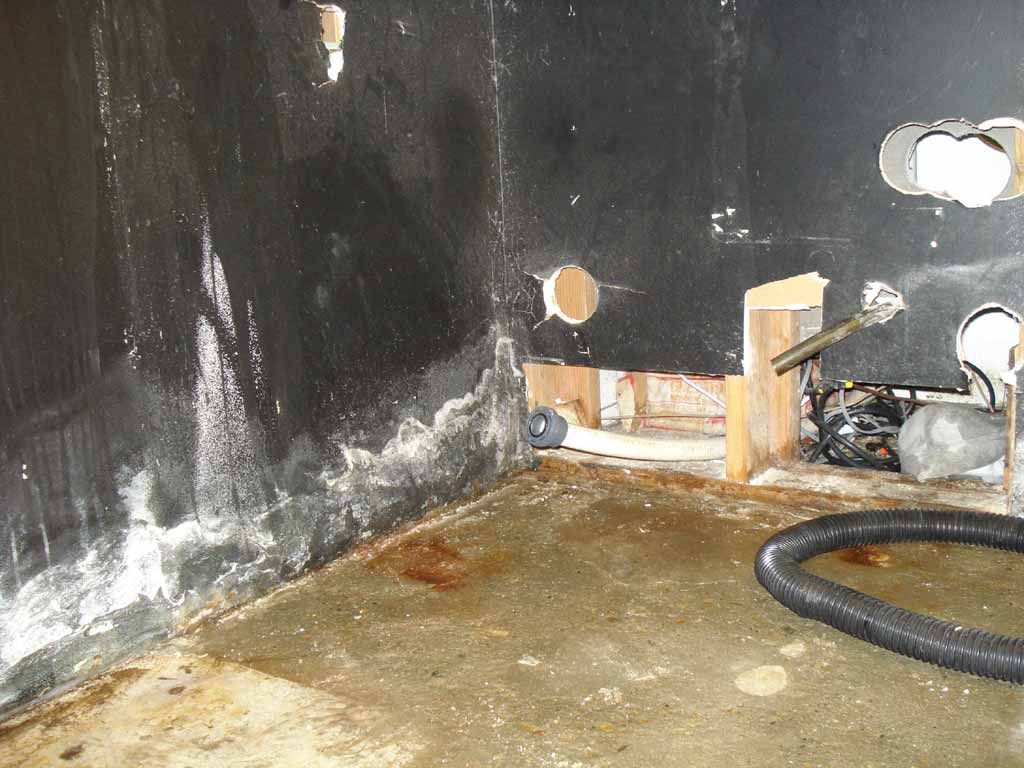
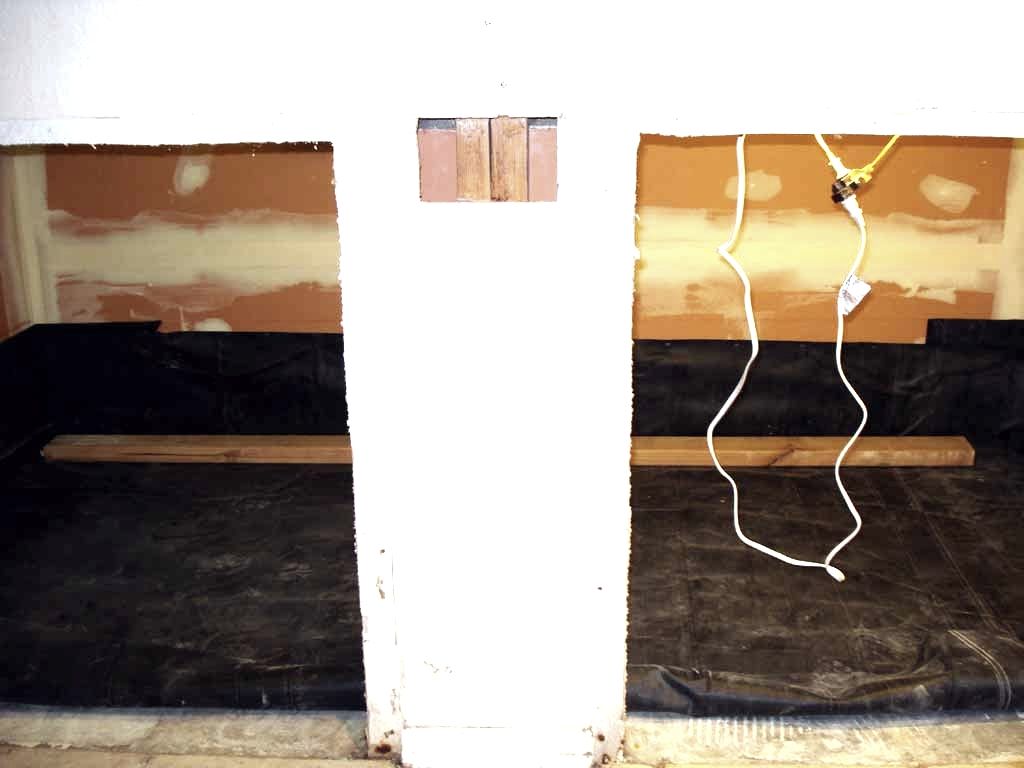
Umder my tank is an area that is about 94" x 44" which gave me a pretty decent footprint for my new filter setup. I started with some rough sketches followed by marking an area on my floor that had the same dimensions as the space below the tank. Knowing a bit about what I wanted and what would work, I started my design using masking tape on the floor. The idea was to create a new sump/fuge that would fit under the tank with space for pumps and accessories and still be servicable through the doors under the tank. Getting through the openings below the tank meant that I had to create a sump with a seperate fuge.

Here is my preliminary design using masking tape.
DSC00504.jpg


DSC00469.jpg


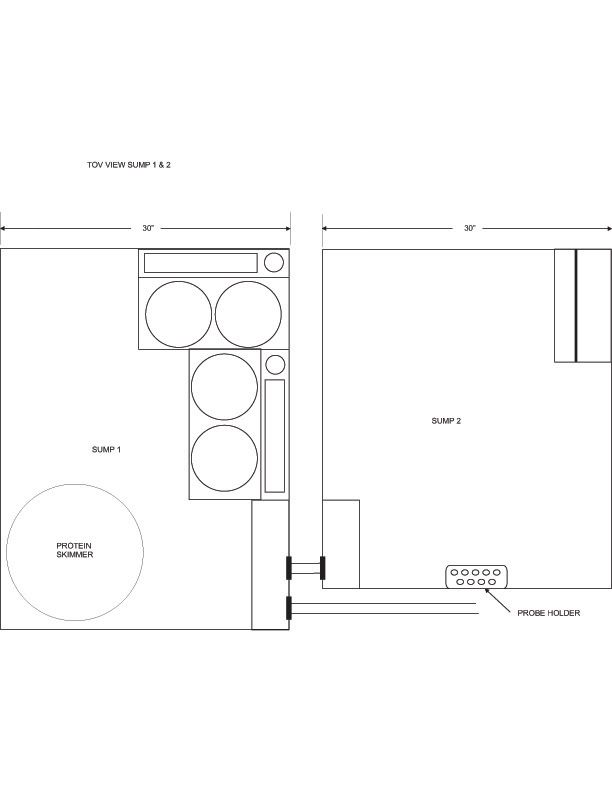
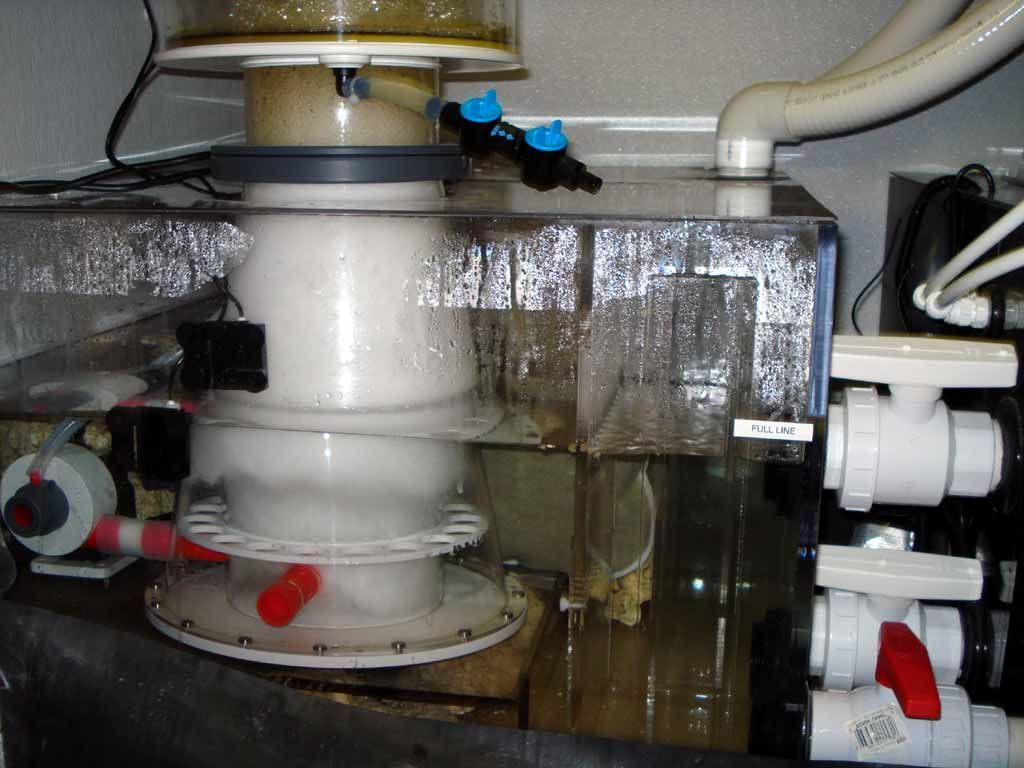
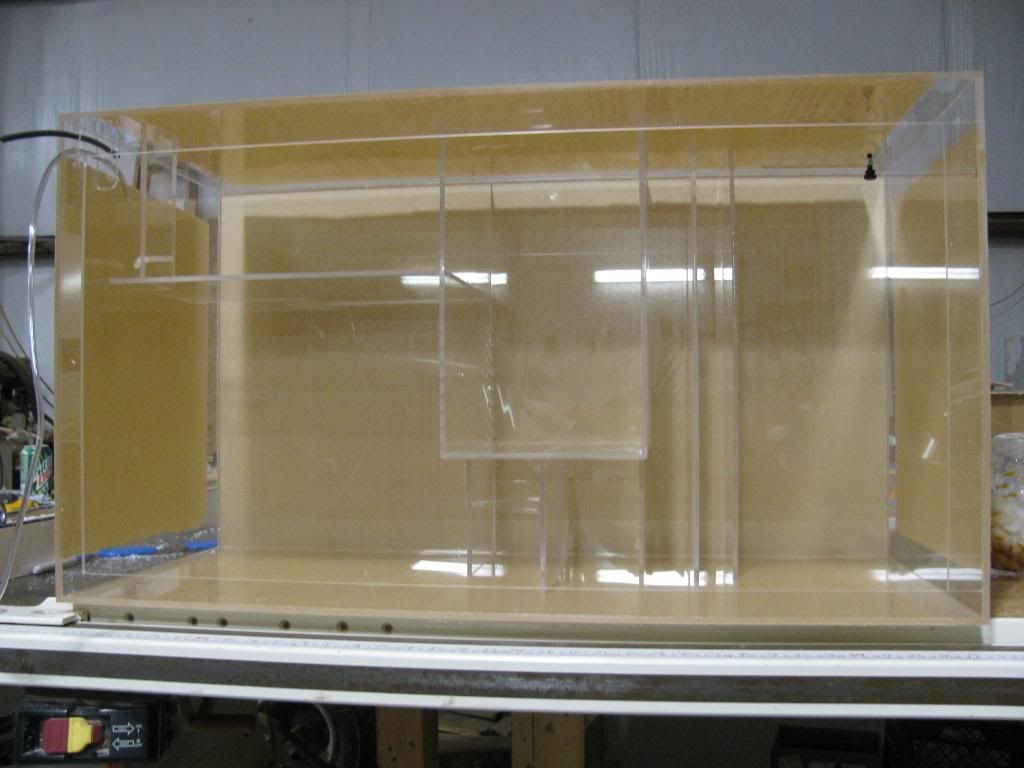
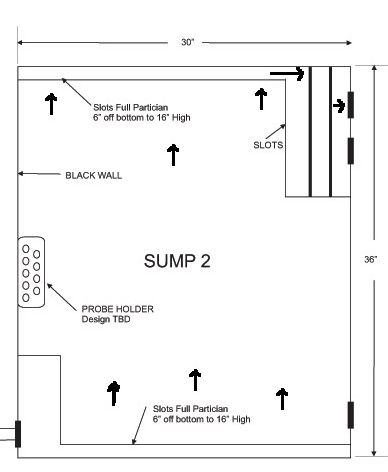
Once I had my final layout, it was time for the drawings. I provided my sketches with dimension to my fabricator who then created the computer drawings. Below will give you an idea of dimensions and the desgin I came up with. There are a total of four 7"x16" filter socks, space for my Alpha 300 cone skimmer and a large fuge that can be completely isolated from the sump. This allows to to shut down the fuge for service without interupting the sump or the tank. I just shut one valve and open the bypass valve.
sump-and-fuge_WEB.jpg


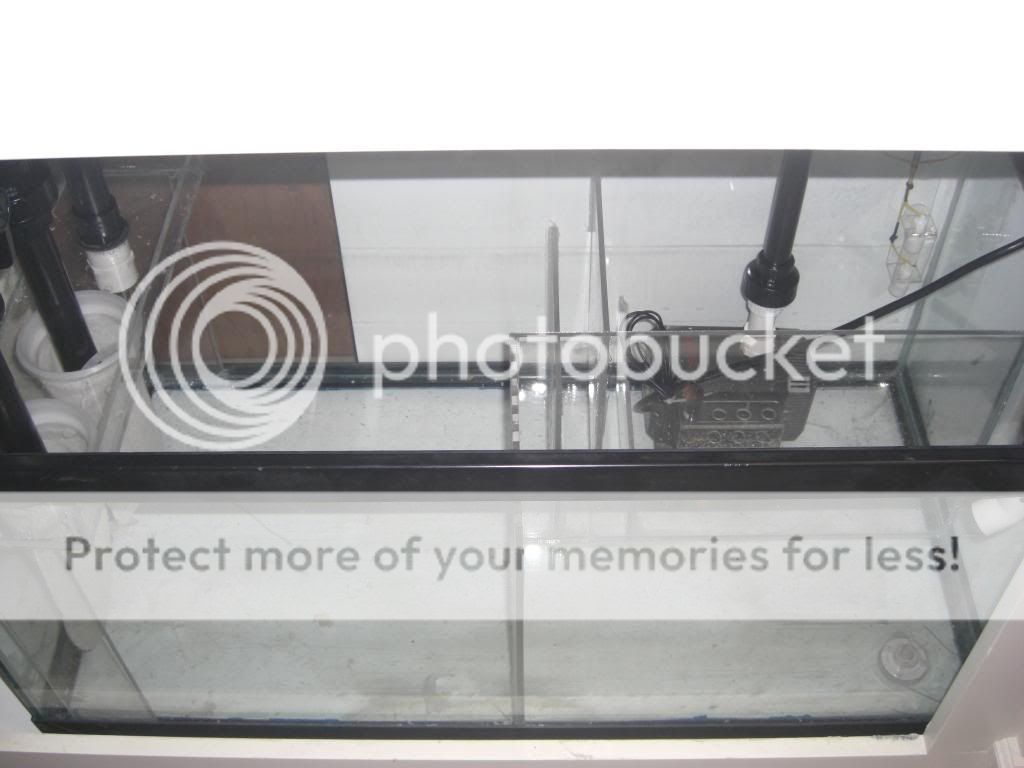
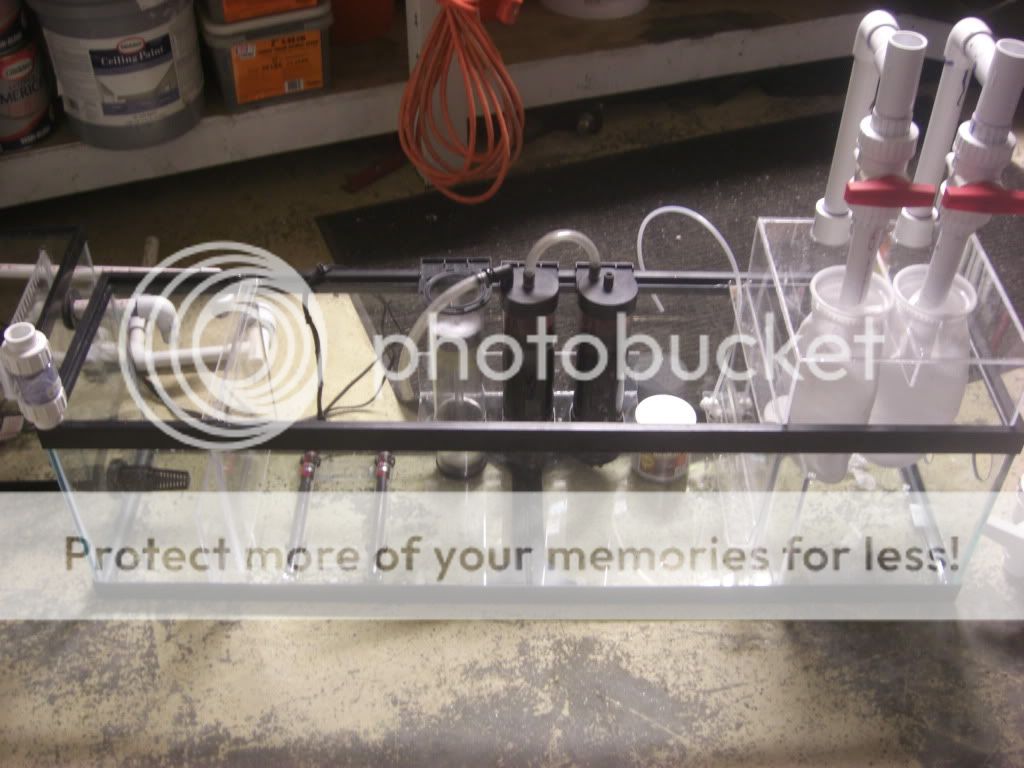
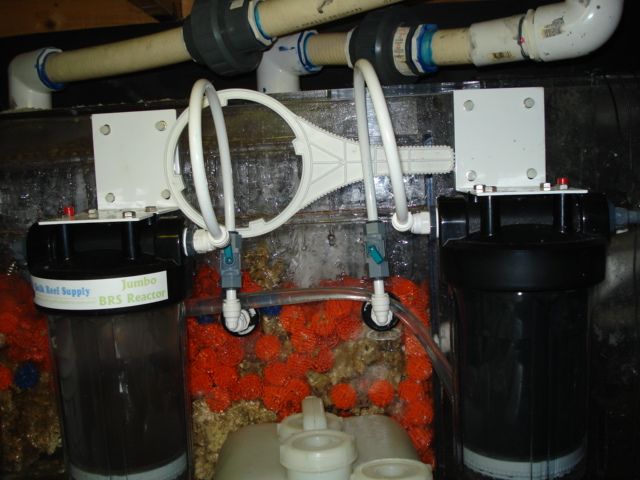
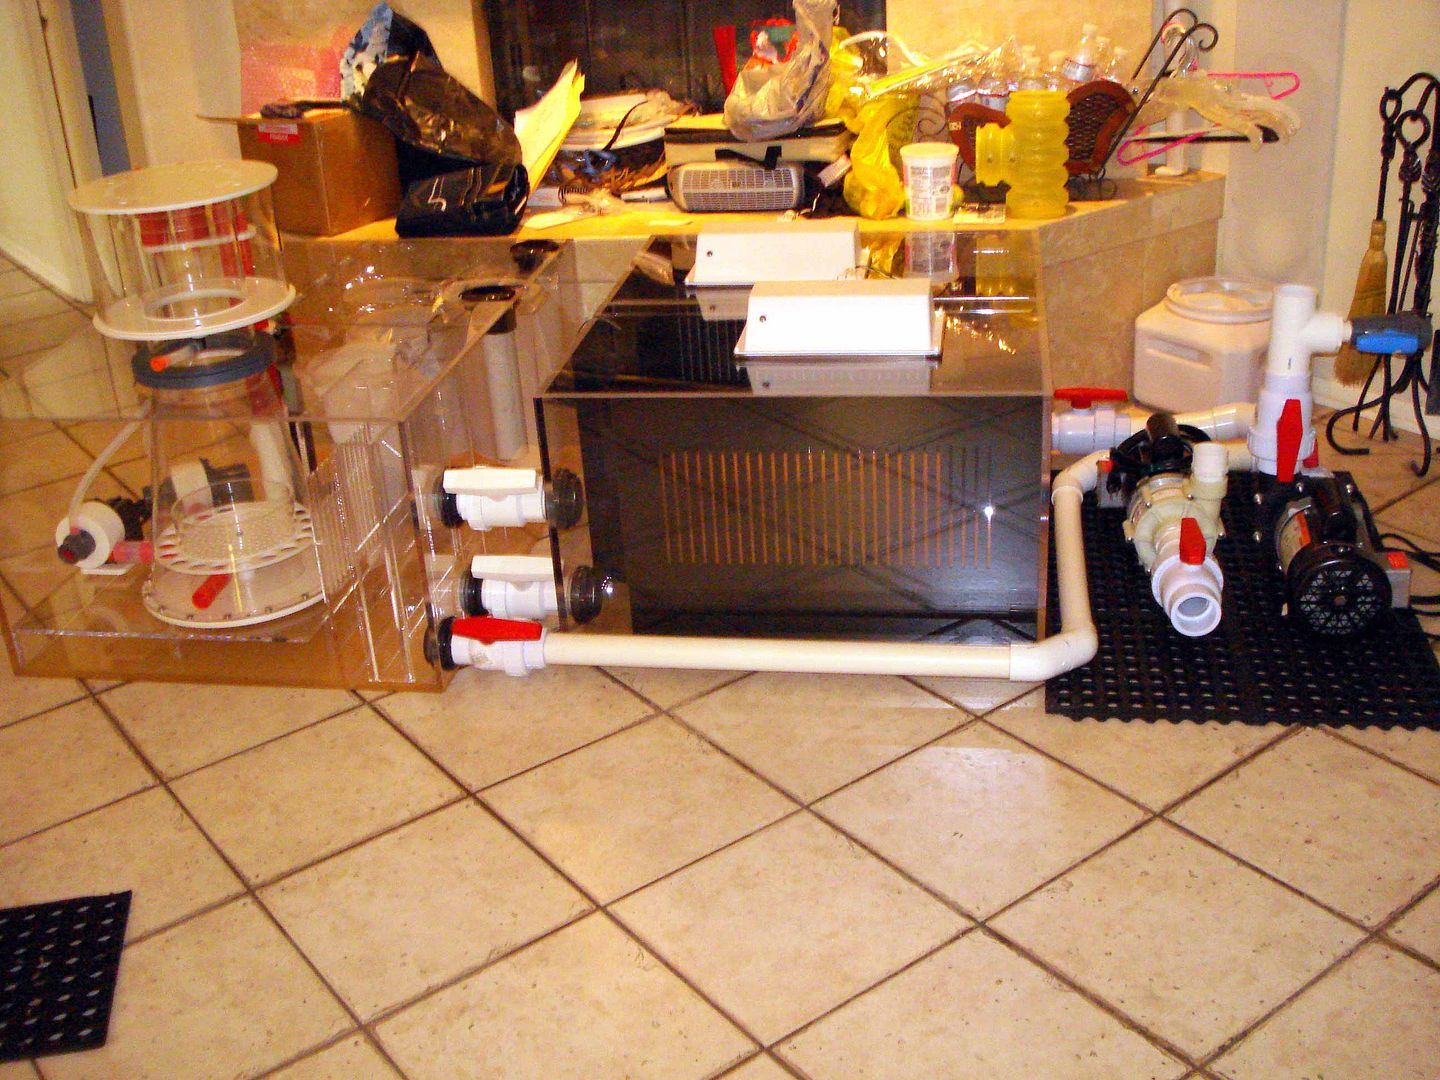
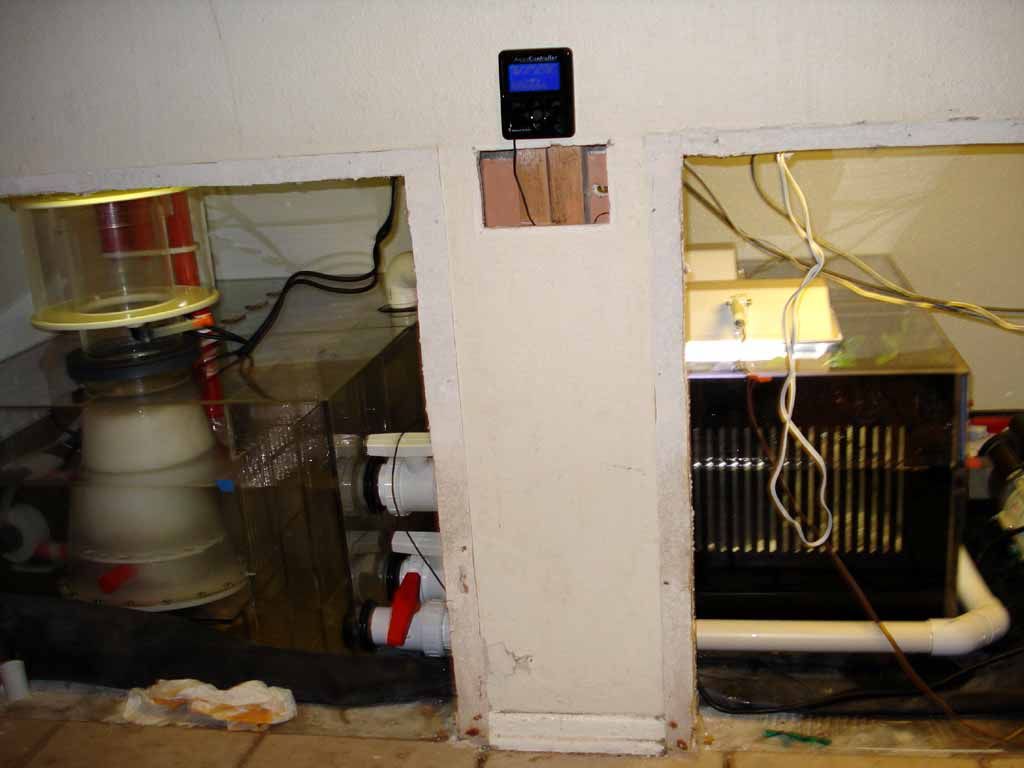
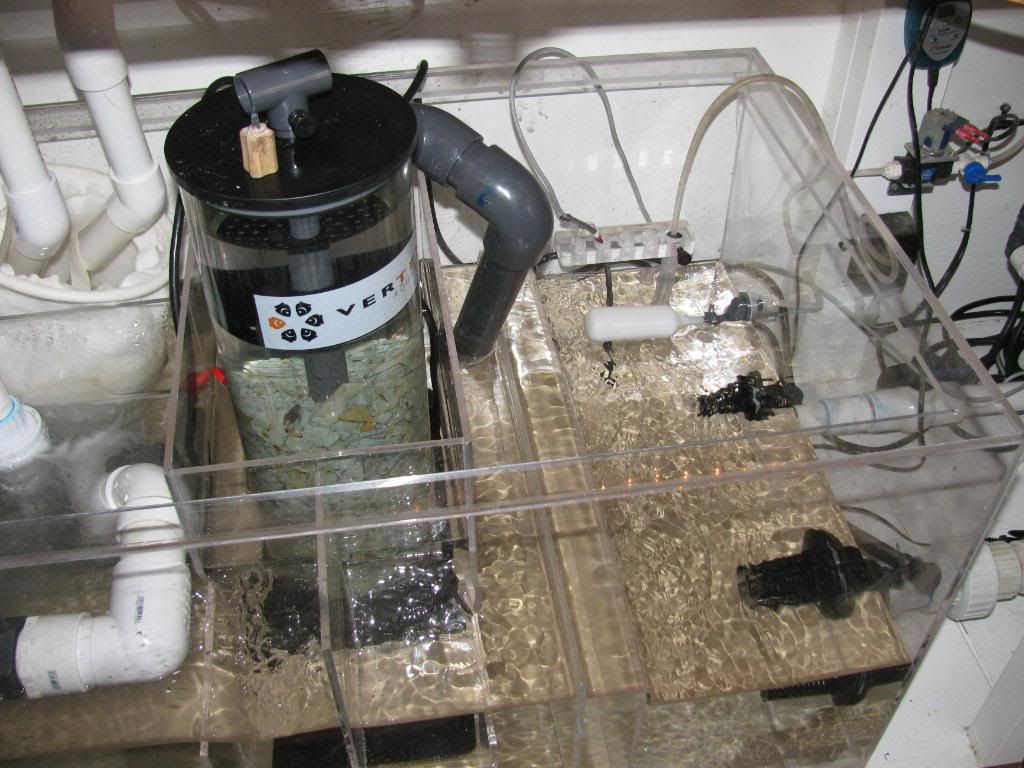
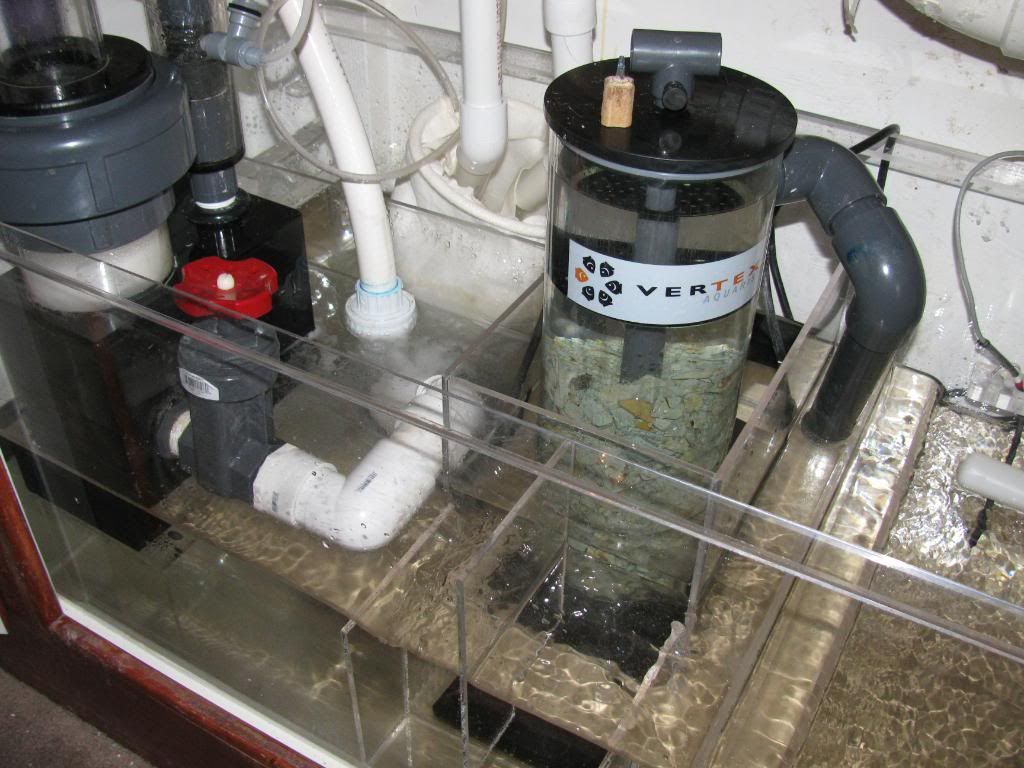
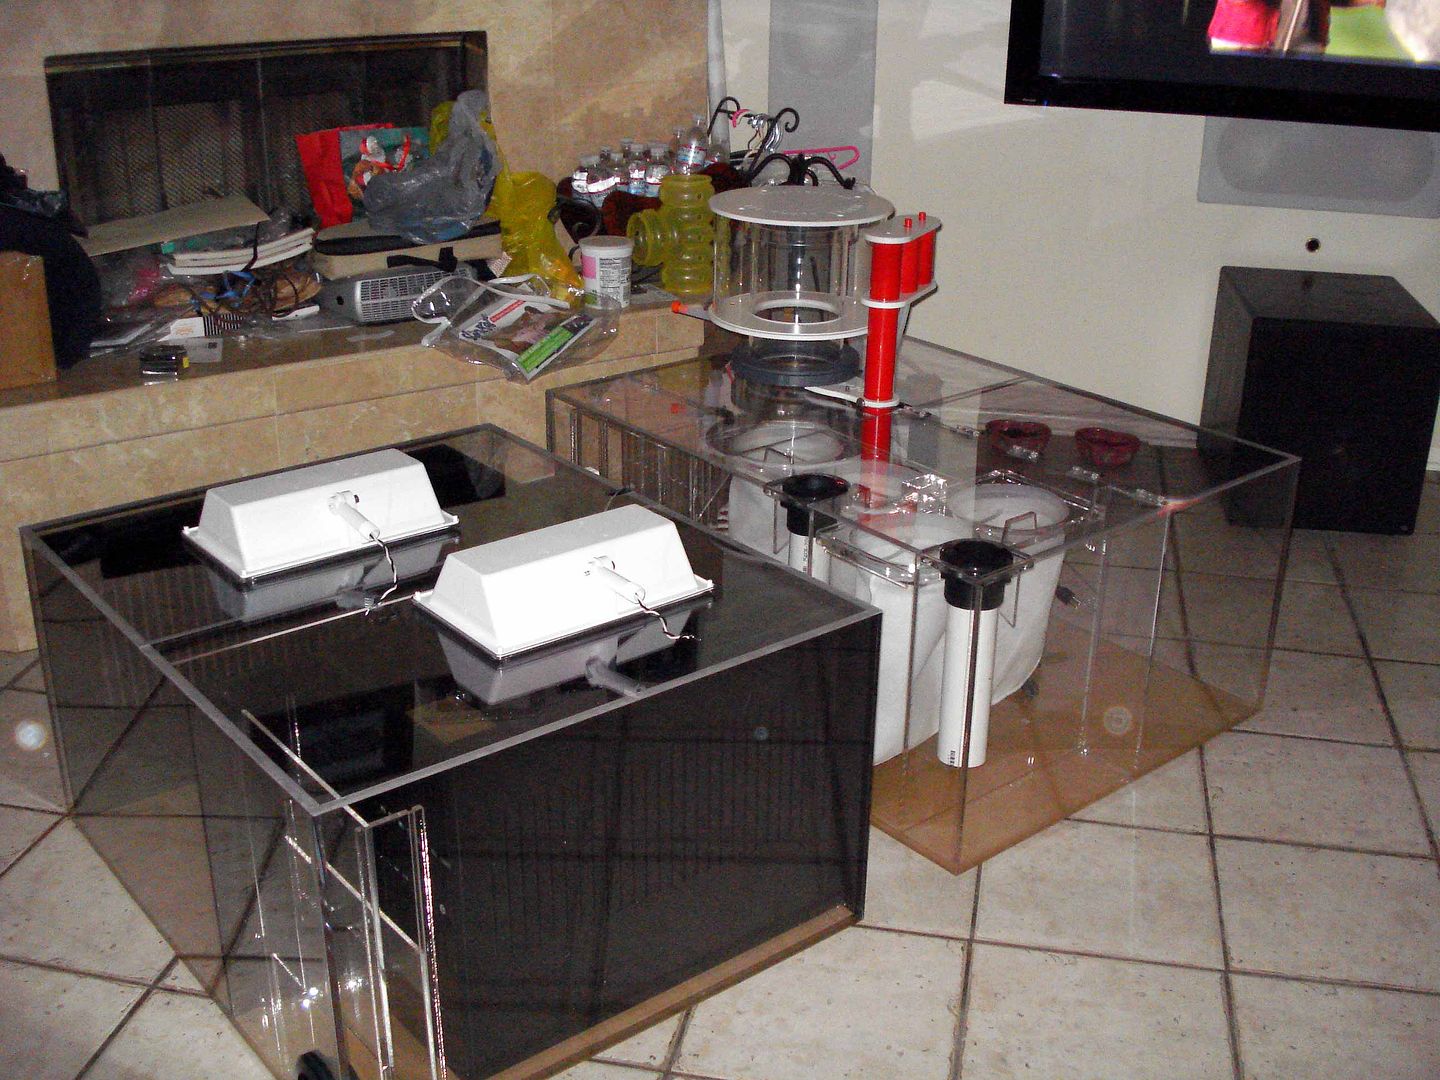
Since the tank was not going to be torn down during the retrofit, I not only had to worry about the new sumps fitting through the doors but also had to have most of the plumbing done prior to tearing out the old sump. Having the pumps plumbed prior would eliminate most of the down time. Here is the new sump and fuge all plumbed up and ready to go under the tank.

Sump-and-fuge2.jpg


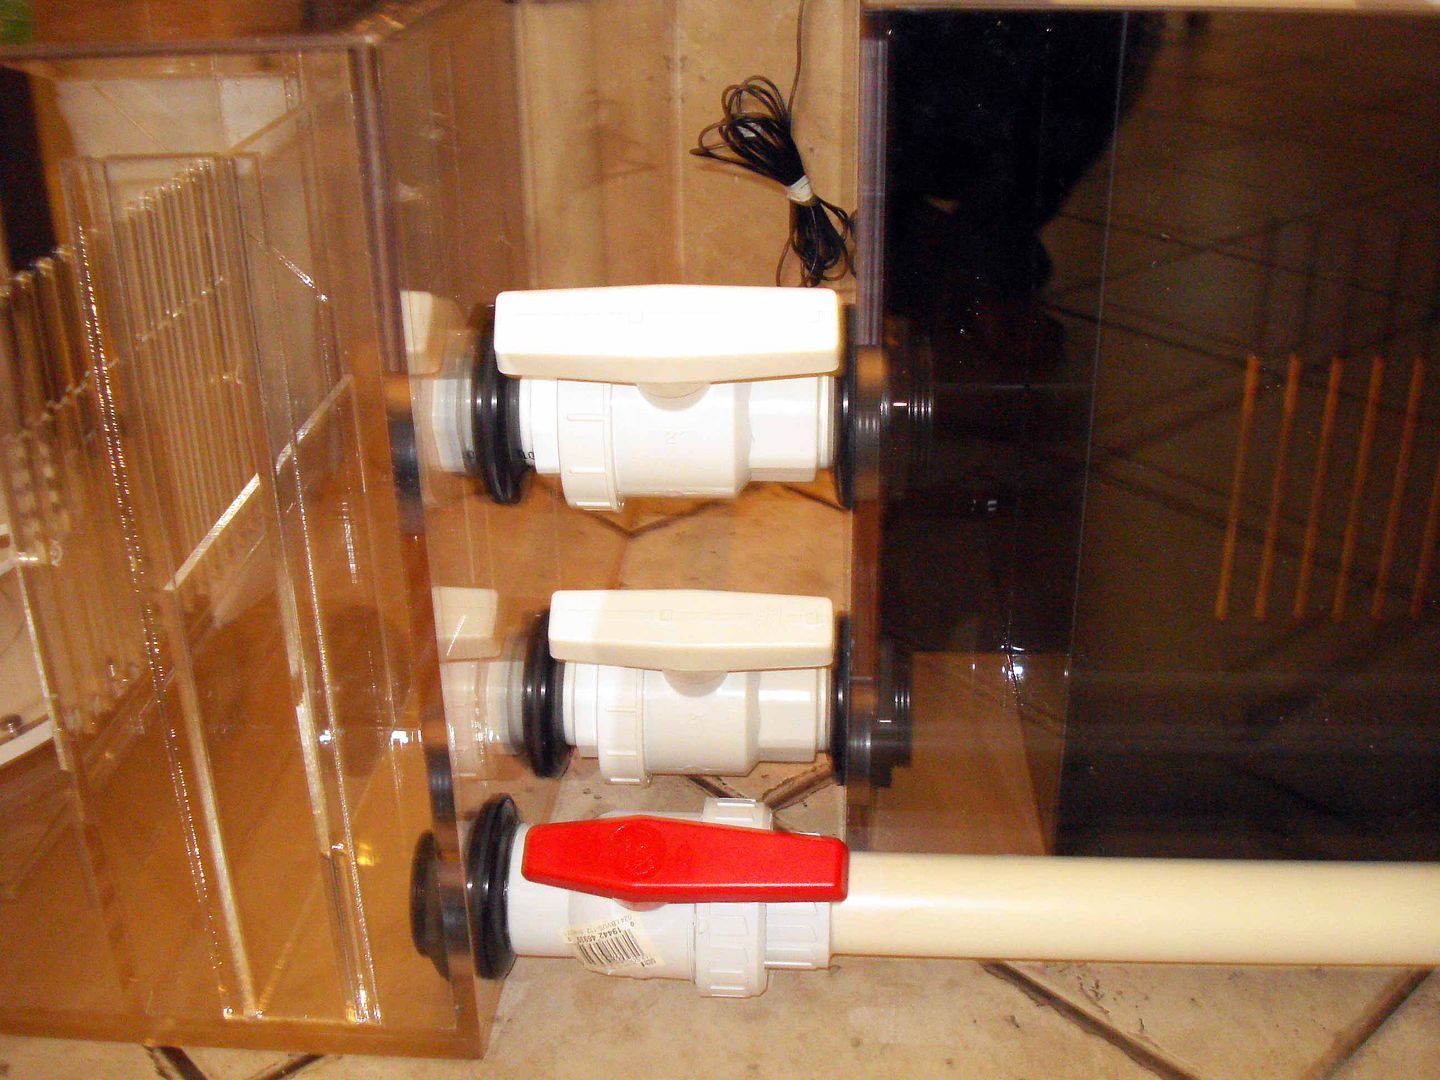
A look at the plumbing between the sump and fuge. You can see the bypass line which when the valve is open directs water to the return pump bypassing the fuge.
Unions.jpg
 
Last edited:
When it was time to do the install, I got up around 5AM and shut the pumps off and removed the pumps and old sump. It took me all of about an hour to get everything out from under the tank.
Sumo-removed.jpg


All the drywall was removed. Insulation and sound proof drywall was installed to help contain some of the noise from the pumps and sump. I also added a pond liner to the floor as well as FRP to the walls under the tank.
Drywall2.jpg


Pond-Liner.jpg


Next was time for the sump install which went like clock work. I think the whole tear out and install took about 8 hours during which time I had power heads running in the tank.

sump-done-both.jpg


The sump has about 300 pounds of live rock. The fuge has 2" of fiji rock mud and 2" of live sand as well as live rock rubble. There are also 10 or 12 magroves and whatever algae wants to grow in it.


sump-done-fuge.jpg


Sump-switch.jpg


A peak inside the fuge
DSC01698.jpg


Mangroves
DSC01693.jpg


Aqua-UV2.jpg


All said and done, there is not a thing I would change with my setup. It works great and my tank is happier and more stable than ever. My power bill was cut by nearly 50% by the pump change and reduction of pumps. I do have a pretty complex support system which includes an Apex controller, 100G of RODI and 100G of fresh mixed salt water. My water changes (25G per week) are 100% automated via a litermeter 3 and second add on pump. My top off is automated via my Apex using redundant float swithces. I have water on the floor sensors as well as all kinds of fails afes including salinity monitoring, PH, ORP temp etc along with solenoid valves to provide backup failsafe measures.

If you would like more info on my tank, click my user name and under the contact tab is home page. It links to my build thread here in the large tank section.
 
very nice slief. It looks complicated.

Its more simple than it looks.. I did however put the wrong drawing up. The one I posted was a preliminary design. This one is a step away from the final design.
Both-sumps.jpg


Here is another view of the sumps. The water enters the sump through the bulk heads and pvc pipes into overflow boxes which eliminate microbubbles before dumping into the socks. There are air traps at the end of sump one and the fuge which are removable. I opted to have them removable in case I needed to make adjustments to their height. You can see them pretty clearly in the picture below at the end of the fuge. They are not illustrated in sump 1 in the drawing above but are shown in the fuge (sump 2).
Both-Sumps.jpg
 
Last edited:
Here is mine. Designed to fit well under my 40B:
sump2_n.png


normal_40B_102.jpg


I wouldn't change it, I like it and it functions excellent for me :).
 
Why do people make the return section so big. I would think that making the return section a little smaller and expand the refugium section a bit would be more beneficial.
 
The smaller the return section is the more frequently you have to top off. If your topoff is automated then its not a big issue unless something malfunctions. Better safe than sorry.
 
Back
Top