Mysticalknight
New member
TBD usually means To Be Determined
wow, speechless.....however, question: it appears that $ are not much of a factor here, and sps' are the top priority. why leds, which have an uneven record with sps', and not MH/t5s to ensure success.
WoW, this is gonna be cool! What exactly do you mean with TBD? Does that mean 'To be done'? haha ;p
TBD usually means To Be Determined
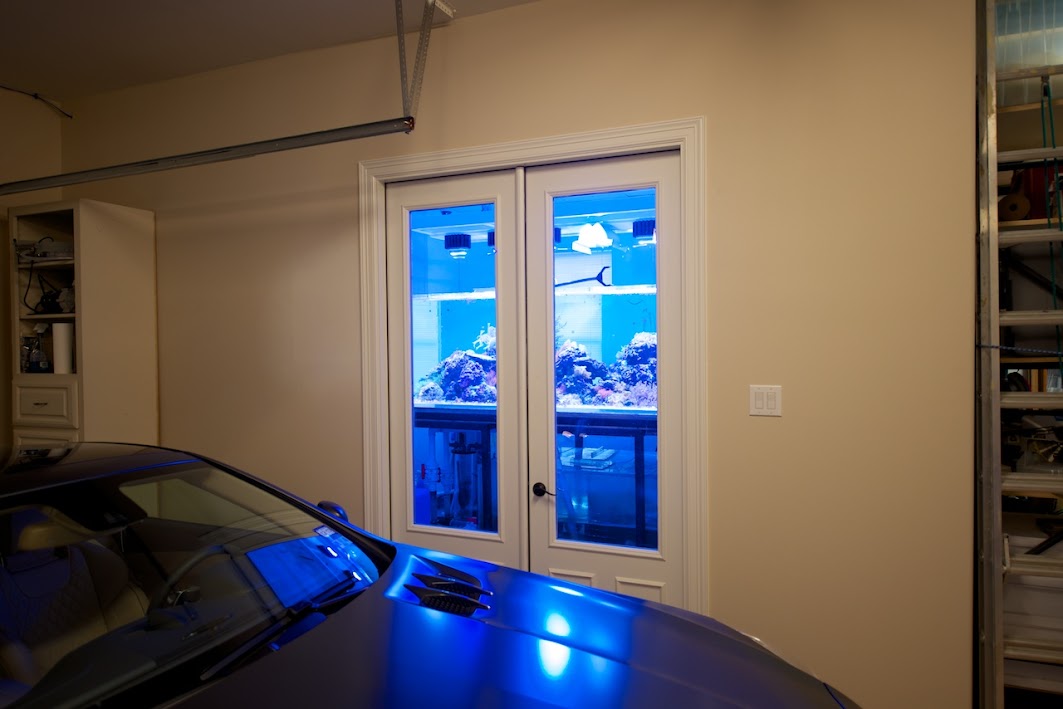
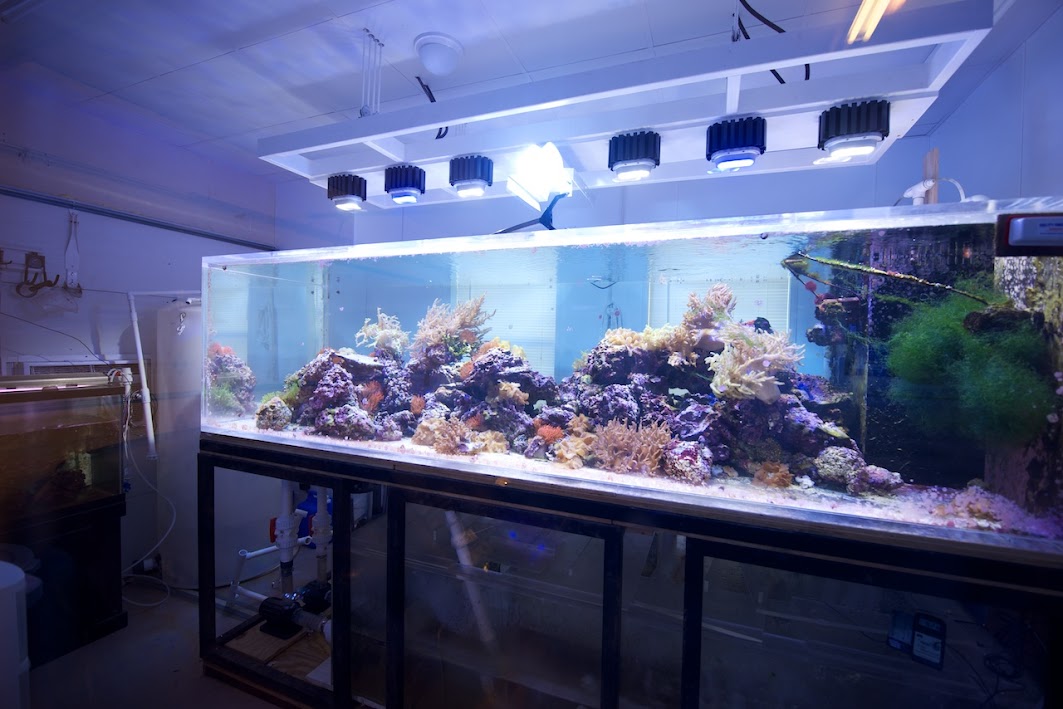
Clearly you put a LOT of thought into your sump design. Very nice. And yeah, when a crane is involved with unloading the tank, it's an epic build project. LOL. Beautiful home. I wholeheartedly agree with your ideas so far. It sounds like you are walking the same path as Dan's Arizona build. I'm looking forward to your progress.
Six 32" filter socks ....???? I'm thinking you meant different diameters. Are they 7" socks?
I can't wait to see more on this build. It looks incredible!
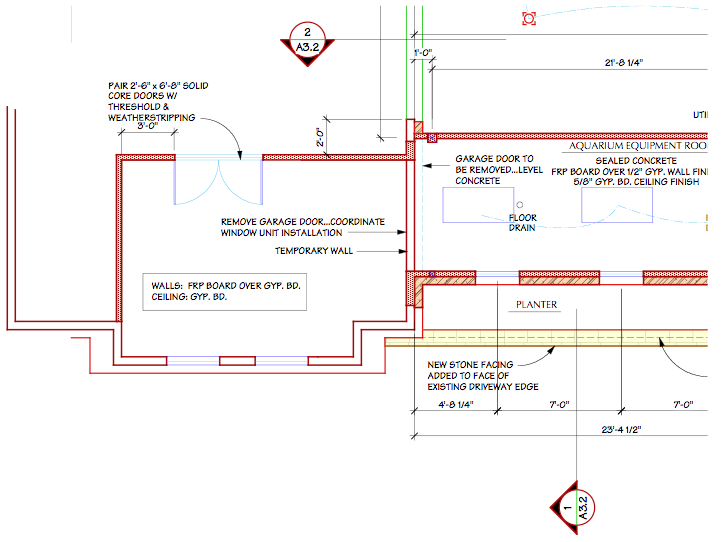
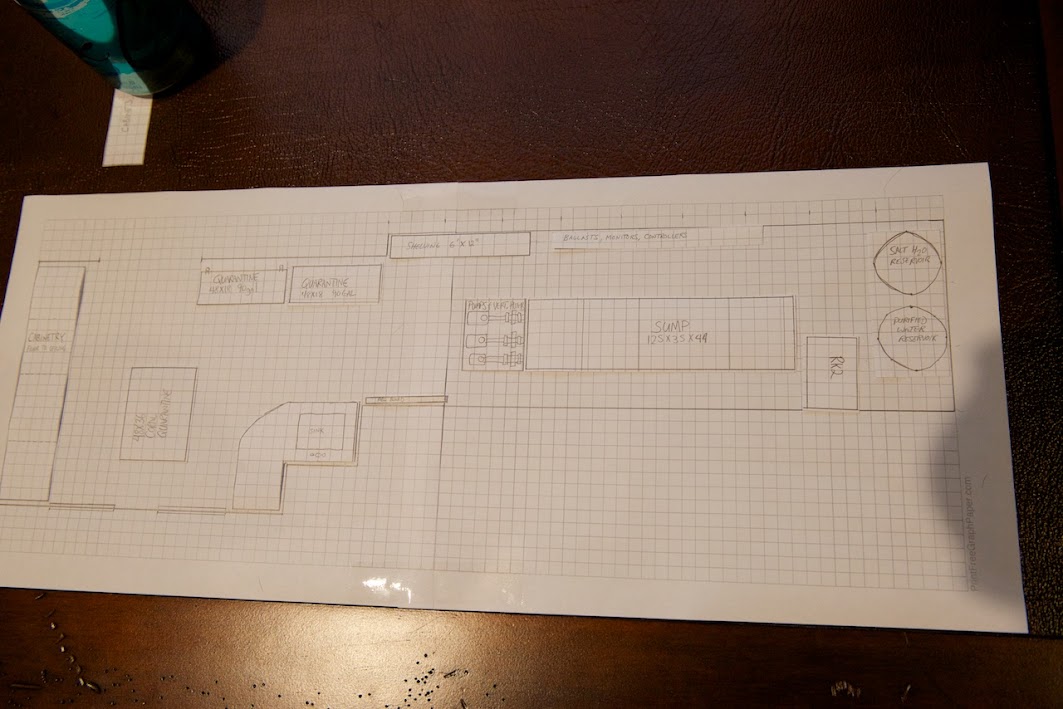
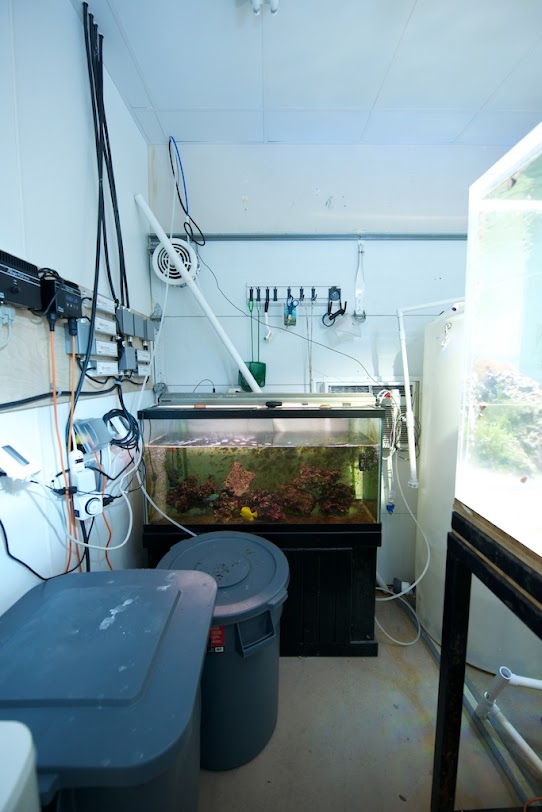
4. Better Salt Mixing Solution - Our previous fish room had a 7' tall reservoir for mixing salt. Every water change entailed hauling a 60-odd pound bucket of salt up a stepladder then trying to carefully pour the contents of the 12" diameter bucket into an 8" opening. I really don't want to do this twice a week for the life of the new tank. Still working on my solution for this requirement.
Sweetness.
1. Careful with Starfire glass it can scratch too. Nothing like Acrylic, but if a big piece of frag brushes against Starfire it will leave a mark.
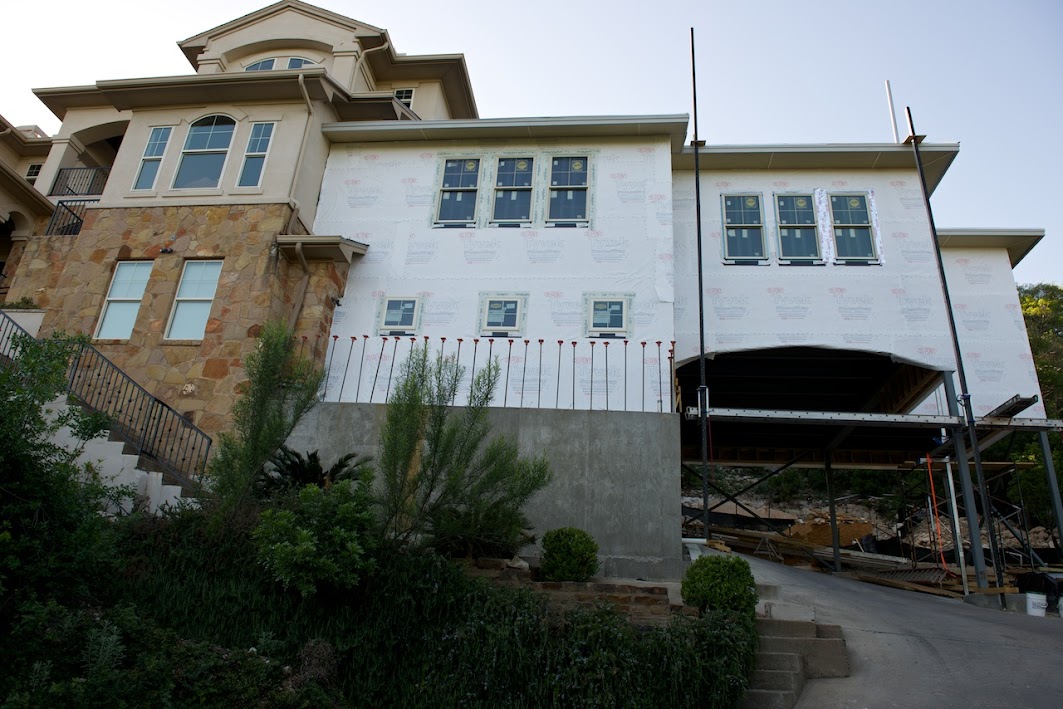
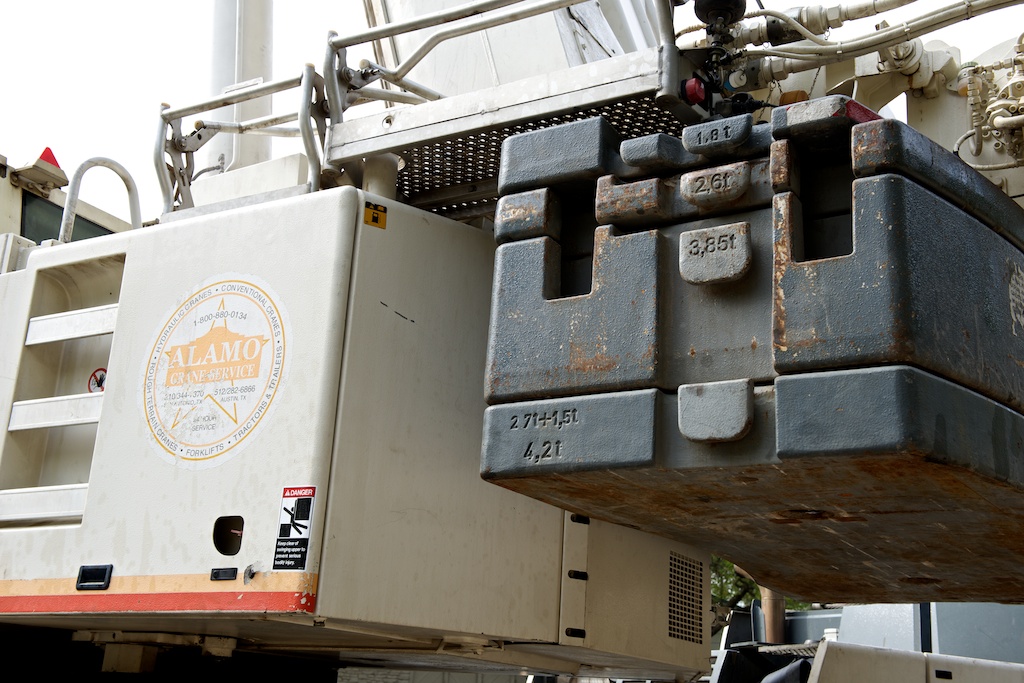
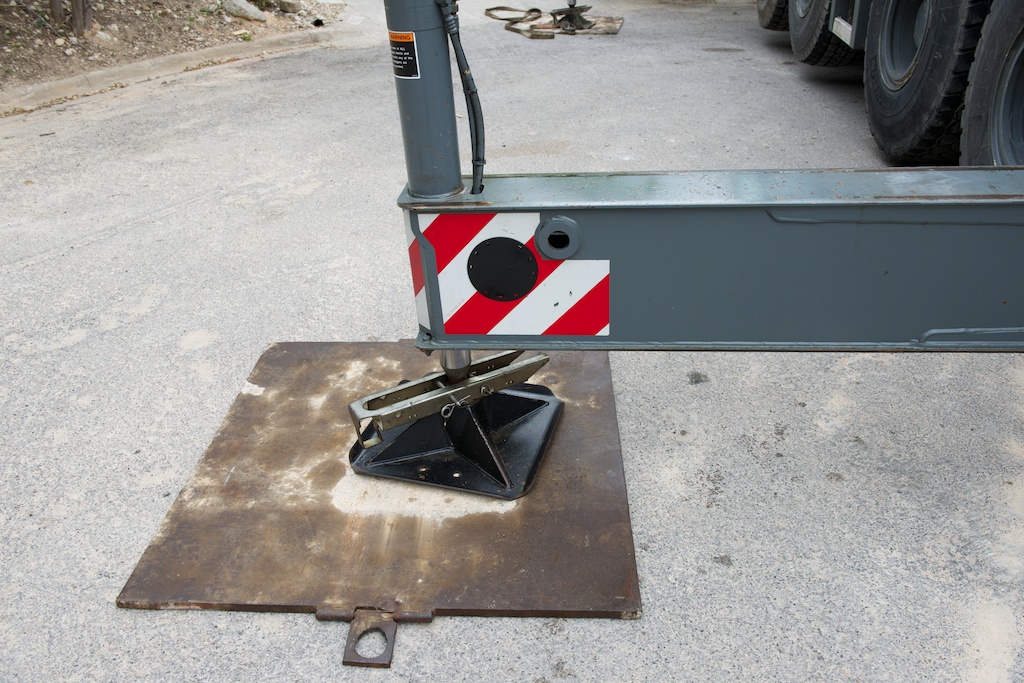
2. You know you have a real tank when it takes a 100 ton all terrain crane to install it !!!
OK so this is an easy one.
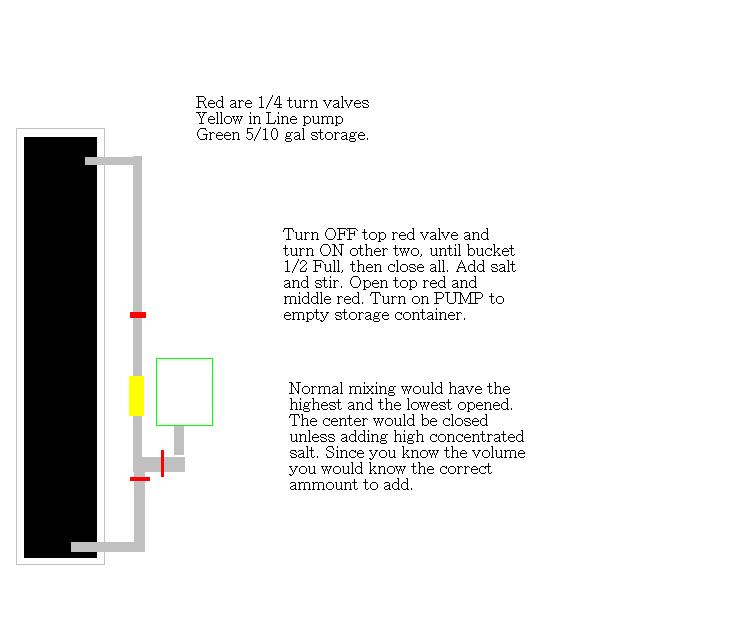
Take two gated connections. A single inline pump, also. In between this place a smaller 5/10 gallon container. Set it up so that you can fill it with water from the Salt storage. . .