40G Breeder Build

balto777

New member
After having a 20g High for about 3 years and then switching over to a 20g Long for about 3 more years, I finally decided it was time to upgrade the size of my tank. In addition, those 6 years have been spent without a sump, and I plan on fixing that situation also.

So the plan is to go with a 40g Breeder with a 29g sump. I chose the 40g Breeder because I like the size, shallow depth, and the fact that my oversized light on my current 20g Long can fit on it. I originally was going to use a 20g Long for the sump, but felt the extra height from the 29g would give me more room for drain water, etc.

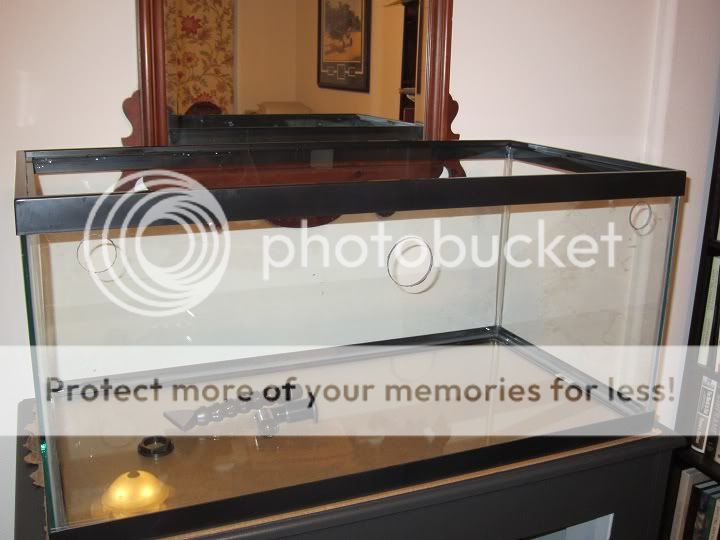
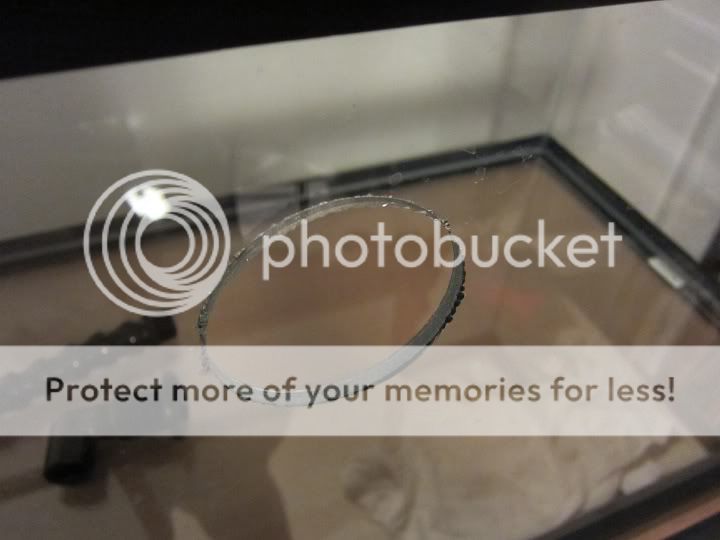
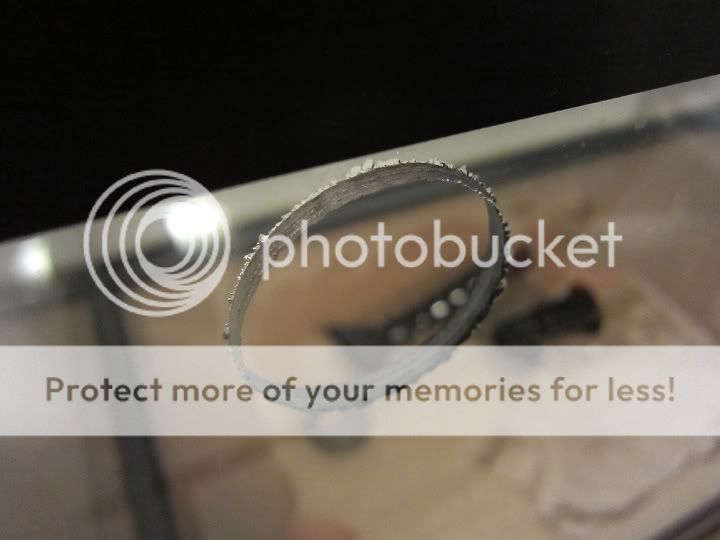
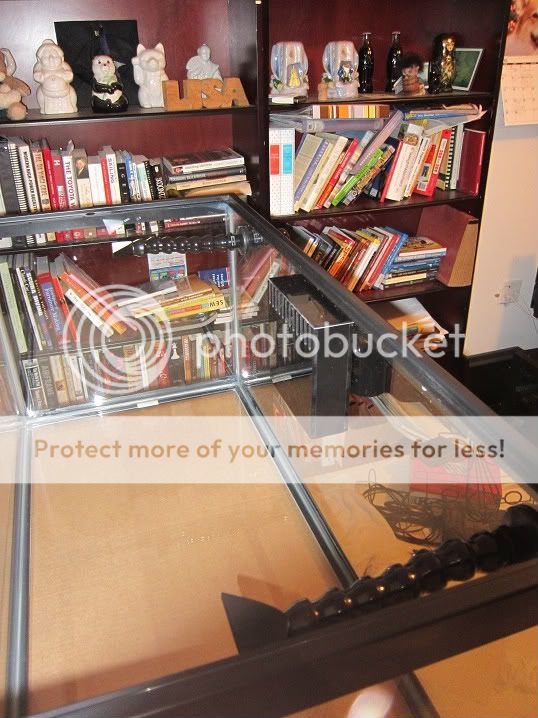
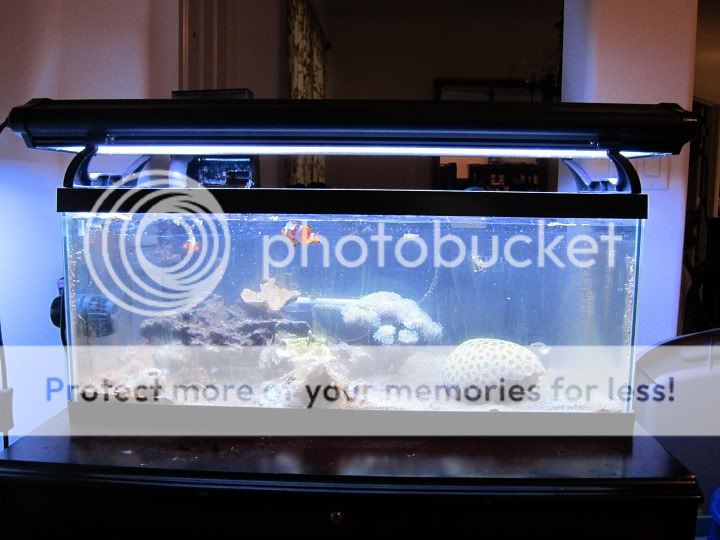
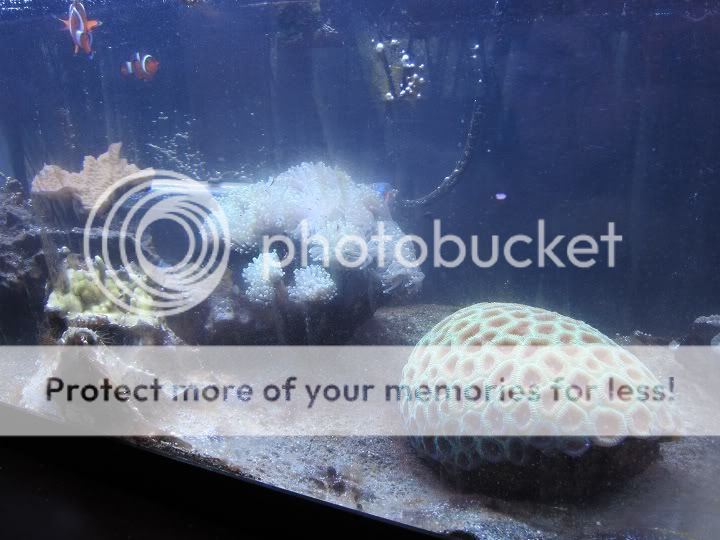
First, to give you a baseline of where I am coming from: here are a couple of pics of my current 20g Long. I am not proud of it, and it has pretty much gone to :thumbdown over the last 6 months - hence why I finally got the wife to say yes to a new and bigger tank. It is really dirty, so please excuse the mess . . .

FTS.jpg

UpClose.jpg


Now the plan so far is the following:
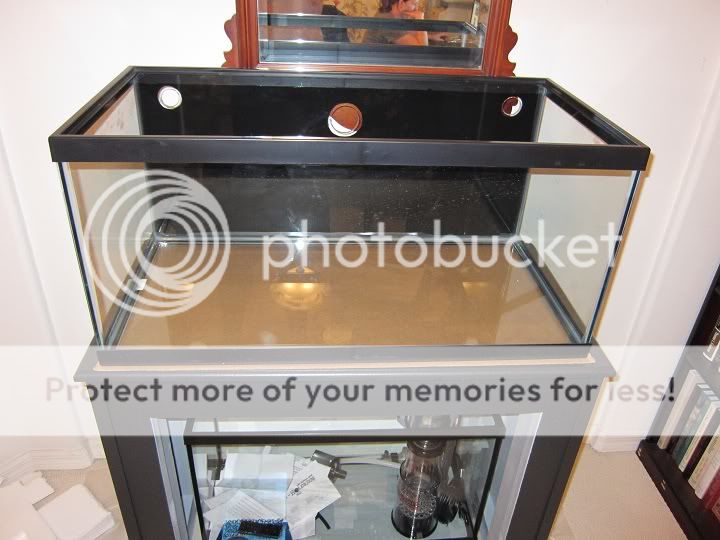
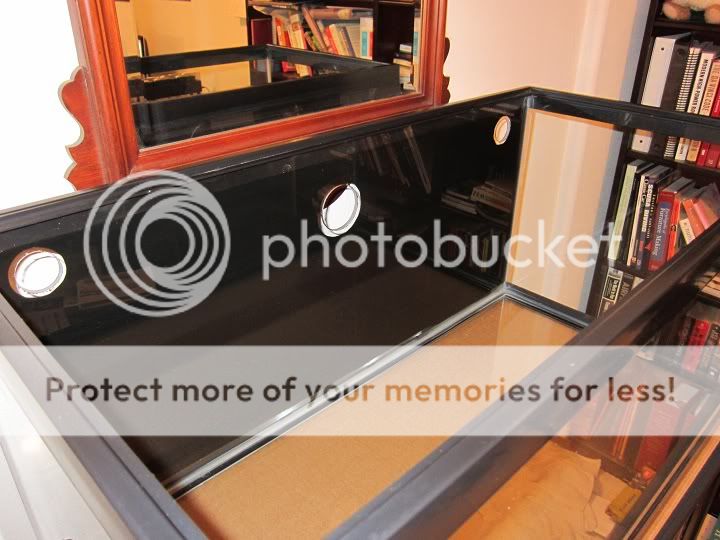
40g Breeder Display Tank
29g Sump (Divided into: Refugium > Return < Skimmer)
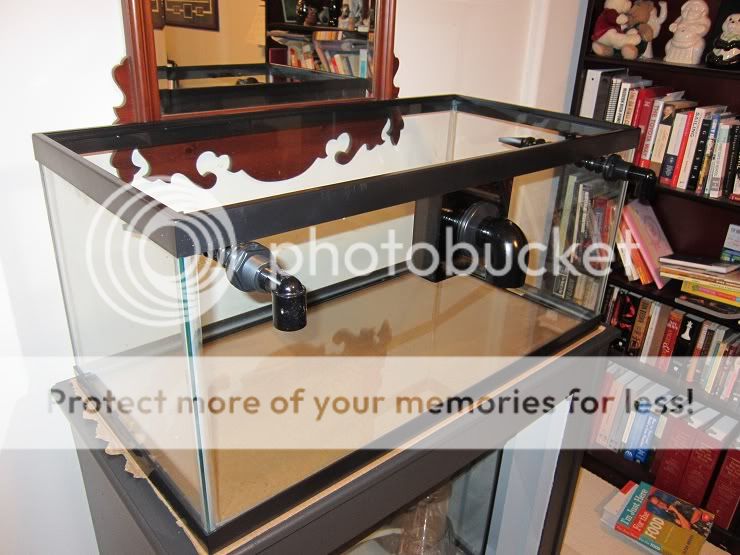
Glass-Holes 700GPH Overflow
2x Glass-Holes 3/4" Returns
Danner Mag 7 Return Pump
Reef Octopus SRO1000Int Skimmer
Wave Point 36" 4 Bulb T5 Lighting
Vortech MP-10ES

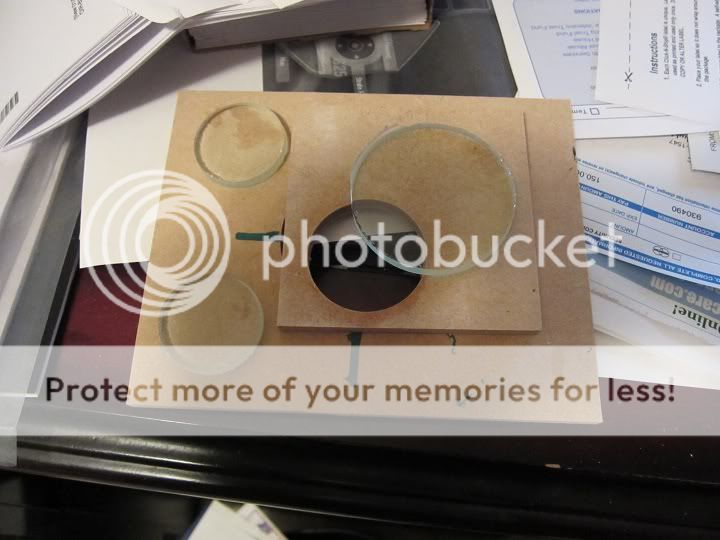
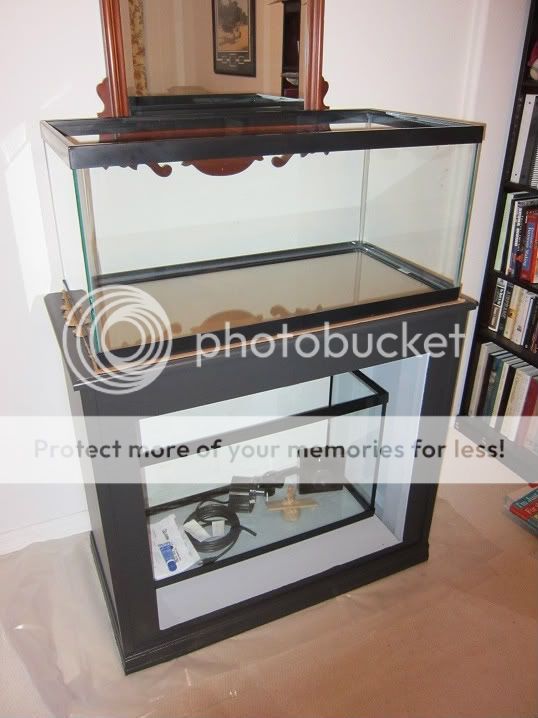
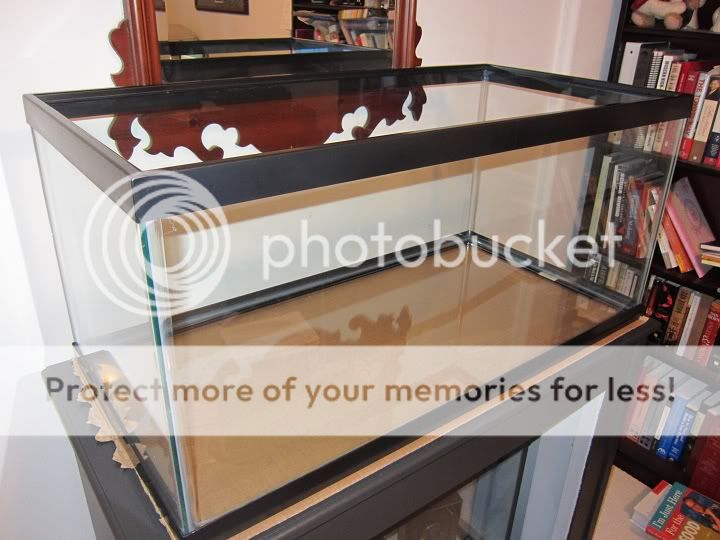
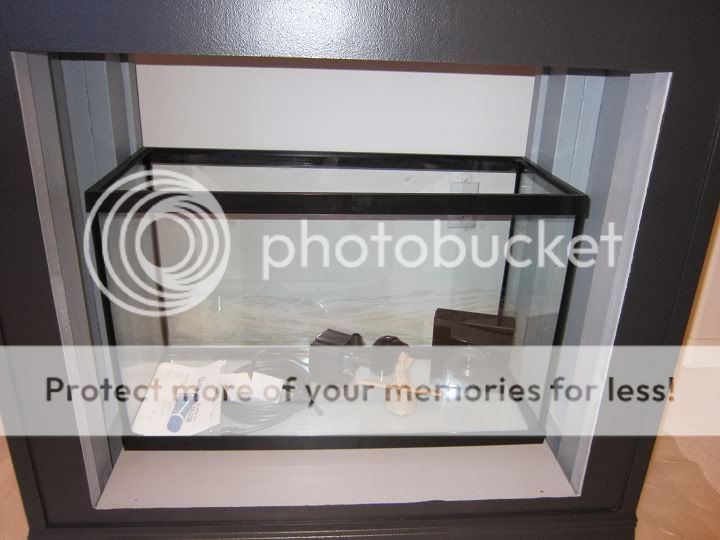
Some of the stuff I have already bought and some is being used on my current tank. I should have all of it here by next week. Here are some pics of the new stuff, including the stand I built from the DIY stand thread here on RC. :D (Still planning on putting doors on the stand in the future.)

Full.jpg

Tank.jpg

Sump-2.jpg


I also have 40lbs of BRS Pukani dry rock coming. Curing this and making sure the phosphates are in check might be what takes me the longest time to get this thing wet, but I am hoping to have everything in and filled and starting to cycle by the end of May.
 
My skimmer got here yesterday . . . yeah!!!

Also, my second part of my Glass-Holes order came in today . . . so now I am halfway through drilling the holes. (Only halfway because my batterie died halfway through the third hole and is charging as we speak.)

On drilling an aquarium (this is my first time):

1) My most time consuming part was determining where the holes would go. I wanted to be perfect, so it took me a long time to get them just right.

2) I drilled from the inside. (Lucky that the 40g Breeder is wide enough to do this.) This left a perfect edge on the inside, so I didn't need to worry about chip out on the side that is holding water.

3) The drill guides (correct size holes drilled in 1/4" board) are lifesavers. Very easy to clamp to the surface to start the holes. I had absolutely 0 scratches outside of the holes.

4) About chip out. I was a little worried. So after the hole was halfway drilled, I covered the exit side with duct tape to hold the glass in place while drilling through. This had two benefits. First, the weight of the glass was held into place even when there was only a little bit of glass left to drill which minimizee chip out. (I had VERY LITTLE chip out.) Second, any chip that did happen came off on the duct tape, so it didn't pollute the tank.

5) I was very nervous all day today. All the special directions on this forum seem to make drilling a tank a hard thing to do. I would literally rate the hardness of drilling a tank on a scale from 1 to 10 as a 2 (maybe a 3). Don't be afraid to do it as long as the glass isn't tempered. I will definitely do this from now on.

Pics coming when I am done and cleaned up.
 
Here are the pics. The chip out of the holes look pretty bad in the pics (guess I should have used a worse camera), but it is actually a very small amount of chip out. You can run your finger over it and barely feel anything at all.

First pic is the whole back of the tank. One hole for a 1 1/2" bulkhead drain in the middle. Two holes for the 3/4 " return lines on either side.
OutsideHoles.jpg


Next, a close up of the large center hole.
BigHole.jpg


And one of the smaller return holes.
SmallHole.jpg


The back with the equipment installed.
Outside.jpg


The view from the inside.
Inside2.jpg


And the obligatory glass disk shot.
Blanks.jpg
 
I will definitely be following. I love the dimensions of the 40B because it is not a big tank, but it gives a lot of room for aquascaping. Sounds like we have a similar set up as far as equipment. I wish I would have went with the dual return lines though, like you did. I quickly find out that just one return line is not enough to ripple the entire surface of the water.
 
I run a glass holes on my 40b and I love it. I wish I would have went with the 700gph over the 300gph. It isnt bad for noise at all
 
Not much happening today, so I decided to paint the back of my tank black. Came out pretty good. I got a nice thick coat of Rustoleum Flat Black Oil-Based Enamal on it. Rolled it on the back and used a brush to get near the frame.

BackPaint1.jpg

BackPaint2.jpg
 
I trial fit the bulkheads after I painted, and I guess I left a little too much space without paint around the return holes. (The middle drain hole won't matter since it will be covered with the overflow box.) You can see a slight sliver of clear around the bulkheads when they are in, but only just barely. Don't want to chance repainting it, though, since I heard that the paint can come off if repainted after it is dry. However, since the tank will be up against the wall, I am not too worried about it showing through anyways.
 
Very cool and I like your plan. Thought about a 6 bulb set up for the lighting?

jeeeust throw'n it out there. This is gonna be fun either way.
 
Very cool and I like your plan. Thought about a 6 bulb set up for the lighting?

jeeeust throw'n it out there. This is gonna be fun either way.

Actually, I am thinking about one of the DIY led light fixtures from RapidLed. But that won't probably happen until later this year. Until then, the 4 bulb will have to do.
 
I have had my 40 breeder for over a year now and have to say it is a great sized tank. I had the same set up with the 700gph glass-holes overflow and 2 returns with a mag 7 and to me seems pretty quite. I hear my MP 10 more that the water going through the overflow. You will enjoy that set up though very good dimensions for a reef tank. I have the same skimmer you have too and it pulls out tons of junk from the tank.
 
Ticklem, Do you have a pic of how your 20L sump is set up. My 29G has the same footprint, and I would like to see how you have your skimmer situated in it. Thanks.
 
I am doing a 40B now with an eheim 1260, gl*******s 1500 gph kit and 6 bulb ATI sun power-I cannot wait to get it up and running-I just need to find the time to finish my stand. It is 40" high for a great viewing angle!
 
NickC5FE, I was originally going to go 40" high for the stand also. I ended up bringing it down to 36" because I wanted to make sure I could go over the top of the tank and reach the bottom without a stepstool. I wouldn't mind seeing a pic of your stand when you are done to see how the tanks sits that high up.

Well, my perfectionism got the best of me and I ended up painting the return holes all the way to the holes themselves. The only bulkhead seal rests on the inside of the tank, so the paint will not interfere with the seal. Here is a pic of the change.

RedoneHole.jpg
 
Back
Top