40G Breeder Build

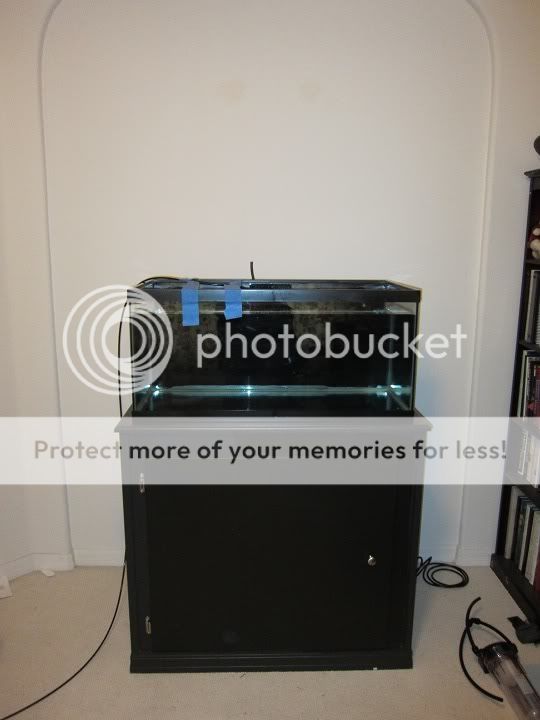
I have had a lot of time on my hands waiting for the silicone in the sump to fully cure. I am giving it 10 days to make sure it is completely done, then I will fill the tank with water. 10 days will be this Saturday, so expect some big updates this weekend.

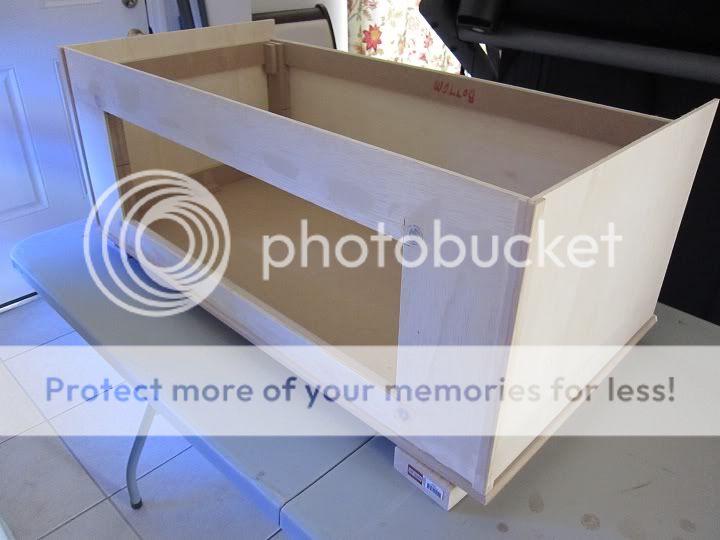
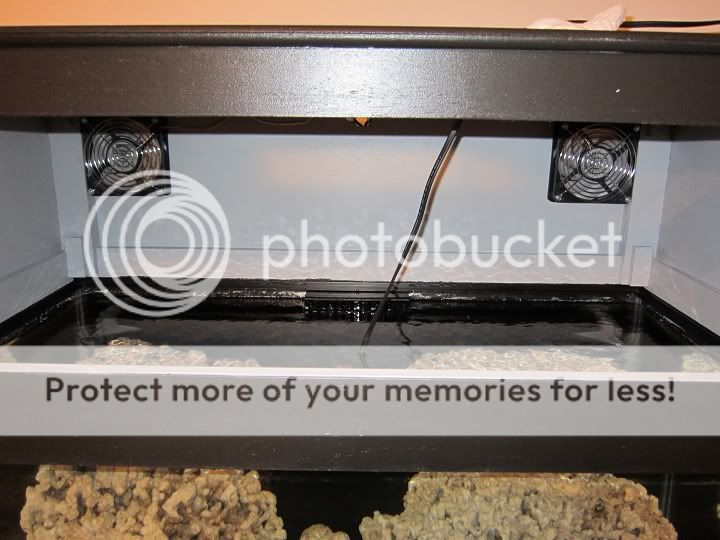
In the mean time, I have pretty much finished the canopy that I decided to make on a whim. It still needs a final sanding and painting, but it is otherwise complete. Also, I am still waiting for my rare-earth magnets to come in to hold the canopy door closed. Once that gets here and installed, I will post pics.

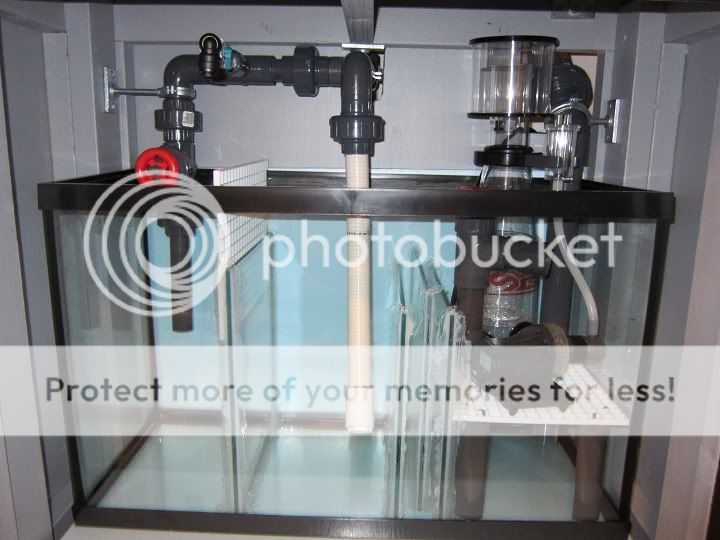
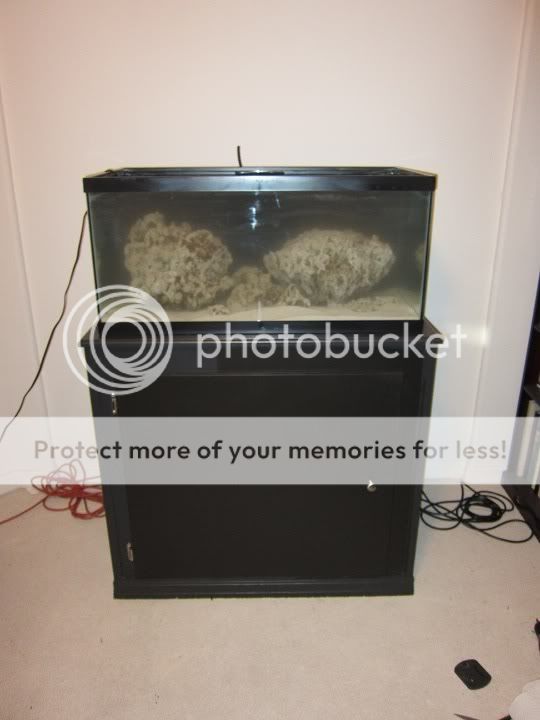
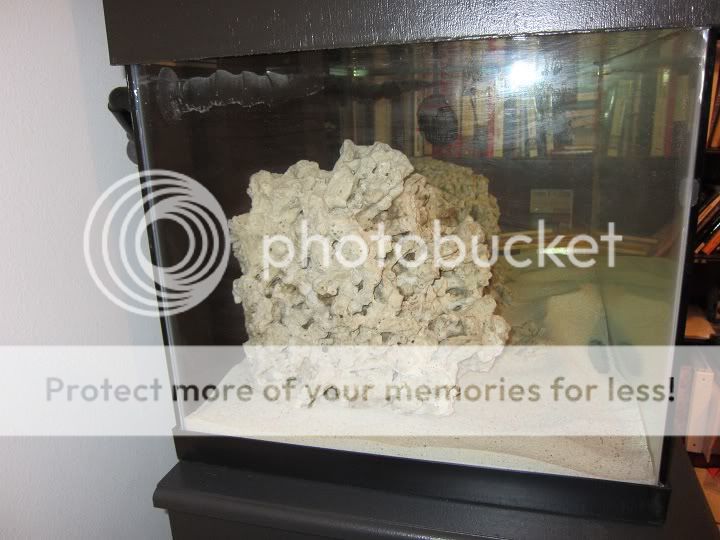
Other than that, I have been testing the water in the Brute with the rocks. It seems that my cycle is complete. I spiked Ammonia early - on approximately May 8th. I spiked Nitrite on approximately May 10th. The last two days have shown 0 for both of these measurements. I have been "ghost feeding" daily to keep adding nutrients to the system to simulate a fish in the Brute.

Since the cycle was done, I went and bought the new Red Sea Algae Control Test Kit (Nitrate & Phosphate tests) today. As expected, my current Nitrate level is starting to rise - currently at 3 ppm. Definately showing that the cycle is fully working within the Brute.

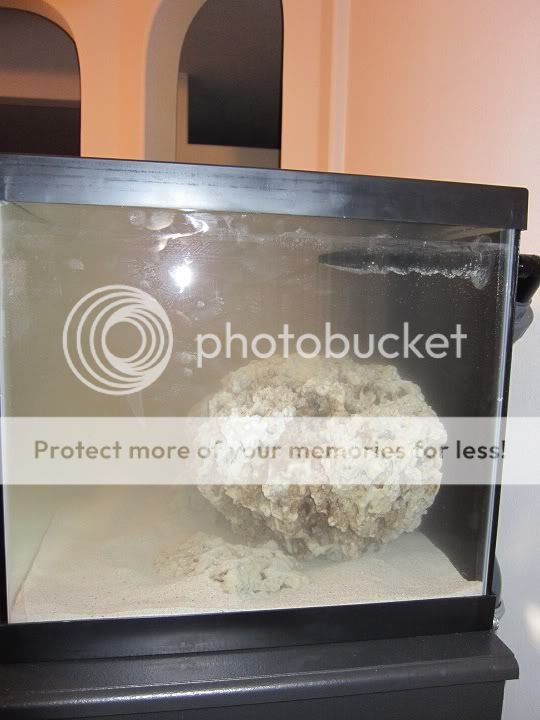
Now for the bad news. I tested the Phosphates. I know a lot of people with this rock were having high Phosphate issues - I was hoping I would not be one of them. Alas, it has been determined that I will not escape this fate. The highest that the kit will measure is 0.64 ppm. I am currently above that mark. Based on the blue that I saw, I would say that I am somwhere between 0.8 and 1.0 ppm Phosphate . . . :mad: Just to check the kit, I went ahead and measured my other "dirty" system. I expected it to be high, but it is actually somewhere between 0.08 and 0.1 ppm - a lot better than I was expecting.

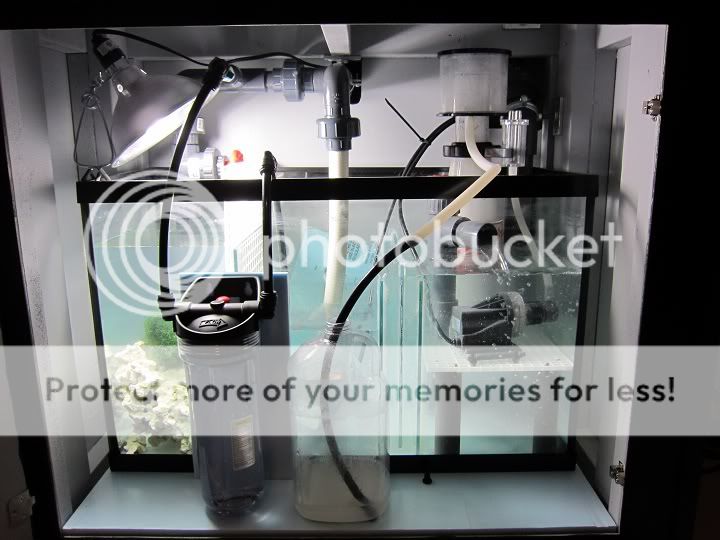
To lower the Phosphates in the Brute, I was considering using Lathium Chloride, but have decided not to use it at this time. So, I am going to do this the old fashion way. The plan is to fill up my tank on Saturday and transfer the rock into it. I will wait another week (or until the Phosphate gets rerally high again) and then do a 100% water change. I need to do this in the tank because I only have 1 Brute to mix new saltwater in. Depending on how the Phosphates rise after this, I will consider doing 1 more 100% water change. Then I will wait to make sure everything is stable and add my fish to the system. Officially, this will be a total of 2 or 3 100% water changes, which is really the same as dosing Lanthium Chloride 2 or three time since the Phosphates will be reduced to 0 ppm during each water change. In the end, this is like dosing Lanthium Chloride a total of 5 times - 1 time for the RO/DI soak, 1 time for the saltwater it is in now, and 2 or 3 more times for the 100% water changes. I will keep everyone posted on how much this method reduces Phosphates that are leeching from the rock.

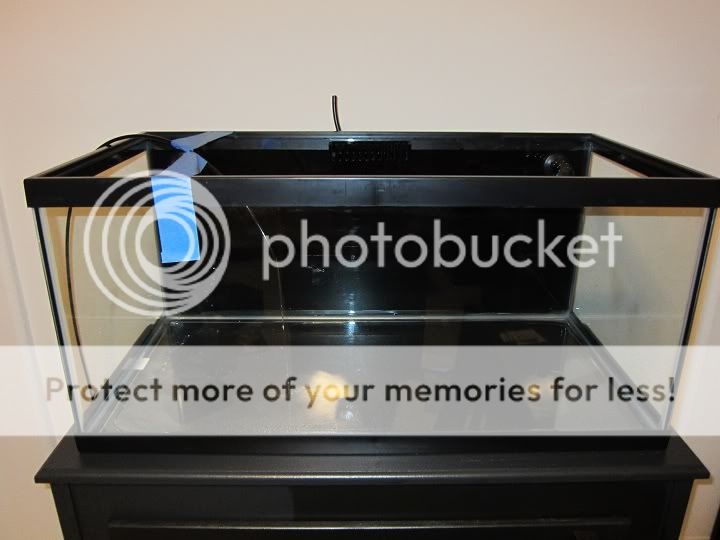
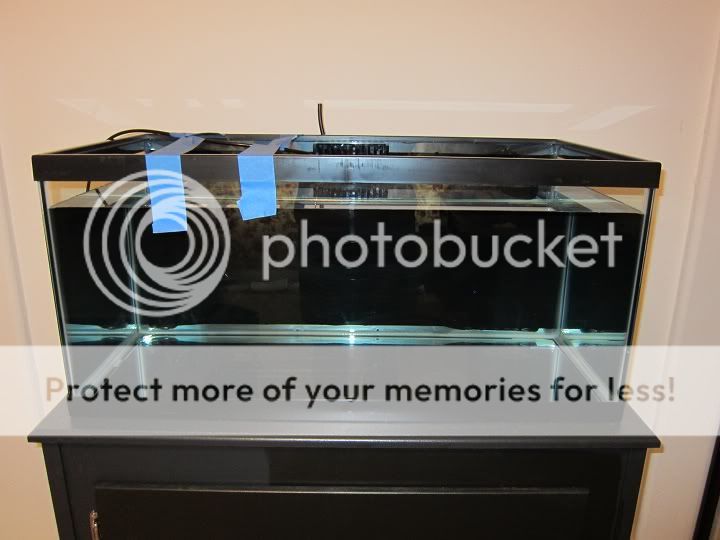
Now some good news. I also took apart my current light and found that it will be relatively easy to retrofit it into my canopy. The inerds :rollface: of the tight fixture come totally out of the fixture in one piece. Furthermore, it comes out in 1 single piece that can be easily mounted. In fact, I had it out on the table on just to make sure. Should be an easy retrofit.

Till next time . . .
 
i like using blue tape when applying silicone. Just peal is quick and dont let the silicone dry to much..

also when it comes to tight panes of glass like a bubble trap, i kinda only apply silicone on one side of the glass that touches the bottom.. i dont know if thats destined for failure but honeslty with how difficult anything siliconed is to remove i really cant see it being a huge problem, especially if its supported from the bottom.

Yeah, I didn't even use any tape at all. One - I was in a hurry - never used the stuff before. Two - I wasn't too worried about the sump. From now on, I plan to use acrylic to build all my sumps, so they can be exactly the size and shape I want.
 
The silicone in my sump has cured for 10 days, so it is now time to fill this bad boy up. First, I used the time to get my canopy mostly finished and prepare my sump.

Here are a couple of pics of the magnets installed in the canopy and canopy door before it was primed and painted.
IMG_1480.jpg

IMG_1479.jpg


Here is what I have been doing in the sump.
IMG_1483.jpg


Finally, here is the filling (still currently in progress) and a full shot of everything.
IMG_1481.jpg

IMG_1482.jpg

IMG_1484.jpg


It has taken about 9 hours to get to that point.
 
How are you going to cook that rock?

Rock is currently "cooking" in a Brute container. Been there for 2 weeks and has had 2 100% water changes. Will be transferring to tank today where it will continue "cooking" for about two more weeks before I add anything. Will also receive 2 additional 100% water changes. (One today when it goes into the tank and another in a week or so.)

I know about the phosphate issue, and my rock does test high in phosphates; but I have decided not to use Lanthium Chloride to treat the rocks. I will deal with the issues as best I can with the 100% water changes I am currently using, frequent water changes after it is stocked, running GFO, and using Chaeto in the refugium. Hopefully this will work out and my phosphates will be down to manageable levels in several months.

Other than that, I have seeded the rock with a couple of pieces of liverock, and it has already gone through a cycle through ghost feeding and die off.
 
Hooray!!!!! Good news!!!!! :bounce1:

Aaaaarrrrggghhhhh!!!!! Bad news!!!!! :angryfire:

Always comes in pairs doesn't it.

The good news is that I put my Mag 7 in the sump, turned it on, and it is all working great. Even the noise has come down several notches, and with everything closed up I can only hear it in the room that the tank is in and it is completely bearable.

The bad news is that before I put it in the sump, I took the Mag 7 apart and found out that the impeller is broken. The ceramic shaft busted in half. Whether this happened while running in the Brute or when I took it apart - I am not really sure. But either way, I was careful opening it up. A quick look around the forums shows that this is a common occurrence on the Mag pumps.

Lucky for my it broke in the center, and I can put it back together where it will still work. However, I am off to find a new impellor - hopefully one that won't bust in half. Until then . . . at least I can run it to mix the saltwater.
 
Well . . . I had some issues with the skimmer overflowing when I added the sand. Had a pretty bad spill down the back of the sump, so - since this is a new tank and all - I drained the sump and moved it out to dry everything up!!! Lots of drama on the first fill-er-up day . . . Anyway, everything is back to normal, here is my current set up:

Full frontal tank shot.
IMG_1485.jpg


Close up of the rock work. It is still a little dusty from the sand. That is only 1 bag of the Fiji Pink. Tomorrow, I will decide whether I want to add more or not.
IMG_1486.jpg


Here is a side shot.
IMG_1487.jpg


This is what my sump setup looks like.
IMG_1488.jpg


The skimmer section. Skimmer is sitting in only 6" of water - pretty much the minimum they recommend. But it was still wet skimming like you wouldn't believe when all the fines from the sand were released into the tank - even with the control wide open. That is why I have it hooked up to an overflow now - after the spill.
IMG_1489.jpg


Finally, the refugium section. I have a lot of rock in there now, but will probably take some out. It is what I had left of the Pukani. I also have a bit of chaeto in there with a light. I expect my phosphates to be high for awhile with the Pukani rock. That is also a BRS reactor that is plumbed in. It is currently circulating water, but is empty. I don't want to waste GFO until at least one more water change - otherwise, I will exhaust it quite rapidly.
IMG_1490.jpg
 
Nice looking tank man! I didnt read through the other pages but are you gonna run MH? Have you thought about the heat issues with the back piece on the bottom of the stand? Just something that I thought about...
 
Nice looking tank man! I didnt read through the other pages but are you gonna run MH? Have you thought about the heat issues with the back piece on the bottom of the stand? Just something that I thought about...

No MH's for me. I used to run a Sunpod 150 HQI over my last 20g tank; but since making the switch to T-5's, I don't think I will ever go back. T-5's will go over it for now with a possible LED light in the future.

As for the heat issue. I already got 3 120mm fans coming in the mail, along with grills, wire splitters, power supply, and variable speed control. The plan is to put two in the back of the canopy forcing air into it on each side and have a vent in the top to exhaust hot air out. This should be plenty of cooling for either T-5's or LED's.

The third fan will go into the back of the sump compartment, again blowing air into the stand. I am not doing this as much for heat, but more so because of eventual mold and mildew issues.
 
I liked the tank better with the country home style flower background better (see third pic in post #51)

Ok, just kidding :)
 
Current update . . .

The water has cleared up and is pretty much crystal clear. The flow I have set up through the sump and the sump design pretty much doesn't let any micro-bubbles into the display tank. The rockwork looks great, and it was definitely the right thing to do to add the second bag of sand. Pics will come later this evening.

As for the water conditions after a little over 24 hours in the full system:

SG - 1.024
Ammonia - 0ppm (A little surprised since I removed the live rock from the system and the second bag of CaribSea AragAlive sand smelled awful . . .)
Nitrite - 0ppm
Nitrate - 0.25ppm
Phosphate - 0.4ppm (Still leaching lots of PO4, we will see how much more tonight.)
 
LONG overdue update . . . :hmm2:

Anyway, it has been a bust several days for me. The tank is doing good. My canopy is almost finished, with only the top vent needed to be put in place. My Apex controller got here and is set up and running. And I am currently making water to do my final 100% water change. CUC will be going in next week, followed closely with my two clownfish. Now for the pics . . .

First is a shot of the whole setup from the front.
IMG_1516.jpg


Next is a closeup of the tank from the front. I am in love with the rockscape. Lots of room, yet lots of room to hide also.
IMG_1515.jpg


Here is a shot down the side.
IMG_1518.jpg


Here is a quick shot of my "work in progress" controller board. And yes - I know I have to clean up the cords . . . I originallly had no clue how big everything was, so I oversized the board. My plan is to cut about 1/3 off the top and move all the components closer together. I am also planning on painting it black and finish the edges to match the stand. Then I will mount it on the wall where it is located in the picture.
IMG_1517.jpg


Here is a look inside the canopy. You can see the two fans in there that are pushing cool air into the canapy. There is a large vent on top that right now is just a hole. The vent will be held in place with magnets just like the front canopy door.
IMG_1519.jpg


Finally, here is the sump and fuge. Although my chaeto is still a healthy green for the most part, it has a lot of white strings coming off of it. So, I do not think it is doing all that great even though I have phosphate and nitrate in my system. We will see if it pulls through.
IMG_1520.jpg


As for my parameters:

SG - 1.025 (Evaporation)
Ammonia - 0ppm
Nitrite - 0ppm
Nitrate - 0.5ppm
Phosphate - 1ppm (Much less than the other tests when the rock was in the Brute. Goes to show that water changes can help leach the phosphate out of the rock.)
 
Hey balto, couple of questions: Did you end up getting the SRO 1000 int skimmer? That's the one I'm now considering for my 40B. If that's what you have, how do you like it? How much clearance do you need to remove the cup?

And... you mentioned you wanted another sand-sifting goby so you plan on 2-3" of fine sand. I'm also looking for some "goby sand" that won't blow all over. What sand did you have previously and what are you going with for this build?

Thanks. Enjoying your thread!
 
Zeebies:

Yes, I got the SRO1000-Int Octopus Skimmer. So far, I like it a lot. However, this is my first "real" skimmer. All of my others have been HOB models for my 20g aquariums. Also, I have not tested it with any bioload of note yet. With that being said, if all the reviews about it are true, then I am not worried about it performing in my setup - or even one twice the size.

Literally, the cup gets pushed down about 1/2" (if that), so that is all the clearance you would need. Of course allow yourself some more room to make it comfortable to remove, though.

Well, I definitely have the perfect amount of sand for a sand sifter. Not too deep, and not to shallow. Lots of room, too. I do not know the sand I used to have, but it was comparable to what I have now. It got blown around in the beginning, but settled down later in it's life. When I say blown around, I do not mean a sandstorm in the aquarium - I just mean that the powerheads move it into dunes.

The sand I am currently using is CaribSea Fiji Pink. I like it so far. You can see in the side shot of the tank above what I mean about the sand forming dunes. Notice next to the glass the sand has shifted to reveal the bottom. I find this acceptable because the sand will eventually stop moving so easily with age and sand sifting gobies will move the sand around anyway.
 
I would have went with the dry, but I was in a hurry and my LFS only had the AragAlive type. So that is what I used.
 
Back
Top