lockrookie
New member
as noted in my 180 build the following is the build that inspired my 180g tank. again all comment and questions welcomed good or bad.
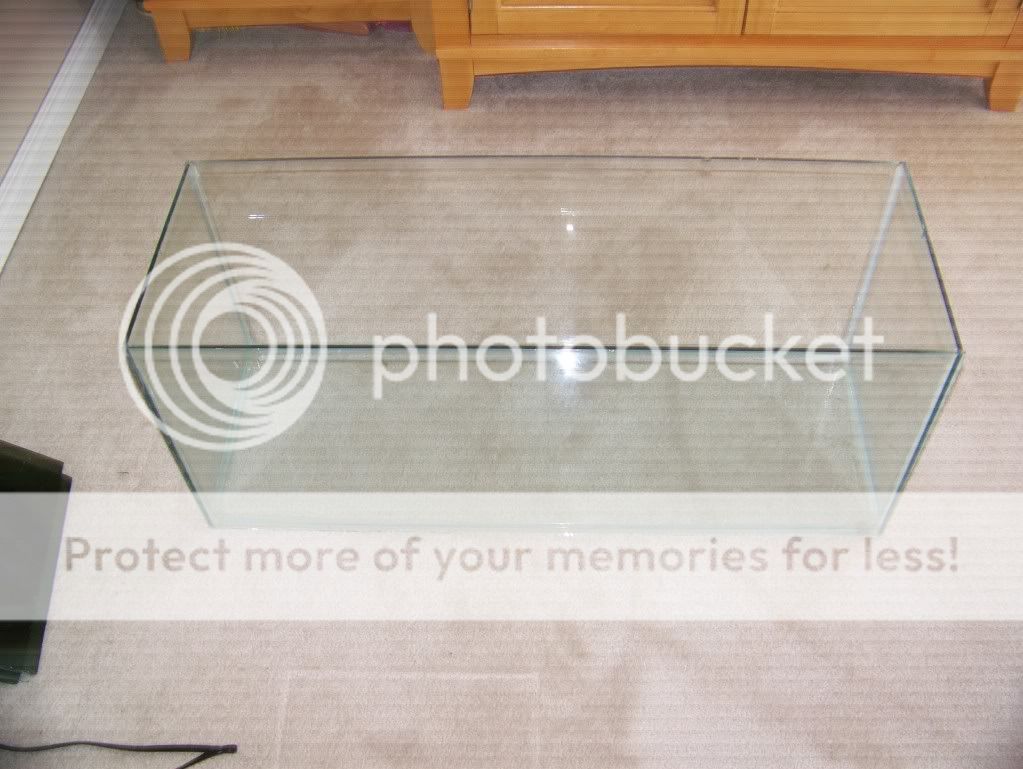
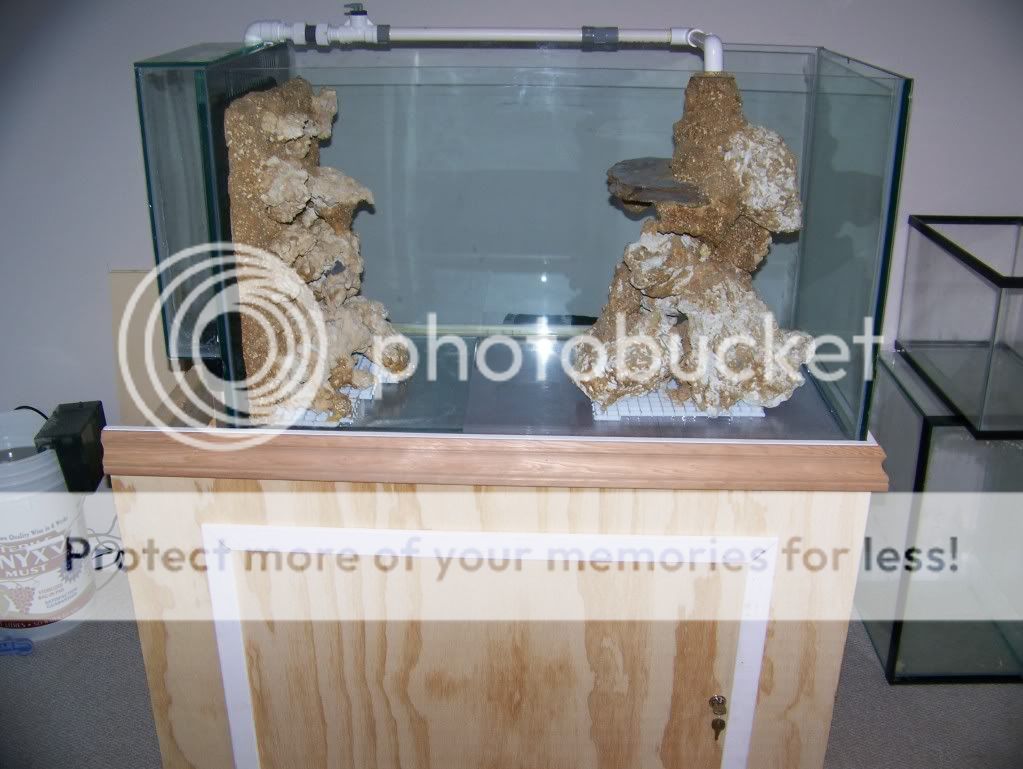
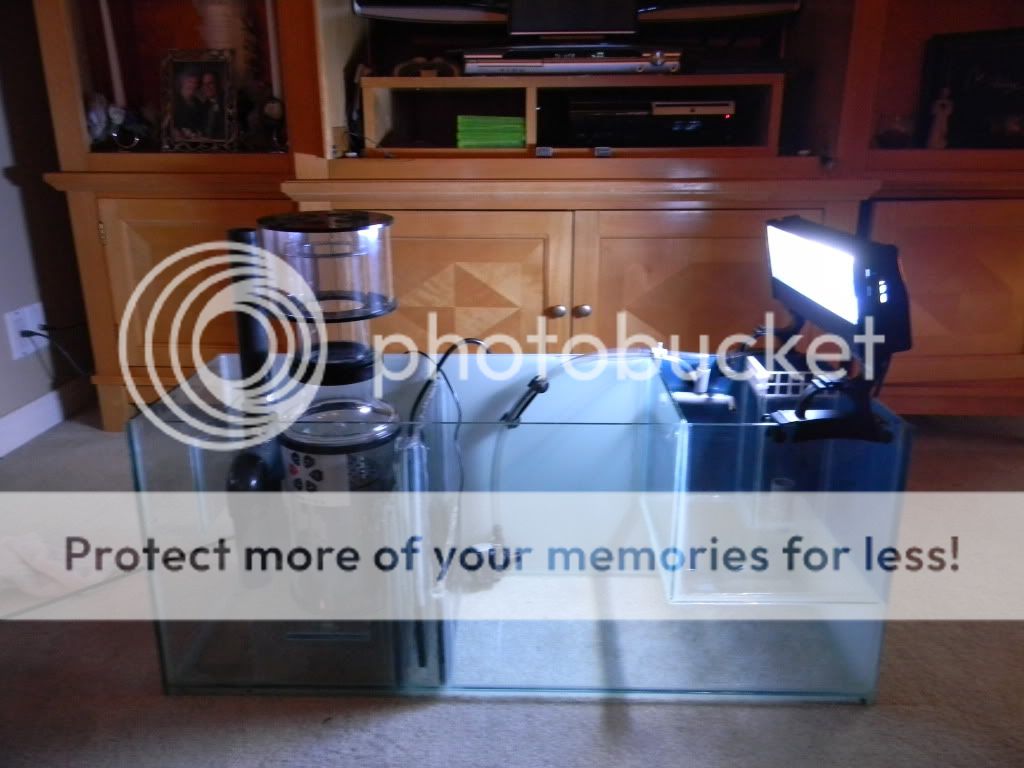
i bought a 50 g tank in may 2010 i was going to use as a qt tank and just have too many other ideas. and i need to keep my mind busy so here it goes. june 2010 it begins
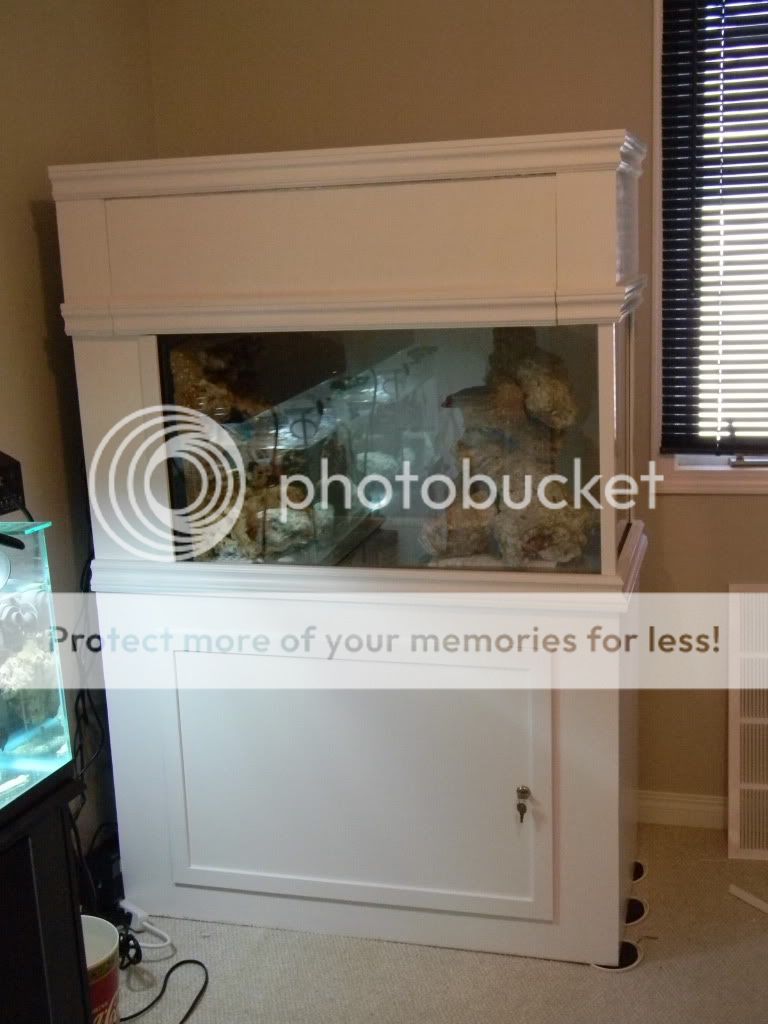
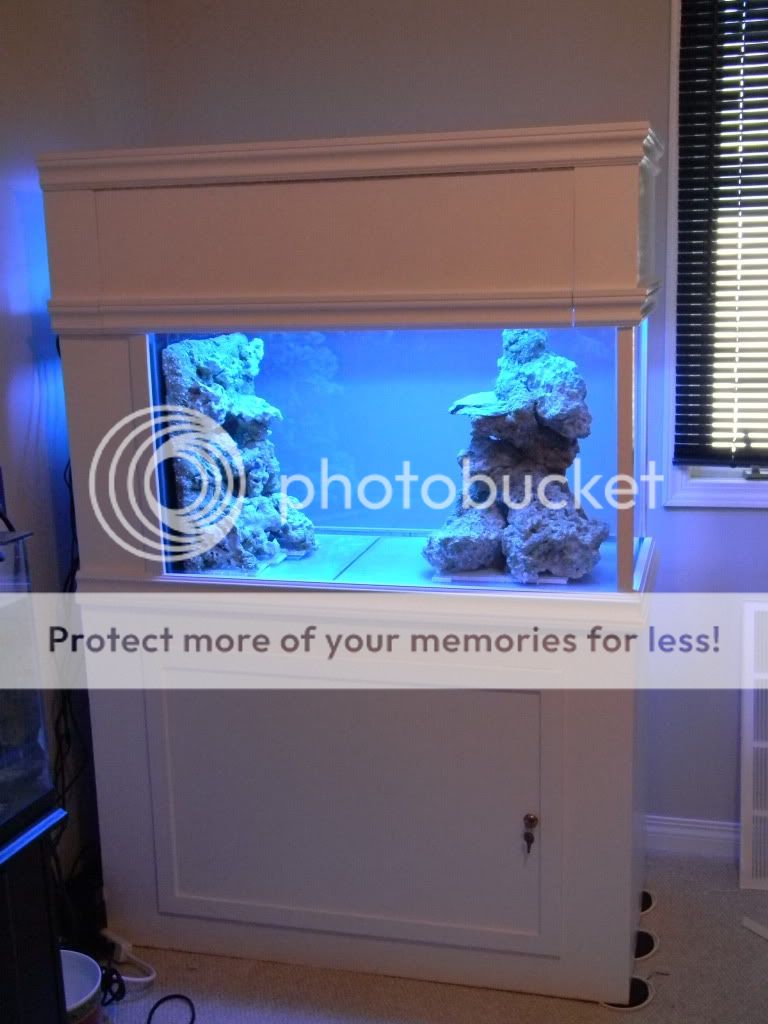
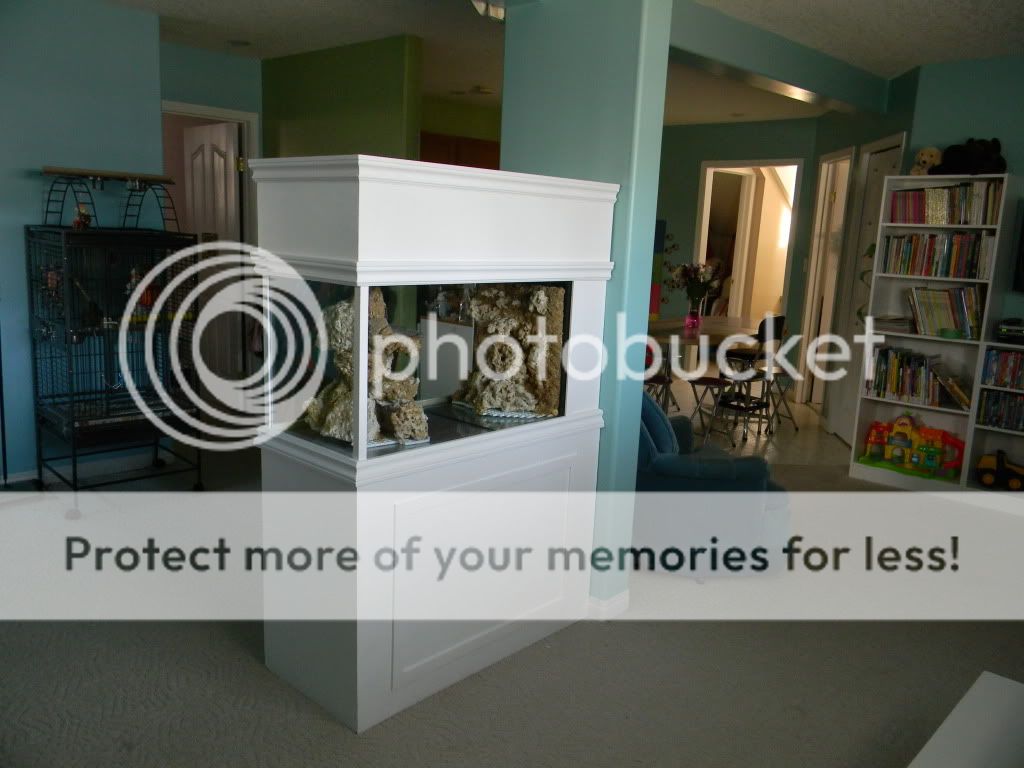
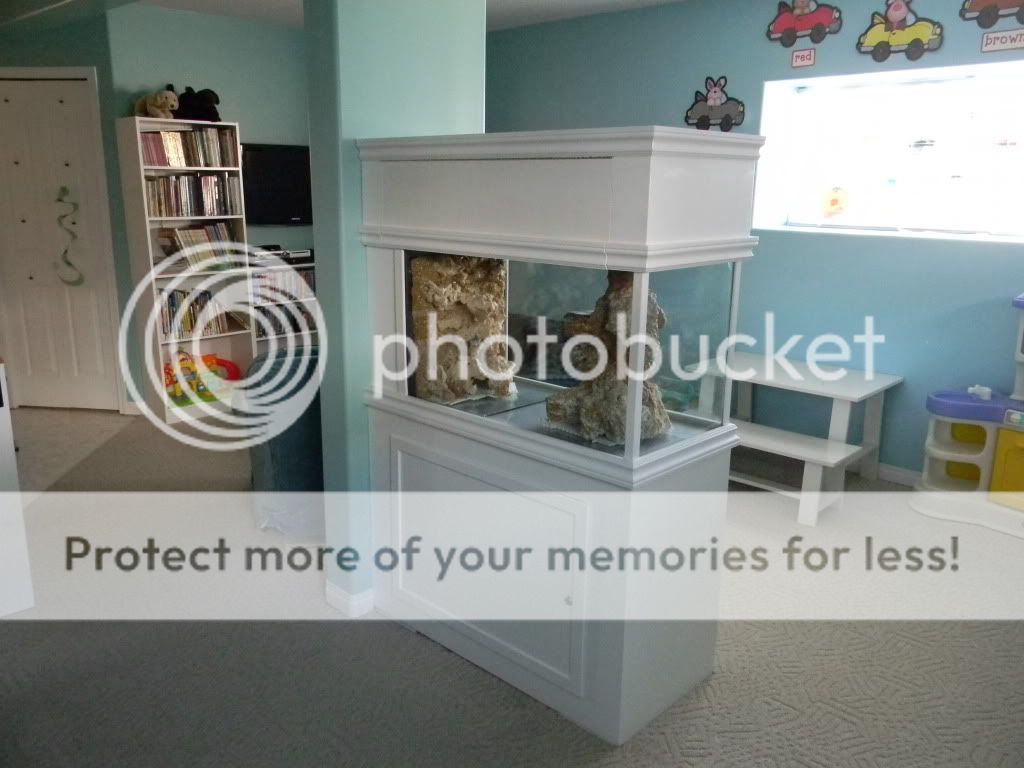
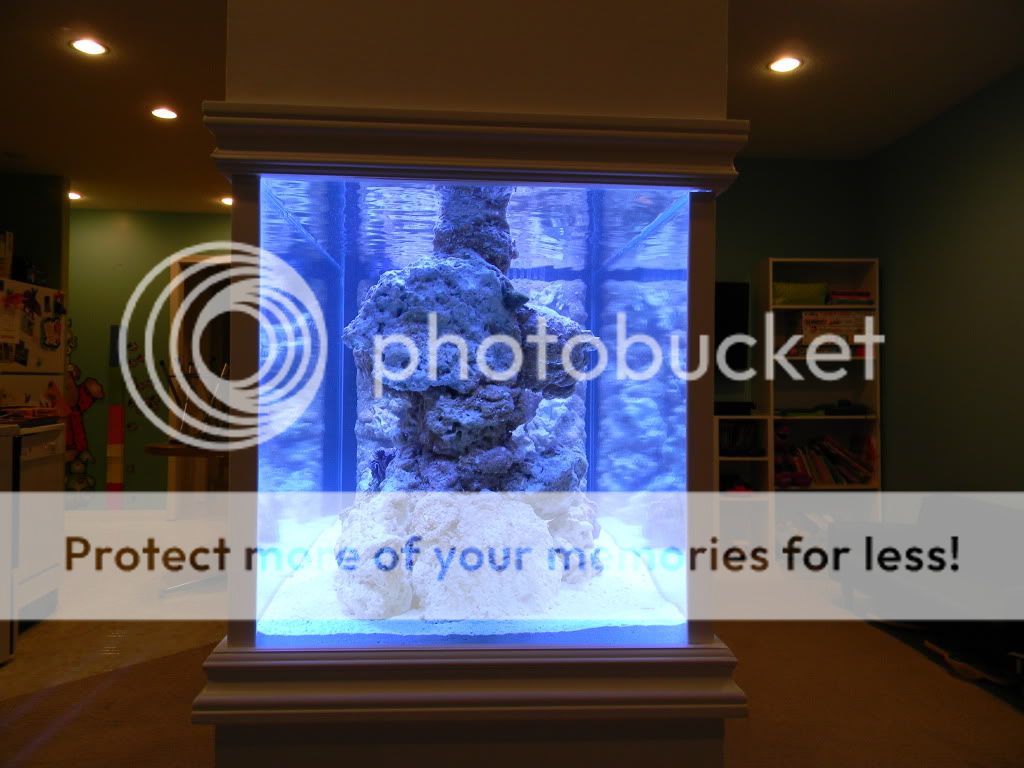
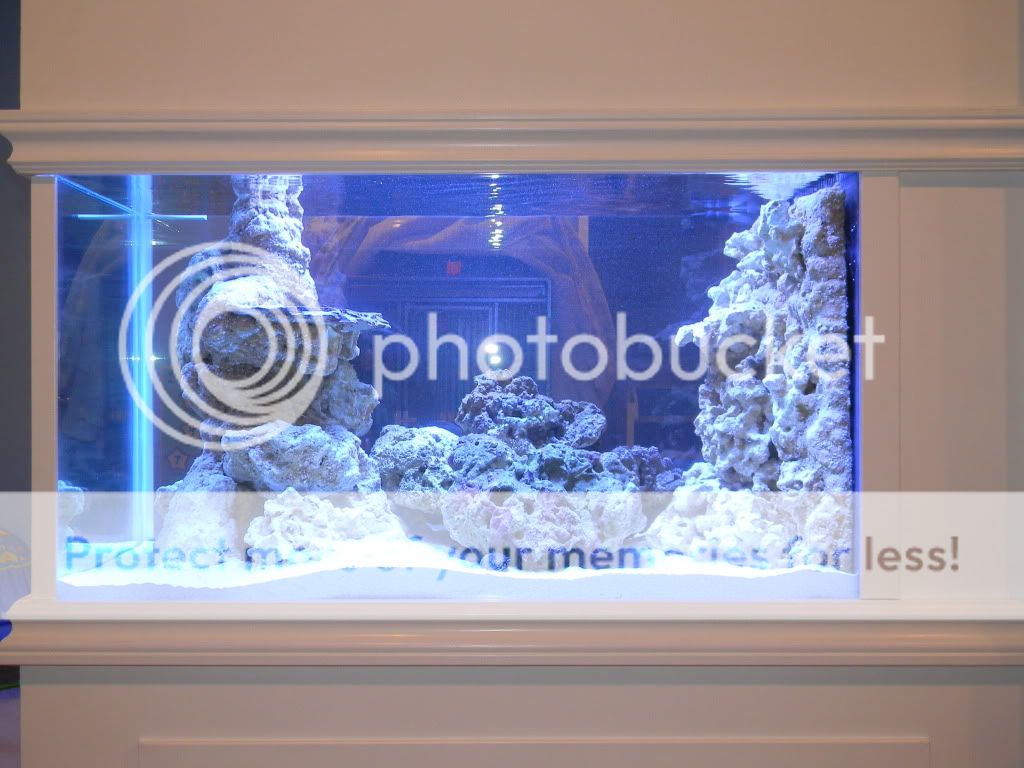
i built this tank like a mini peninsula tank like i\ve been seen so many ppl do. it inspired me i want to set this tank up in our basement for our daycare kids. tax right off? i can try. as well im always tired of looking at a tank from one side i see the kids always fighting for a spot to see whats going on. thus the peninsula or room divider style was made.
i currently have a 20g fw that sits up against the wall with mollies.. i used to have ciclids but a heater malfunction cooked them. well not all but some survived and now reside in a daycare parents home tank.
so this is what started with:
50g tank
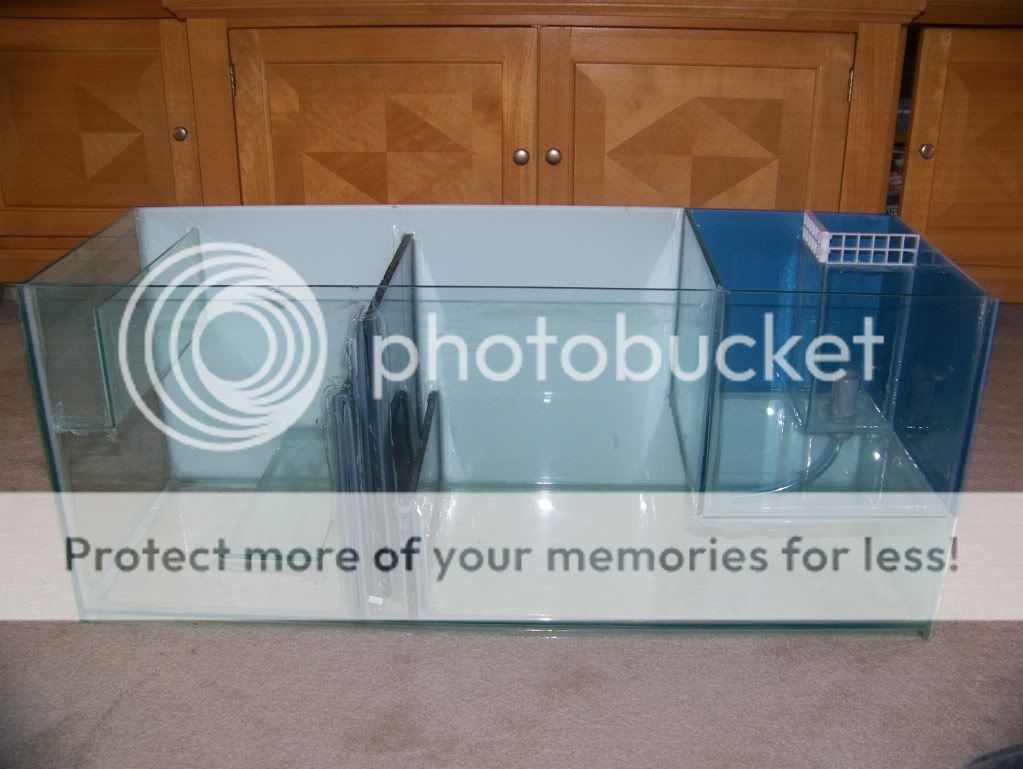
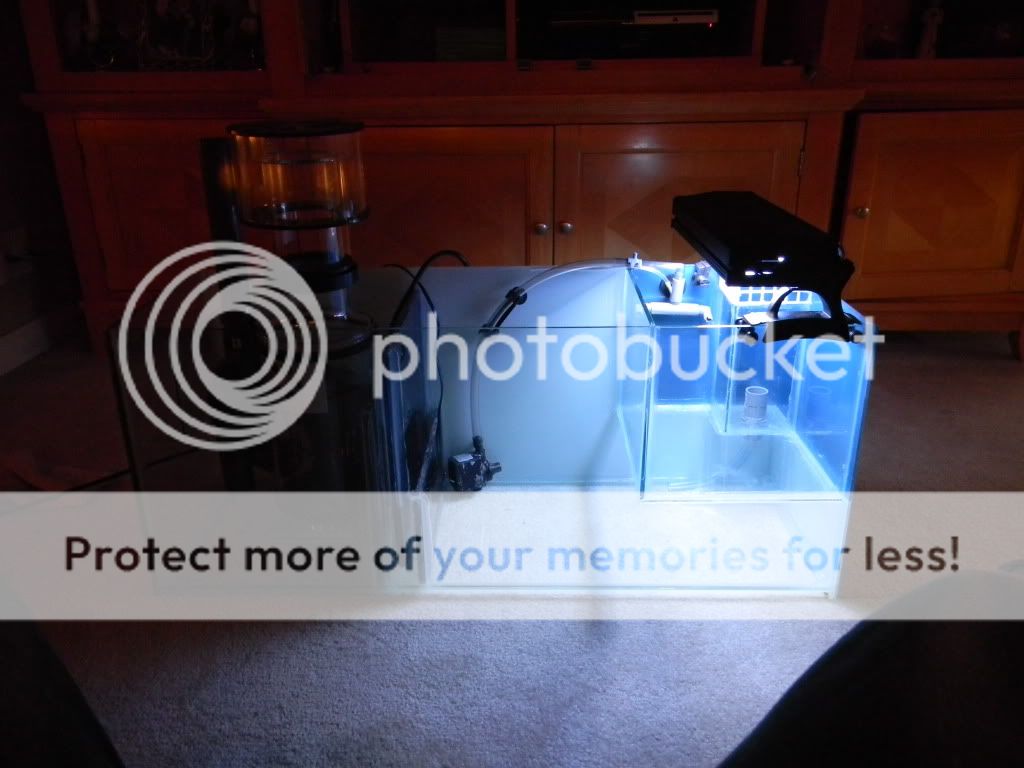
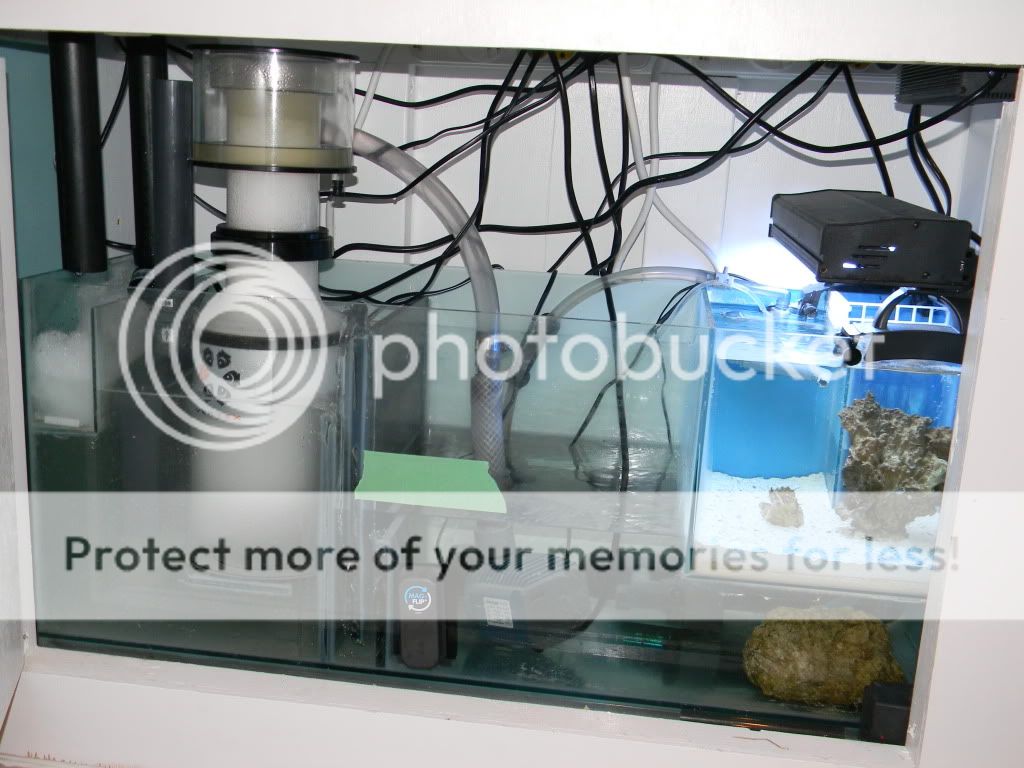
20g sump later changed to 33g
quiet1 4000 return
3 10g tanks to slice up and drill for overflow
going closed loop with another pump i have instead of powerheads
most plumbing parts still need a few more pieces
heaters
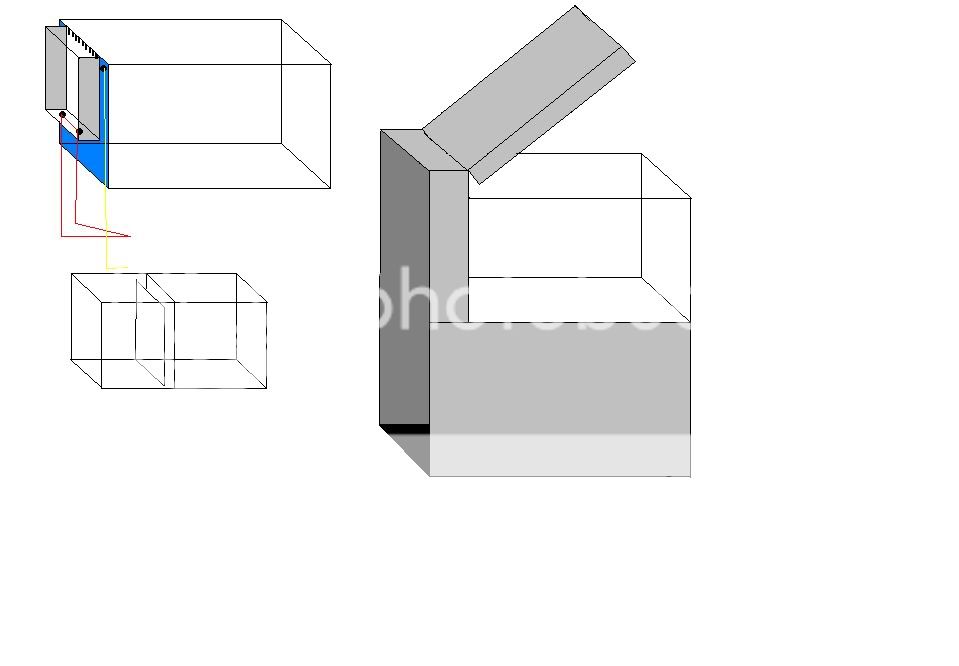
i didnt have google sketch but i drew these up on paint as an idea for my plan..
since this was my firsst tie actually cusomising atank the hardest and scariest parts werel be cutting the glass for overflow... and notching the tank for the overflow this build was to see how far i can go with as much do it yourself as i could
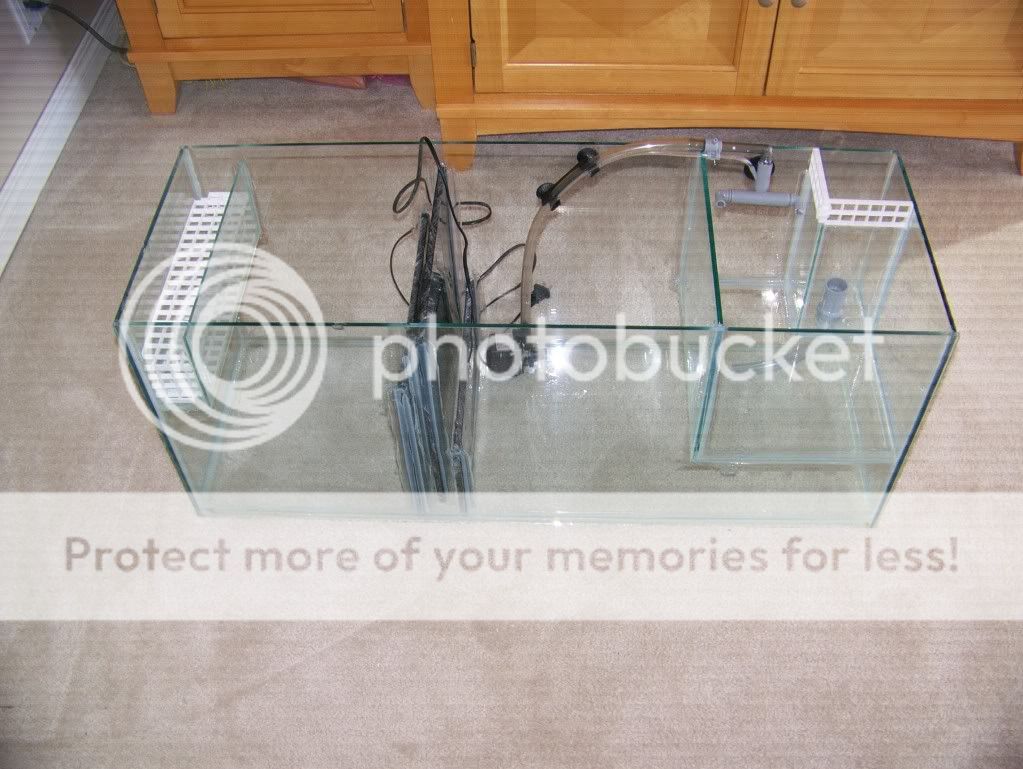
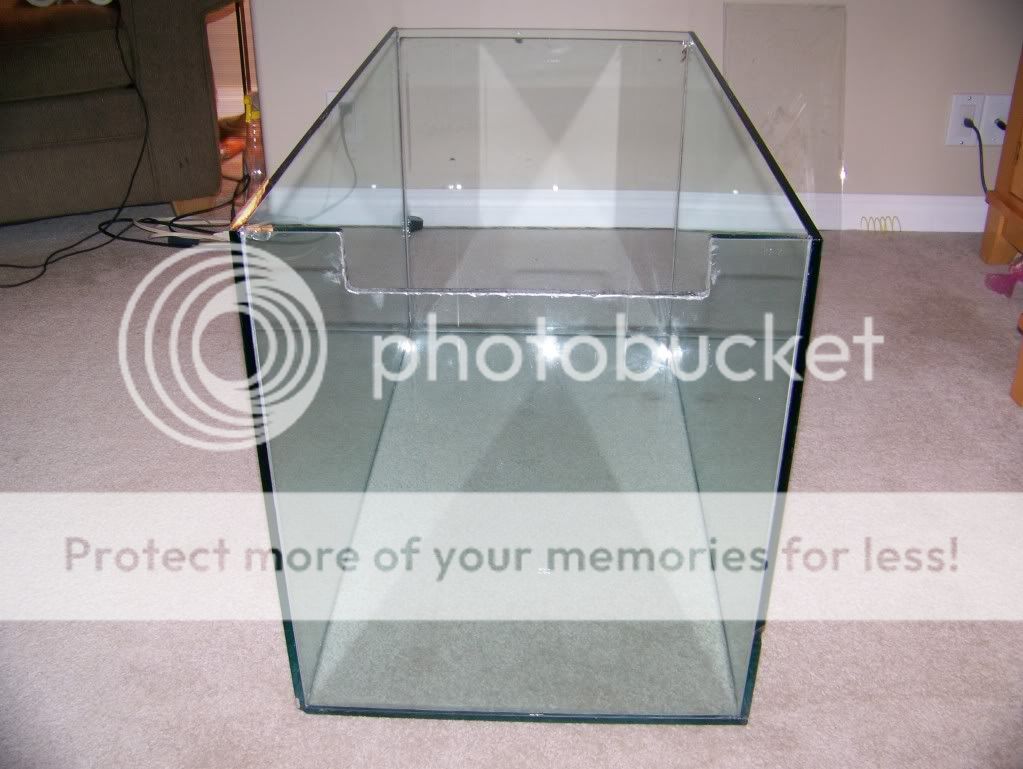
i officially came across my first hurdle right away. the tank had a inset border around three sides my assumption was that it was to hold a lid inside the tank. now i was hoping that the builder only siliconed the edges not the flat to the glass.. my hopes are now crushed. it was on there good.
so i had to figure out how i was going to separate these pieces of glass from the tank or its going to look like crap if i didnt . i tried thin screw drivers razor blades by hand but it was clamped on tight.my only dangerous option was to chip it away untill im able to scrape the rest off. or leave it be and build a trim to cover the ugly.i even begged teh masses for sugestion but fer of breaking the glass not to many other than razor blades came up.
this is what i was dealing with
http://i998.photobucket.com/albums/af103/lockrookie/DSCN0418.jpg[\IMG]
one friend suggested using the hammer or as i joke locksmith vehicle opening tool in the background as a joke..and well i got brave i used my hammer/locksmith tool with razor blades and pliers, flat screwdriver and slowly chipped to separated the two pieces of glass (with alot of sweating and nervousness) without damaging the main glass
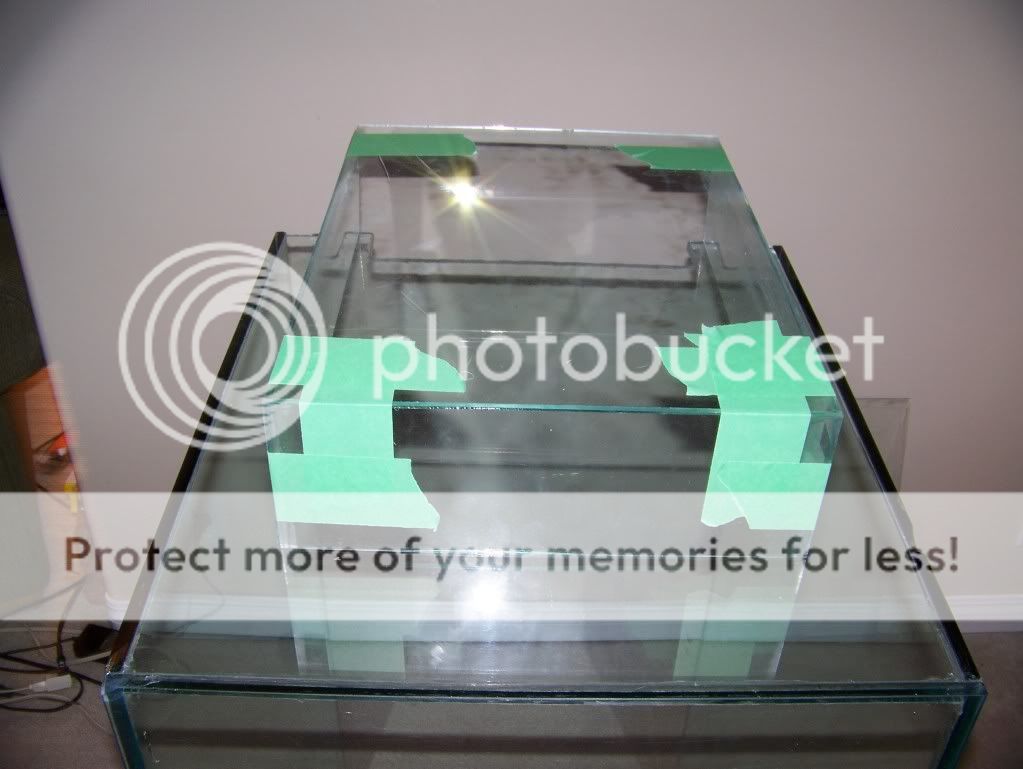
also i picked up a dremel diamond bit for notching the one panel for the overflow and it .
here are the pics with those strips removed and notch cut in using a dremel and a pic of the bit i used.
[IMG]http://i998.photobucket.com/albums/af103/lockrookie/100_6466.jpg
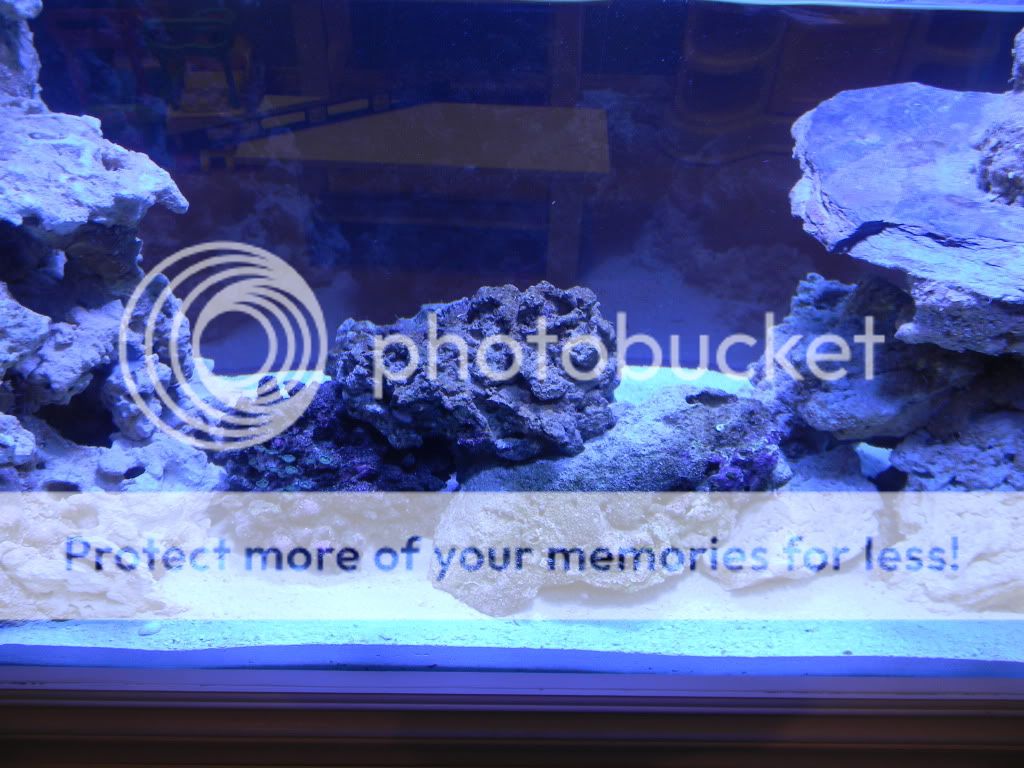
here is the overflow box not glued together but i did well in my cuts. the thin glass broke a couple of times and i ended up using thicker glass than from the 10g tanks.

the bit i used for holes and notching

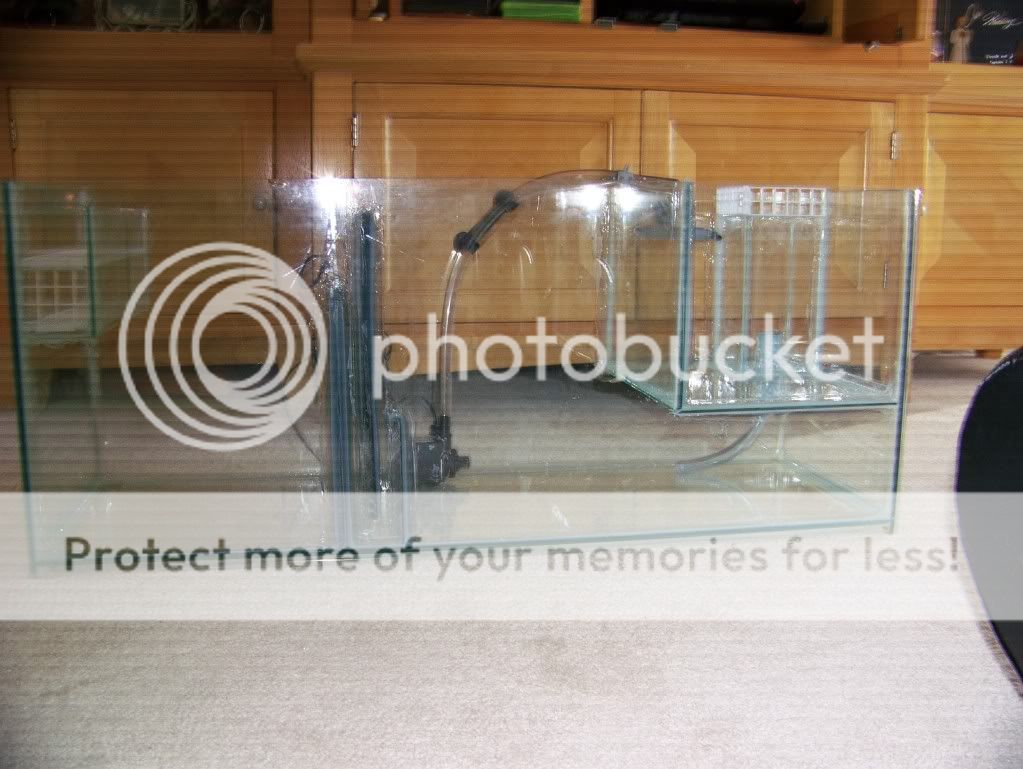
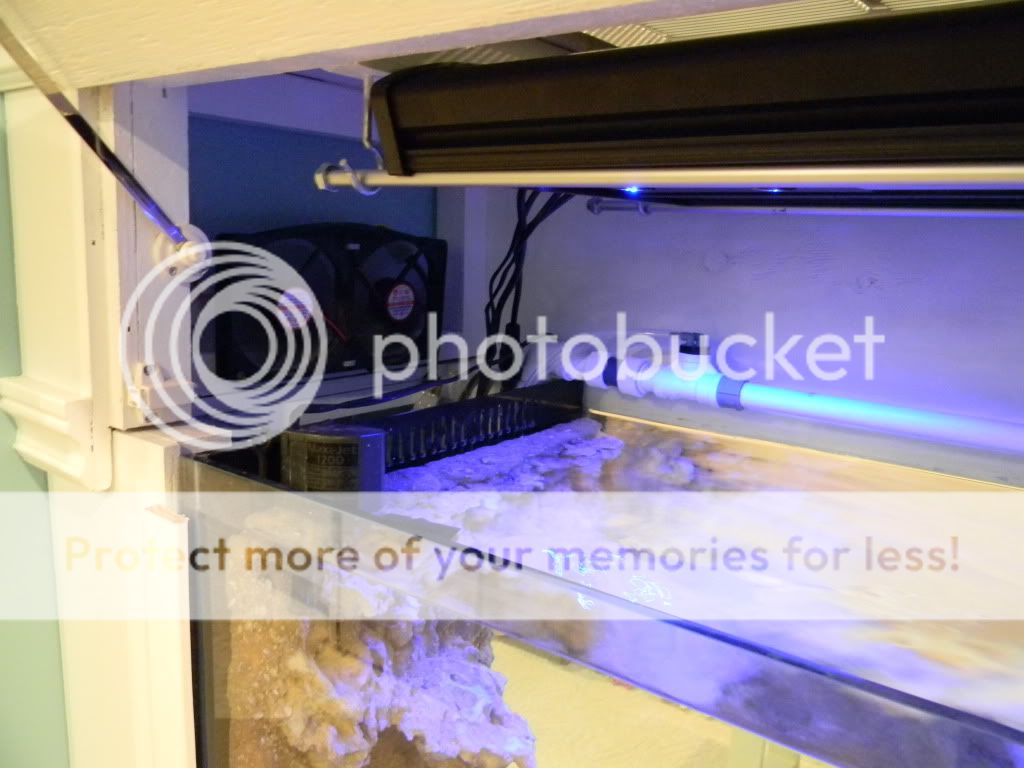
overflow attached i used 1 1/4 abs plumbing

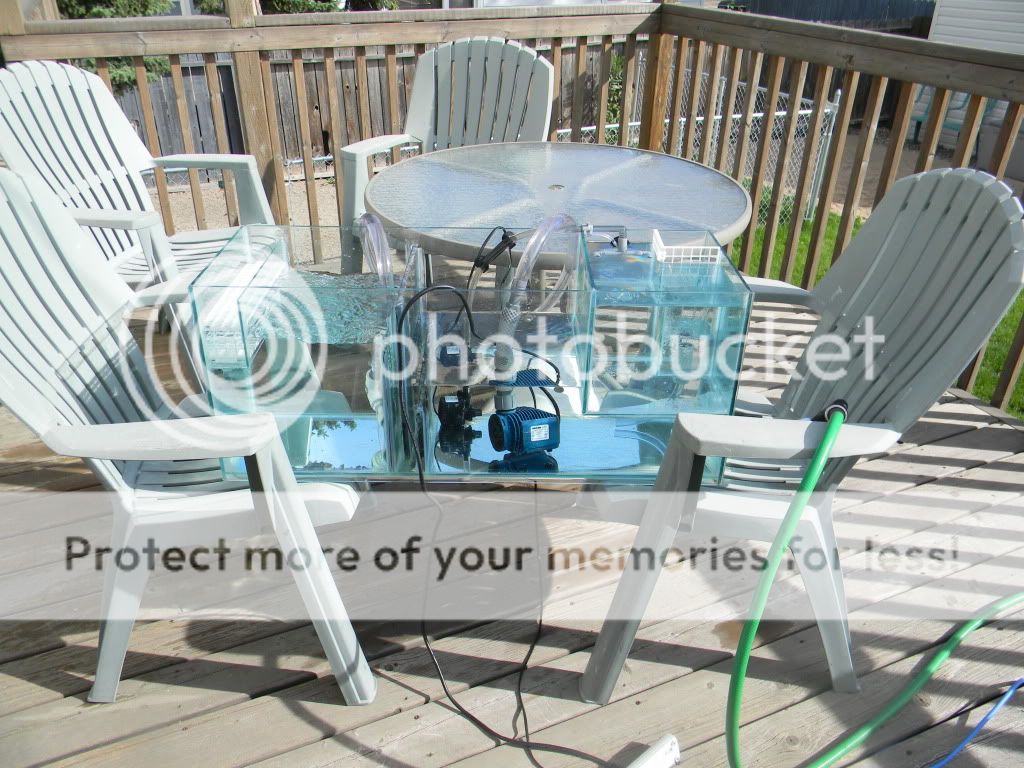
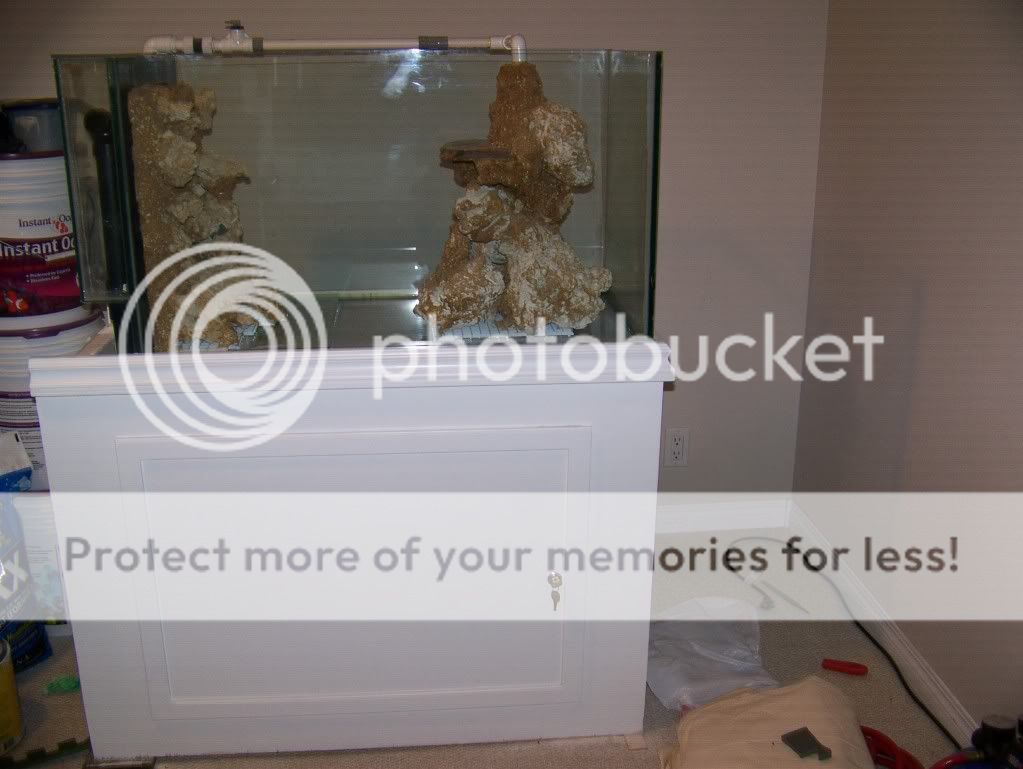
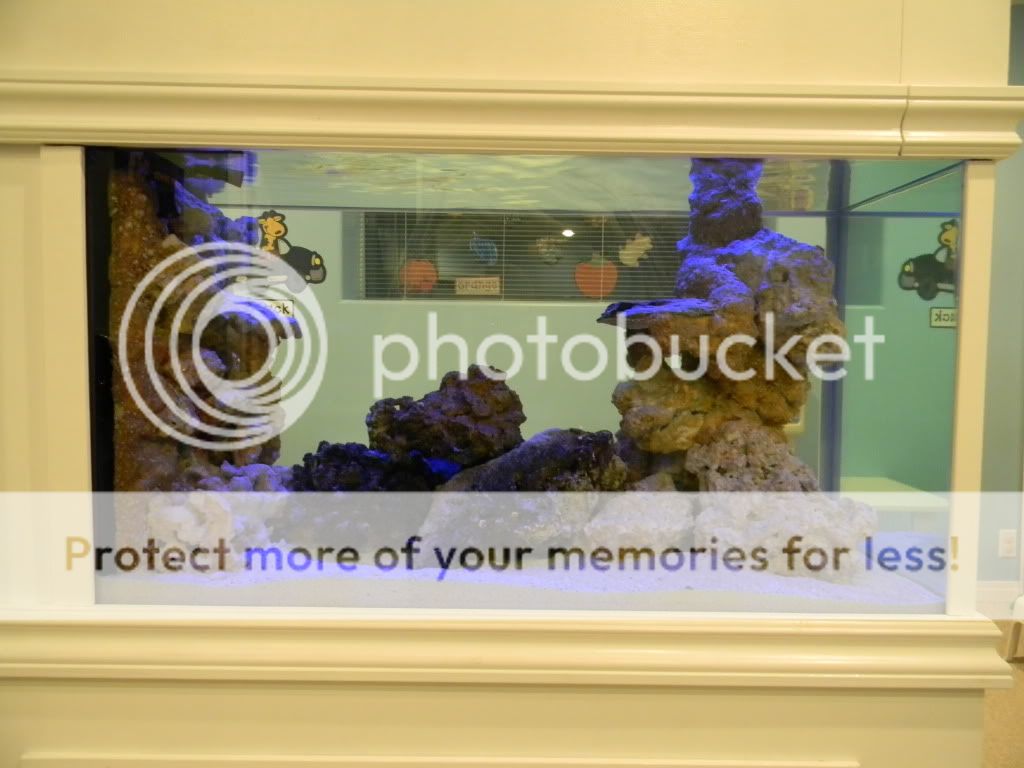
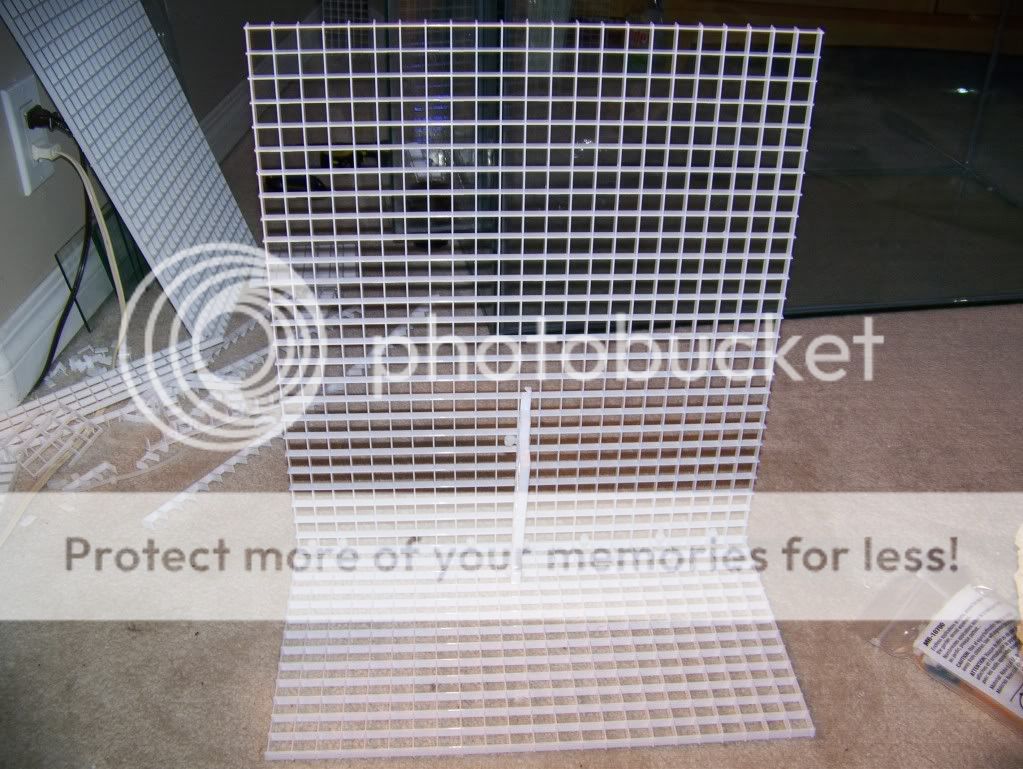
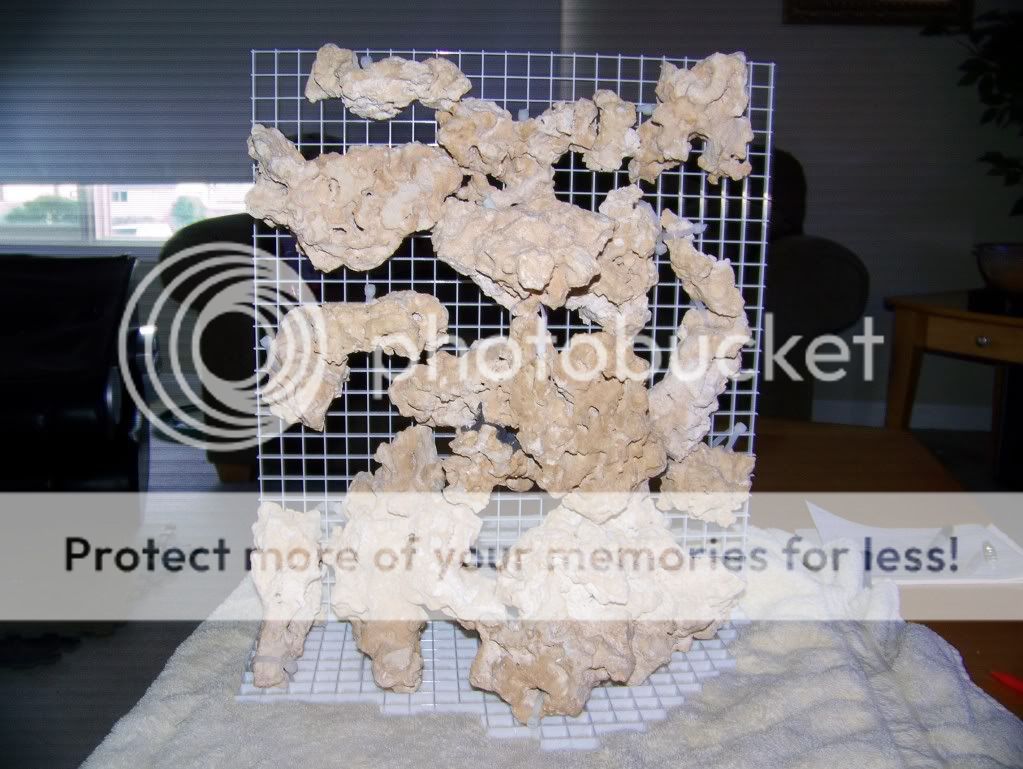
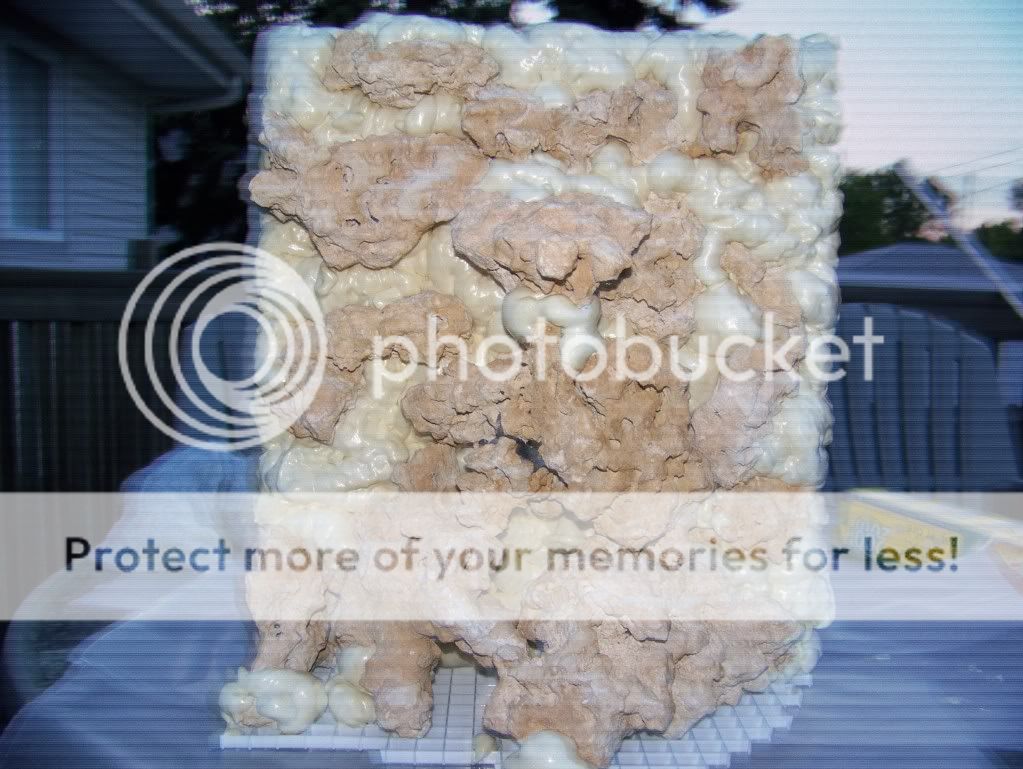
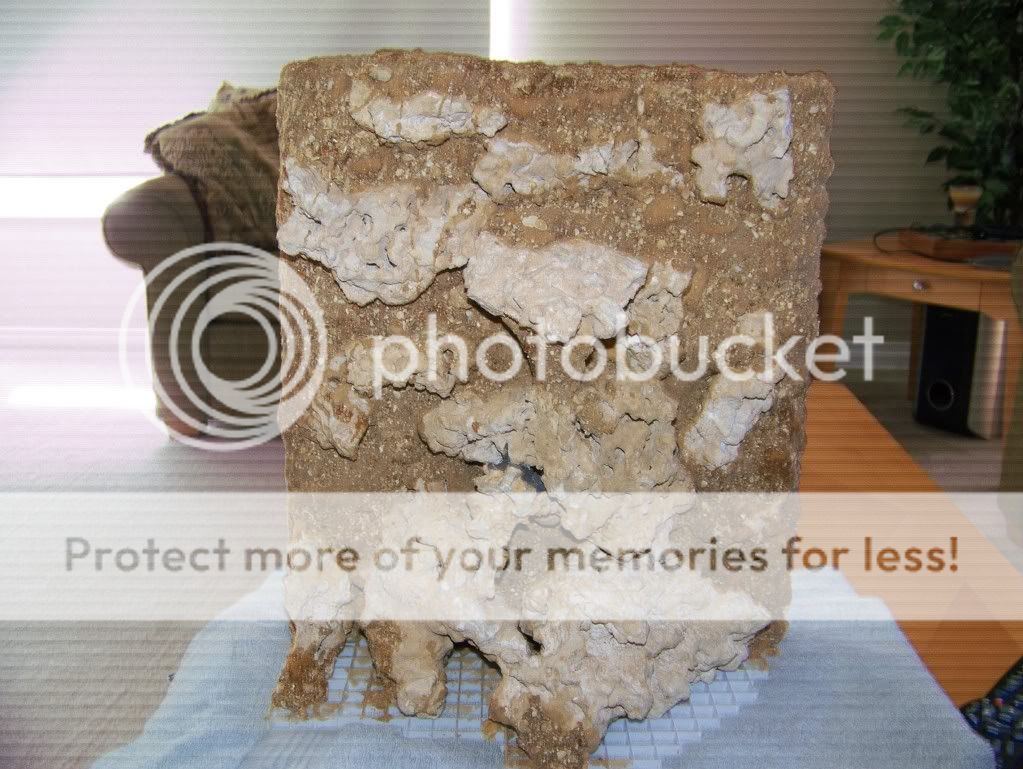
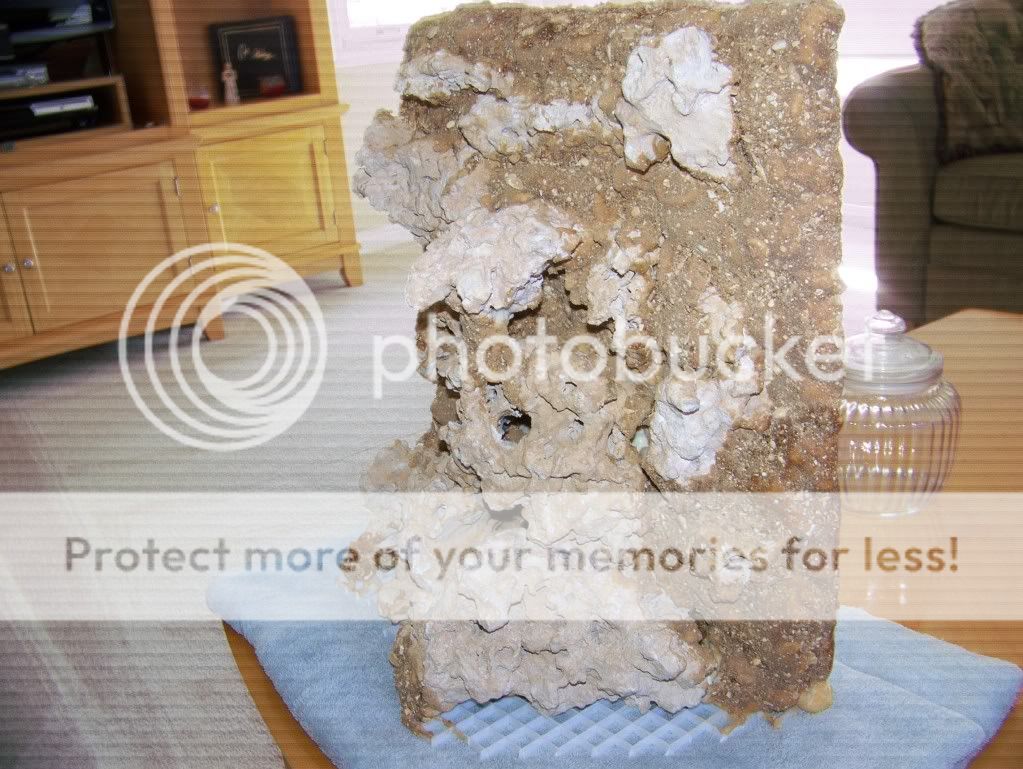
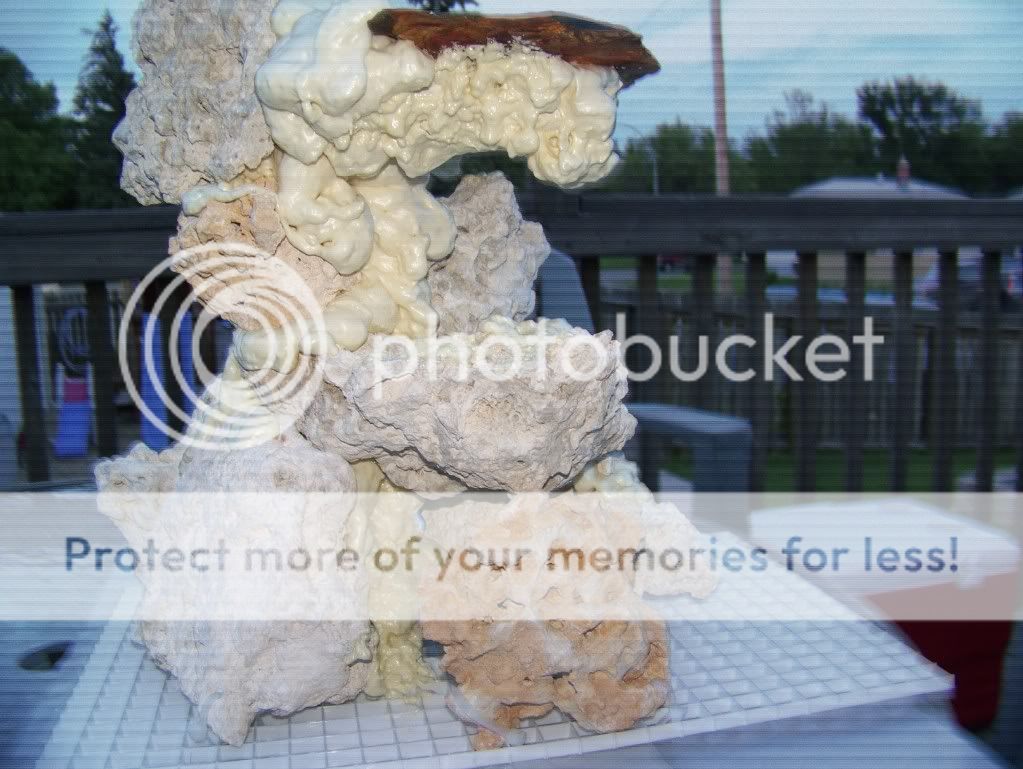
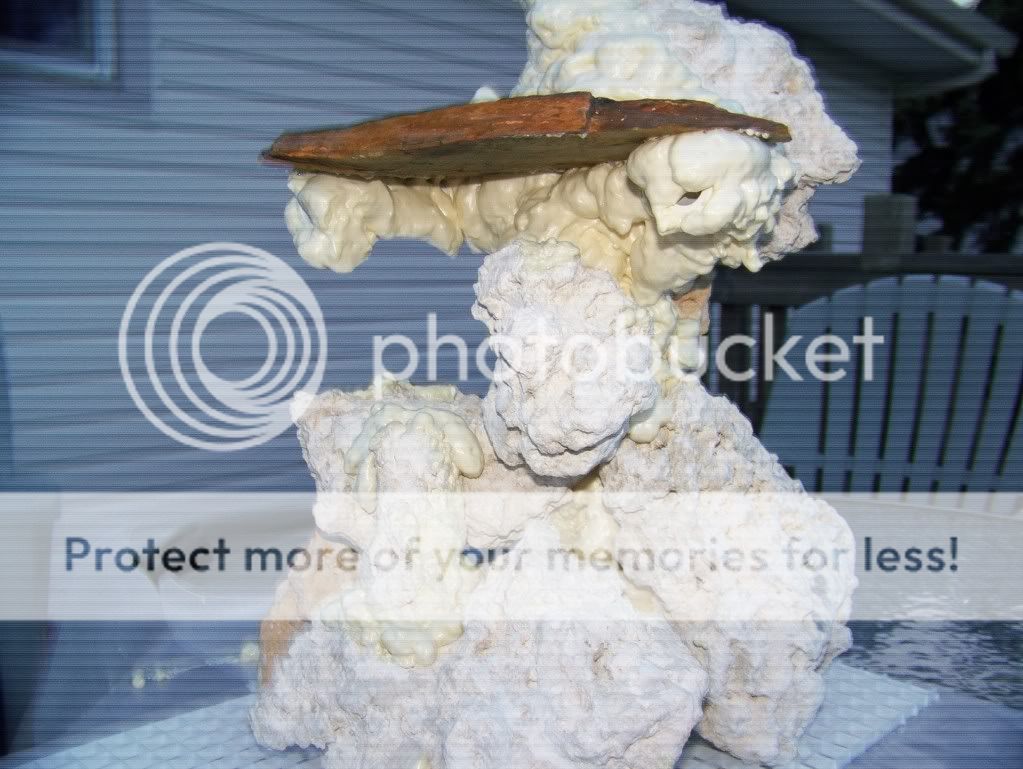
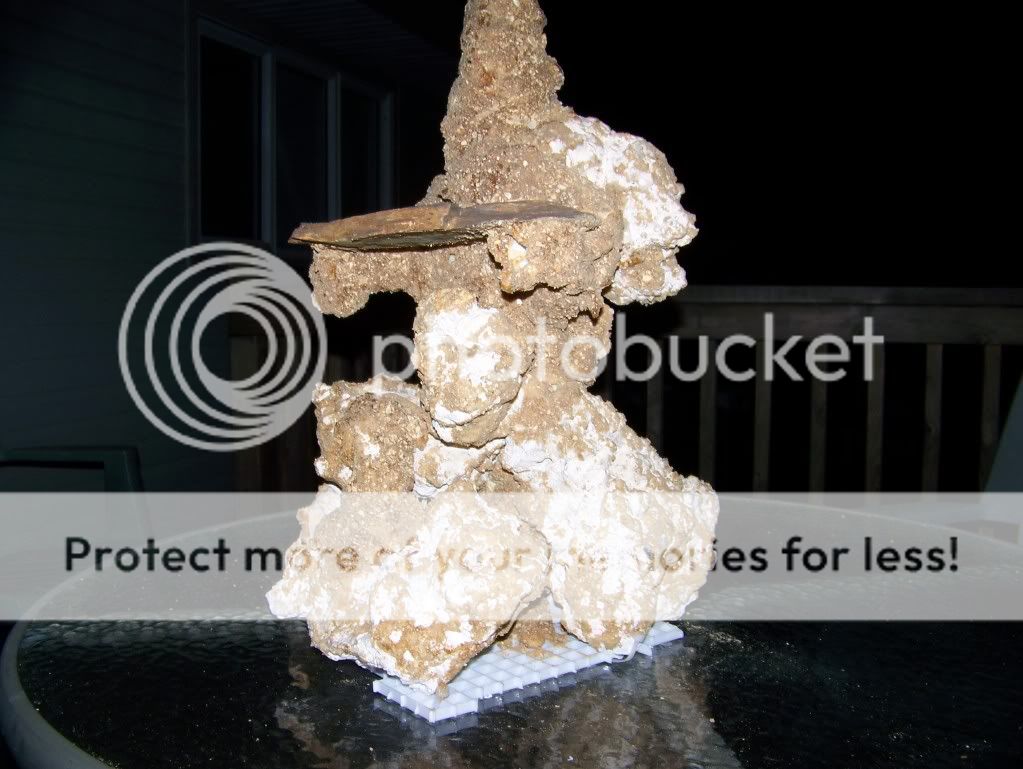
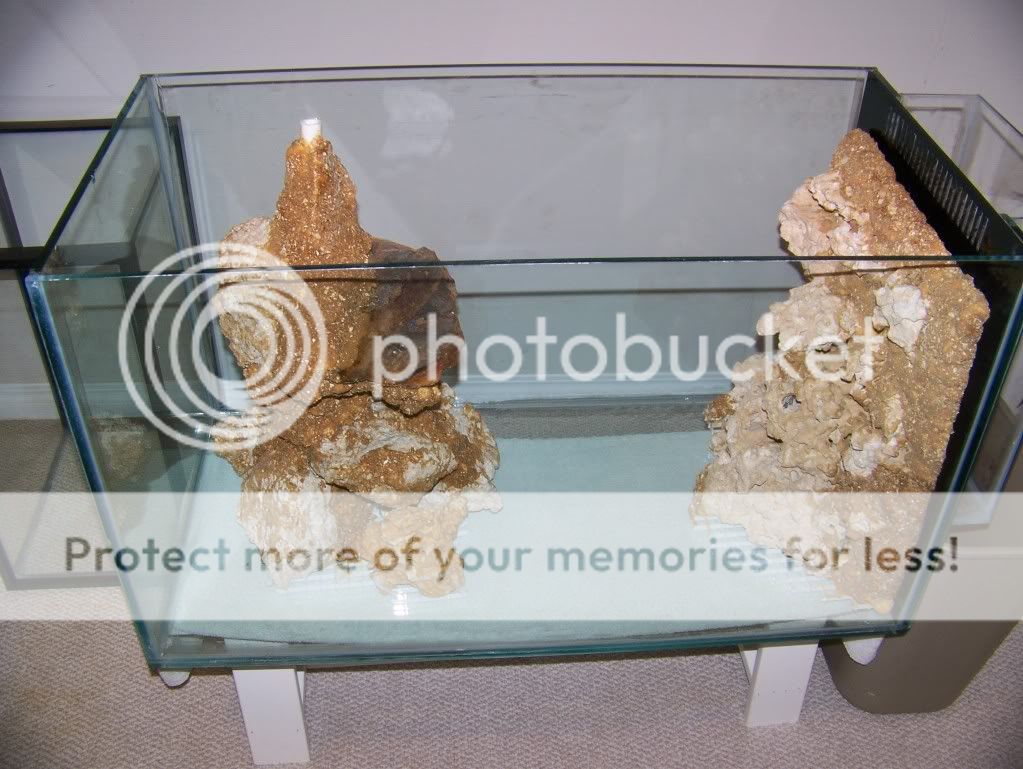
this about the tiem i got the idea for a rock wall and a buddy pointed me towards RC and i never slept for 2 days researching getting ideas and planning this tank...next posts my rockwall and return tower.
i bought a 50 g tank in may 2010 i was going to use as a qt tank and just have too many other ideas. and i need to keep my mind busy so here it goes. june 2010 it begins
i built this tank like a mini peninsula tank like i\ve been seen so many ppl do. it inspired me i want to set this tank up in our basement for our daycare kids. tax right off? i can try. as well im always tired of looking at a tank from one side i see the kids always fighting for a spot to see whats going on. thus the peninsula or room divider style was made.
i currently have a 20g fw that sits up against the wall with mollies.. i used to have ciclids but a heater malfunction cooked them. well not all but some survived and now reside in a daycare parents home tank.
so this is what started with:
50g tank
20g sump later changed to 33g
quiet1 4000 return
3 10g tanks to slice up and drill for overflow
going closed loop with another pump i have instead of powerheads
most plumbing parts still need a few more pieces
heaters
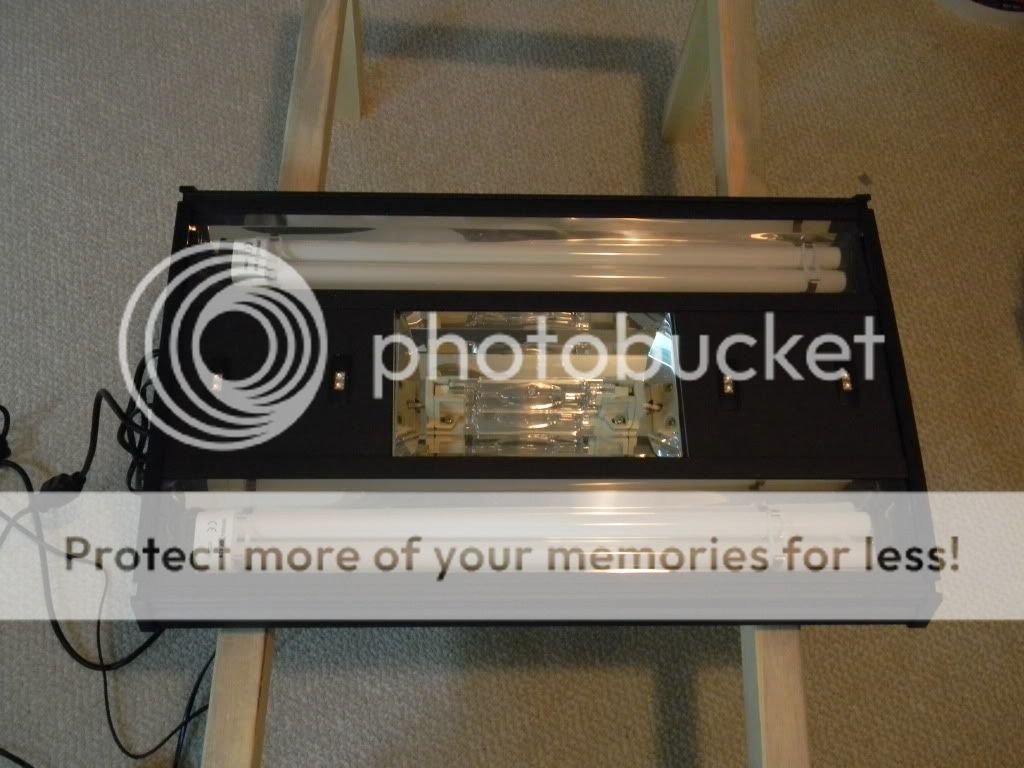
i didnt have google sketch but i drew these up on paint as an idea for my plan..
since this was my firsst tie actually cusomising atank the hardest and scariest parts werel be cutting the glass for overflow... and notching the tank for the overflow this build was to see how far i can go with as much do it yourself as i could
i officially came across my first hurdle right away. the tank had a inset border around three sides my assumption was that it was to hold a lid inside the tank. now i was hoping that the builder only siliconed the edges not the flat to the glass.. my hopes are now crushed. it was on there good.
so i had to figure out how i was going to separate these pieces of glass from the tank or its going to look like crap if i didnt . i tried thin screw drivers razor blades by hand but it was clamped on tight.my only dangerous option was to chip it away untill im able to scrape the rest off. or leave it be and build a trim to cover the ugly.i even begged teh masses for sugestion but fer of breaking the glass not to many other than razor blades came up.
this is what i was dealing with
http://i998.photobucket.com/albums/af103/lockrookie/DSCN0418.jpg[\IMG]
one friend suggested using the hammer or as i joke locksmith vehicle opening tool in the background as a joke..and well i got brave i used my hammer/locksmith tool with razor blades and pliers, flat screwdriver and slowly chipped to separated the two pieces of glass (with alot of sweating and nervousness) without damaging the main glass
also i picked up a dremel diamond bit for notching the one panel for the overflow and it .
here are the pics with those strips removed and notch cut in using a dremel and a pic of the bit i used.
[IMG]http://i998.photobucket.com/albums/af103/lockrookie/100_6466.jpg
here is the overflow box not glued together but i did well in my cuts. the thin glass broke a couple of times and i ended up using thicker glass than from the 10g tanks.
the bit i used for holes and notching
overflow attached i used 1 1/4 abs plumbing
this about the tiem i got the idea for a rock wall and a buddy pointed me towards RC and i never slept for 2 days researching getting ideas and planning this tank...next posts my rockwall and return tower.

") lol maybe one day there will be such a spot this site is so huge already it may not bethat important at this time.
lol maybe one day there will be such a spot this site is so huge already it may not bethat important at this time.