My First Tank and Build Process


Your build is an inspiration. I am thinking of building my own aquarium and stand. I have a perfect spot on the wall which backs into the garage so I can have a built-in aquarium on the wall and have the sump in garage.

Have a question - why did you put the PowerPoint on the wall underneath the ceiling? You had a manhole above so you could have installed the PowerPoint from above and have the outlet flush with the ceiling (similar to the blue box next to the manhole). That would have provided a cleaner look for the lights hanging from the ceiling.


Sent from my iPad using Tapatalk
 
You'll be super glad you did the pool liner. Necessity IMO. I assume you're keeping your top open? Thus the reason for the ventilation? I've always had glass tops and thus little humidity issues. There's obvious benefits for an open top though.
 
Hammerhead24 - I have been posting updates as I go. Nothing new, but maybe this weekend I can get some more work done. Thanks for following along

Hefner413 - Yeah I plan on leaving the top open. I have glass covers for the top and may alternate covering each section on top to try and prevent some evaporative losses. Probably will be open top the whole time though
 
I think I'm high on paint fumes and my elbows and hair are now red…

I think I'm high on paint fumes and my elbows and hair are now red"¦

It's getting closer to actually having a tank so it's time to start painting the stand, wall, and ceiling with RedGard. I cut the excess foam away from the wall and cleaned the walls prior to painting. First coat of RedGard is on and waiting for it to dry. Second coat will go on tonight and tomorrow will install the ventilation fan, finish electrical boxes (only 1 not working as of now), install the RODI unit in the utility room, and cut holes in the tank stand for all the plumbing. What fish should I get? More to come"¦


Electrical is finally done! Outlet #2 has been giving me fits since installing it. The circuit kept tripping no matter what I did. I disconnected everything on that receptacle and started over today. I checked each outlet individually. Each were installed and no circuit broken. I then added the exhaust fan switch to the wiring and the circuit broke. I realized the ground wire of the fan switch was making contact to the hot line when I pushed the wiring up into the receptacle. After fixing that problem, all electrical is up and running. The picture below shows the finished outlets.


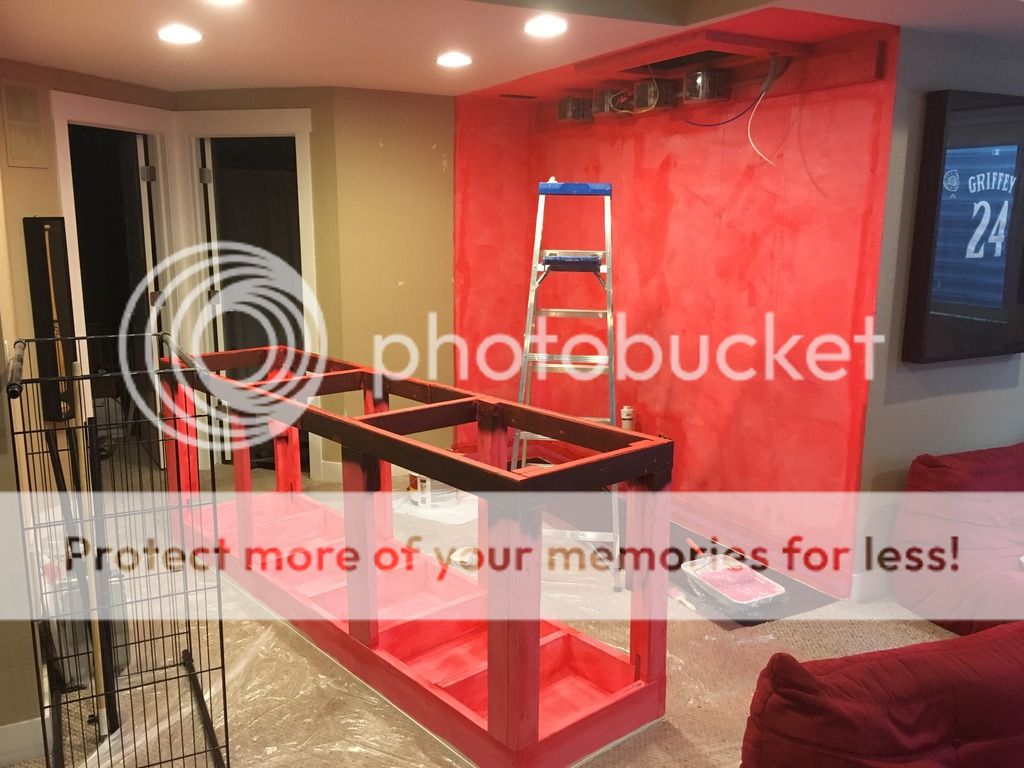
My fish tank advisor/guru told me the stand had to be rethought. It was not level enough and we worried about the weight of the tank and refugium weight on the stand. Over time the worry is about sagging of the wood, bowing, and possibly breaking. Time to redo the stand. It was painful at first but I'd rather do it right from the get go"¦
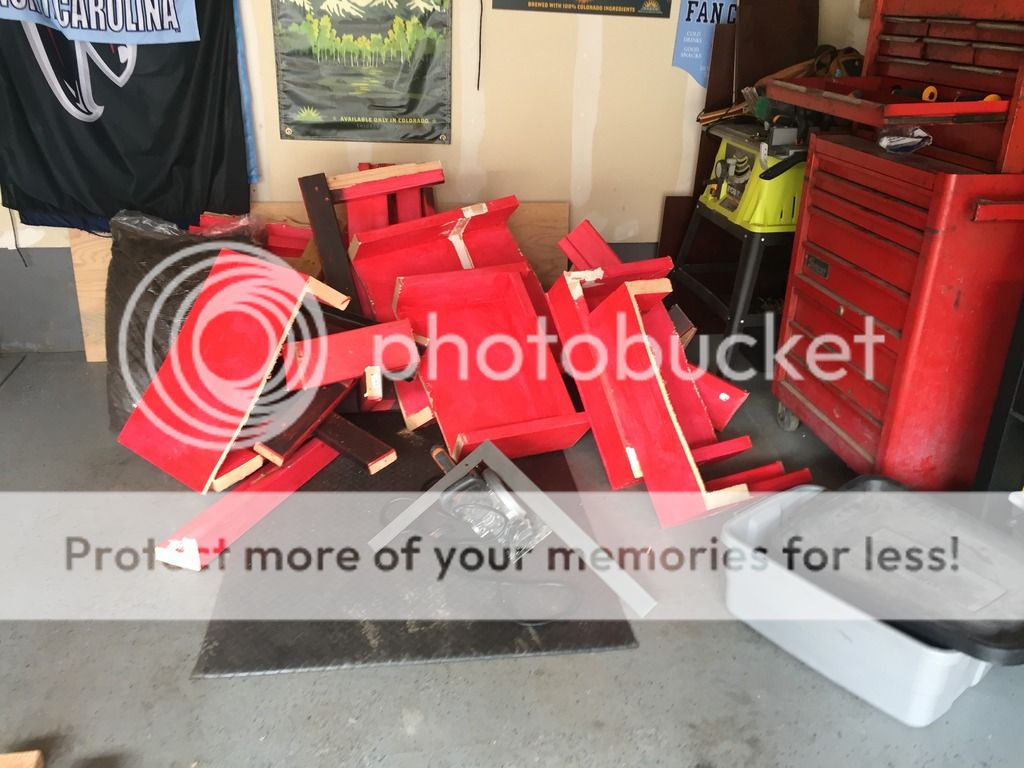


Stand after demo"¦


Home Depot on a Saturday afternoon is one thing, but Home Depot on a Saturday with nice weather and the first shipment of spring flowers makes for a nightmare. That place was a zoo. The shopping list included wood for the new stand top, cement blocks, an outlet cover, sound boards, and lumber for framing the tank base and future upper cabinets. Pictured below is after the Home Depot run.


Rubber pond liner back on the floor and cement blocks were stacked and glued together in place. These will act at the supports for the tank and refugium. Another middle section of cement block supports still needs to be installed.


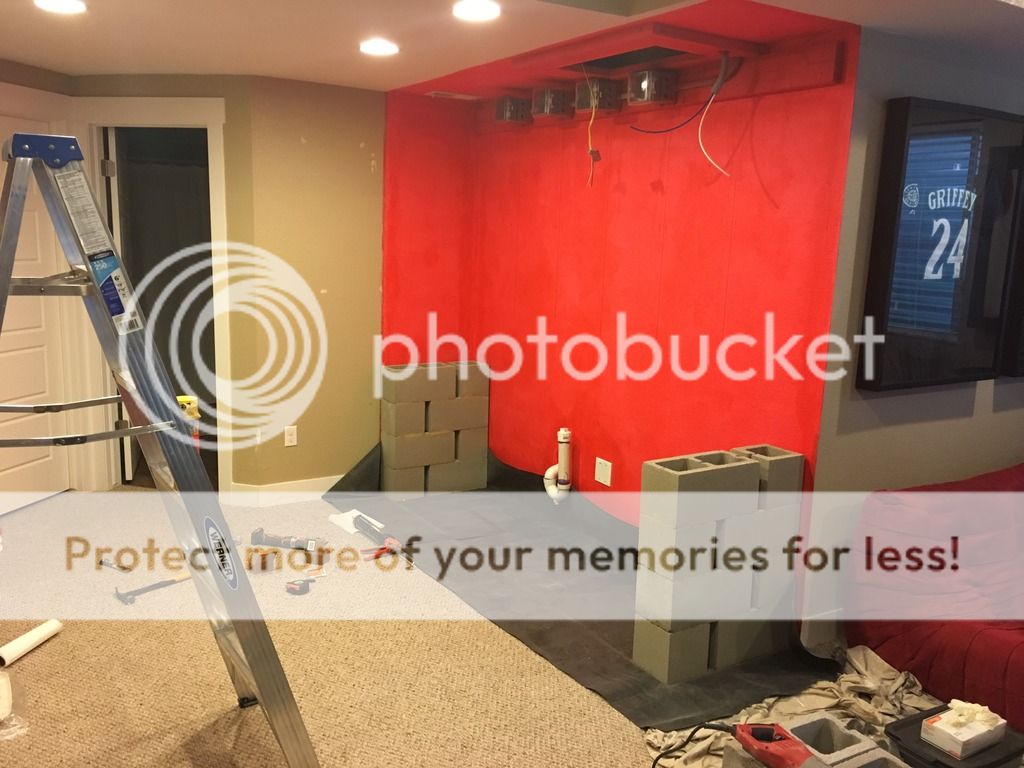
The pond liner is folded in the corners and attached with a machine bolt, washers, and a nut. This was done to prevent having to cut the liner and ensure a solid leak barrier/container.


Not pictured is a Brute trash can that is placed on 2 cement blocks in my utility room where the RODI unit will be set-up tomorrow. I went back outside to the exhaust ventilation and place a mesh guard over the opening to ensure no rabbits or critters get into the venting.


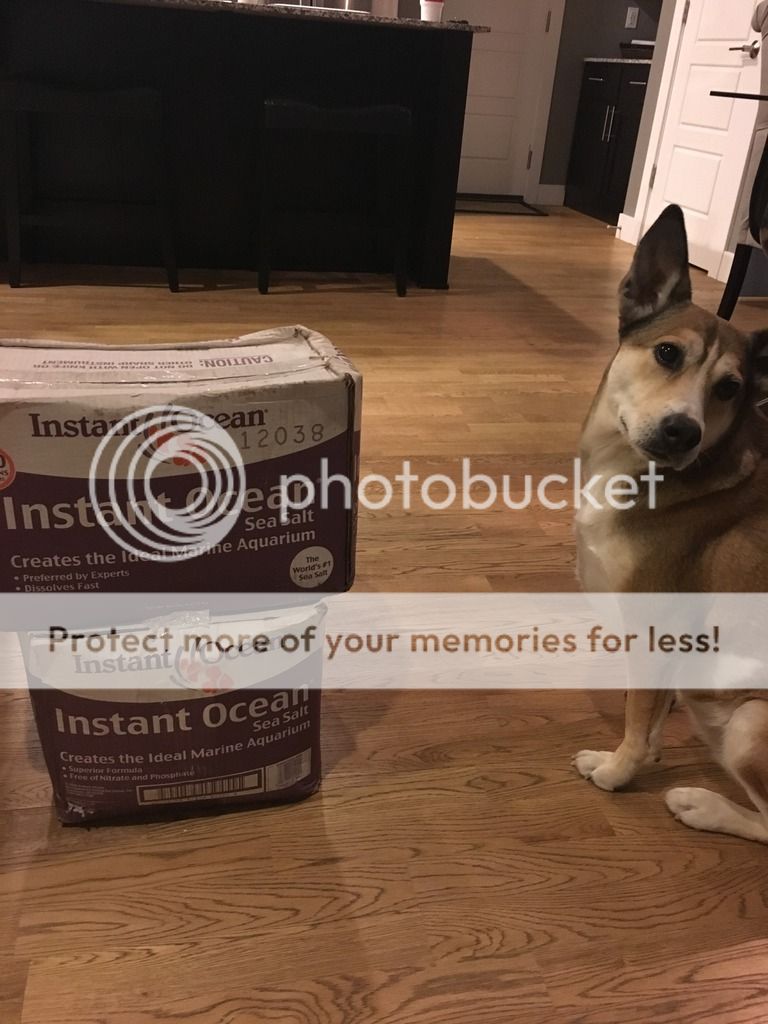
Tomorrow our plan is to build a new tank stand frame and framing for the upper cabinets above the tank. Finish installing the ventilation fan, hook up the RODI unit, and RedGard the sound board and all the exposed framing. My watchdog is currently guarding the salt until we start cycling the tank in the next week or so.


It currently looks like a bomb went off in my man cave...


More to come tomorrow"¦
 
I'm curious as to why exactly you're advisor thought the first stand would not be strong enough? As far as I know most stands are made solely of wood unless you have a real monster tank that requires metal supports. In fact both of my tanks are sitting on wood stands right now...

Sent from my ONEPLUS A3000 using Tapatalk
 
The concern was the wood stand legs possibly warping or shifting. I am doing built-in cabinets around the tank as well and didn't to ruing the cabinetry if shifting occurs. Another reason and probably the deciding factor is the sizing of the sumps. With the wood stand I build I only had 18" of width. I am going to use 3 HDPE containers to create a sump system. The first one will hold only a filter and catch all my debris so in theory that one is the one I would have to clean more often, the middle will house the protein skimmer, and the final will house extra rock. The thought was to get as much water volume as possible. The refugium will sit next to the tank hidden in cabinets and drain into the first sump container. My goal is to eventually not have to feed my fish and just have a self sustaining system like in the wild (or as close as I can get). With now 24" of width my sump container sizing options really opens up. The cost of a custom sump was just too much since I am already nearing my "budget" for the tank. I think it would have been fine but my buddy has been building tanks for years and has never had an issue with tanks he builds (as I knock on wood).
 
I have RedGard all over myself...

I have RedGard all over myself...

Finished installing the cement blocks for the tank stand base. All have been liquid nailed together and allowed to set and dry. After the blocks were left to dry, the exhaust fan was installed. It's amazingly silent while running.


The sound proofing panels we laid out and painted with the RedGard. The hope is to add some waterproofing to them and give them a little more strength when the painting dries on them. Next was building the new stand frame top. It was built out of 2x6"s. I topped it with liquid nail and screwed ¾" plywood on top. I added a second layer to ¾" plywood on top and secured with liquid nail. I am allowing it to dry for 2 days with lots of weight on top to ensure a solid seal between the plywood. Next steps are to cut out the take plumbing holes on the stand and get it down on top of the cement blocks. I am going to paint RedGard all over the wood stand. After that is to build the framing around the tank for the cabinetry.


The concern was the wood stand legs possibly warping or shifting. I am doing built-in cabinets around the tank as well and didn't to ruing the cabinetry if shifting occurs. Another reason and probably the deciding factor is the sizing of the sumps. With the wood stand I build I only had 18" of width. I am going to use 3 HDPE containers to create a sump system. The first one will hold only a filter and catch all my debris so in theory that one is the one I would have to clean more often, the middle will house the protein skimmer, and the final will house extra rock. The thought was to get as much water volume as possible. The refugium will sit next to the tank hidden in cabinets and drain into the first sump container. My goal is to eventually not have to feed my fish and just have a self sustaining system like in the wild (or as close as I can get). With now 24" of width my sump container sizing options really opens up. The cost of a custom sump was just too much since I am already nearing my "budget" for the tank. I think it would have been fine but my buddy has been building tanks for years and has never had an issue with tanks he builds (as I knock on wood).

I am very impressed! I am enjoying watching this unfold.
 
So close I can almost smell the salt...

So close I can almost smell the salt...

Ventilation is finally all hooked up to the exhaust fan and seams sealed. I cut a small piece of plywood to cover the remaining access hole in the ceiling. Just needs a coat of RedGard. I am currently painting the new tank stand top with RedGard and will try and get that installed on the cement blocks this weekend.


It all looks really impressive but I think you would be better off with a properly built wood stand. I would not sleep well with it on blocks like that, but then I live in CA and we have Earthquakes.
 
Just a quick coat of epoxy paint on the top of the stand to seal it up. I plan on moving it into place in the basement this weekend and hopefully get the tank in place.

 
Frame top is done...

Frame top is done...

The frame top has RedGard and Epoxy paint applied and is down in the basement. This weekend will be leveling the top, building the framing around the tank for the cabinets, and hopefully installing the soundboard. Making the cabinets will be started the following weekend and hopefully plumbing will happen soon. We are getting closer"¦

 
wow, you're really going for it, for someone who's never had a tank before. Looks like a good start. I can see you're a gung-ho type of person.

Most people start with a 10 gallon and move up if they like the hobby.
 
Everyone I talked to said bigger is better, get a bigger thank than you think, and more water volume will be easier to maintain. I believed them, so hopefully it's true haha. Darthv247 that made me laugh.
 
Back
Top