Removing scratches in acrylic is easy

montanabay

New member
The hardest part is emptying the tank. The trick is 800grit 3M wetdry sandpaper, 1500, followed by 2000 grit wetdry, then Novus 2 buffer. Wish I tried this way sooner....ooops. I'm not even sure the Novus buff is necessary, I bet you could wet sand with the water and live stock in the tank, considering acrylic dust is inert, and then finish with the finest micro-mesh. Anyone try this?

Cheers,

Josh
 
I'm currently researching a wet way to remove scratches :)

Draining the tank is not an option unless all of that can be done in... actually no draining the tank is not an option.
 
I use micromesh to remove scratches underwater. I've been able to remove scratches that I can feel with my fingernail in less than a minute (3"x3" area).

I use 3000, 4000, 6600 and 8000 grit.

Art
 
Marc Daniels in Sacramento has already developed a product to do this. Contact him if you want to try one of his products. I hear it makes the tank better than new, and you can use it for daily maintainance. I'm still waiting for my DIY kit.
 
NOTE: You can get wet/dry sandpaper in grits up to about 2000 at the automotive stores (Pep Boys, Kragen, Autozone).

I just bought some to try the "Scary Sharp" method of chisel and plane blade sharpening. Works good! (It involves using sandpaper glued to plate glass instead of a whetstone).

I'm glad you posted this info, I have a 100g acrylic tank in the garage that need a lot of attention!

V
 
I have a 300 gallon acrylic I bought from some guy for $100 bucks because it was scratched to heck, figured if nothing else I would cut it down and make a propagation tank.
Then I found it had a leak, So thought I would just resale it as a reptile tank. But after talking to someone that does acrylic, I used the #16 acrylic glue and sealed the leak, but at his suggestion I am going through and useing the thick silicone like acrylic glue and filling all the edges just for a little more safty. Nothing better then over kill to put you at ease right?
I may also glue in these corner slats a local acrylic company sales that would put a piece of acrylic in all of the edges, more or less making new seams al the way around.

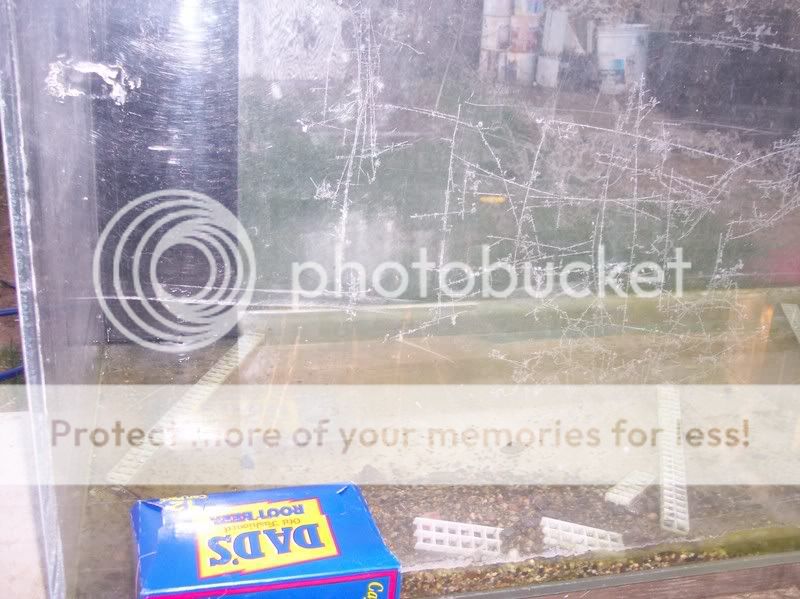
Now that I know the scratches might not be as bad of a problem as it seemed....ok, yes they will. This guy dragged it on to a trailer with one other guy, on the face of it, leaving a really large scratch on the front, and the but some other stuff inside it for the trip, so a lot of scratches inside and out. I will have to do damn near every inch of it.
 
Twisted, sounds like you got some work cut out for you.

I'd get a orbital sander if they make the finer grits for it 800-2000. That will make your job a lot easier. You could also use a power buffer too, they make them as a power drill bit or it's own machine.


Cheers,

Josh
 
I have a 125 that's needs attention and my question is the technique used while sanding?

Do you sand in the direction of the scratch or the opposite (against)?? Or maybe a combination of the two techniques?
 
to get the scratch out I've been hitting it at 90 degree angle, then as a I reduce grid I've been trying to use small circle motions.
 
<a href=showthread.php?s=&postid=9248366#post9248366 target=_blank>Originally posted</a> by montanabay
Twisted, sounds like you got some work cut out for you.

I'd get a orbital sander if they make the finer grits for it 800-2000. That will make your job a lot easier. You could also use a power buffer too, they make them as a power drill bit or it's own machine.


Cheers,

Josh

Yeah I have a detail sander, and while they don't make the really fine grit pieces for it, I realized that since they are pretty much velcro backed, I can probablly make my own....then I realized what might happen if it slips off, or wears through.
So I figure I will buy the drill attachment.
Guess this will be my summer project. Thinking of setting up a aqua farm, so this would pretty much be my display tank...if I can get it to look good. Other wise I will cute the top half off it, polish the remaining sides to where they look okay, and brace it for a propagation tank.

It was going to go in my house, but I have raised floors, and 4000 pounds worth of saltwater on it, didn't seem easily done, so lots of plans, but all get rewritten every day, what to do, what to do....
 
Yes, SFSUPHYSICS, That is the same that I have. I have heard of a lot of people getting good use from those things... search for it here on RC.
 
I borrowed a kit from my old LFS to remove scratches wet (various grits of wet sandpaper). From the outside it looks flawless, but if you look from the side of the tank, you can see the area that has been sanded down (looks like a "clouded" area from inside out - must be the angle). Like I said, from outside in looks perfect.
 
As far as sanding underwater...absolutely it is possible. We hired a company (Everclear) to teach and help us how to polish acrylic underwater. We did the entire inside surface of a 5000 gallon tank (with corals in it) in about a week. Basically, they drew 1' by 1' squares with grease pens. Big/deep scratches were started by hand at a very low grit (around 400 to 600 I think). Initial sanding direction was at a 90 degree angle to the scratch. Then another pass at the next lowest grit (800 think) at a 90 degree angle to the first sanding. You sanded until you could see none of the lines running transverse to your current sanding direction. Then we moved on to random orbital palm hand sanders. One square foot section got 5 minutes of back and forth, up and down, back and forth, up and down strokes until your time was up. Then you moved on to the next grit. Doing this in scuba gear certainly wasn't the most enjoyable thing, but the process worked. Youwork up all the way to 8000 underwater.

If you;'re looking at buffing out a few small scratches, hand sanding would be fine. If you're trying to do an entire panel, I'd suggest renting a random orbital palm sander from a hardware outfit. Pneumatic if you want to do it underwater.

If you are doing it dry, you have to keep it wet. Once you get around 4000, you can switch to Novus and things go a lot quicker.
 
Hmmm, well I have to do this tank inside and out. But really only the front and the two sides. The back will be covered, and the bottom will be sand bed, while the top wil have a canopy on it.

So figure this tank is 8 feet long, 26 in ches wide, and 30 inches tall, it's going to be interesting.

This thread has made it sound pretty easy. we will see what happens when I apply the elbow grease....hmmm, maybe I should do a before after shot when I get ready to start. here are a couple before shots.
The first shot is at 7am with frost filling in the scratches, just thought I would snap the shots then because they showed so well.
The second shot shows the nasty scratch.

tankscratch2.jpg


tankscratch.jpg


tanktop.jpg


tankfront.jpg
 
who baby, that will be fun! Definitely use electric something on that guy! I bet you can start with 600 then up to 800, then 1500, then 2000, then Novus buffer or micro-mesh.
 
Back
Top