RocketEngineer's 75g/125g Setup

Why was the RDSB in a bucket not working as well as I want? Because there wasn't enough flow. That has now been fixed and the Syncra 1.5 is running wide open. Plus the added flow in the sump pushed all sorts of gunk out of the crevices. Another weekend, another tank project finished.
 
As most readers of this thread know, I have a working solid model of the setup as well as any changes I plan on making. The new lighting setup is no different.

Here is the design for the new light fixture over my tank:


The fixture consists of two parts.
A base:


And a top:


The base spans the width of the hood and has two acrylic sheets across the bottom. The top frame houses all the lights, the T5 ballasts, and the fans. The idea was to make the top frame removable so that I could easily change out the bulbs. Yesterday I figured out a way to make that significantly easier.

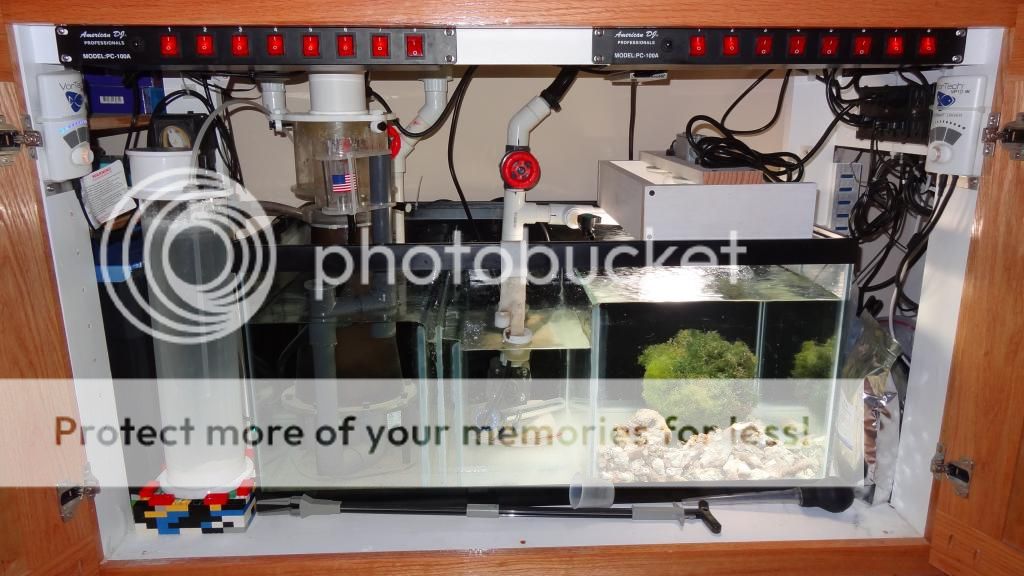
For several days now I have been in a bind. I have 9 items I want to control and only 8 outlets. I had two options, either combine things onto a socket extension or add another DC8. I already had a second DC8 (changed out because at least one outlet is damaged and I needed all eight) but I didn't know where to install it nor where a cable was to connect it to the other DC8. Mounting it to the inside of the hood wasn't an option because I had no room. Placing it in the stand would require threading the fixture wires behind the stand and I wanted to get away from that. Last night I came to a fortuitous realization that the DC8 fits on the end of the fixture base. Also, in an attempt to clear out the box of wires/cables/power supplies that I have accumulated over the years I came across a four wire phone cord which is what my AC3 Pro uses to talk between devices. HA, now we're getting somewhere.

The result is as follows: The BML strip has a disconnect between it and the ballast so I can break the connection there. The BML strip ballast will stay in the stand. The two new T5 ballasts and the fixture fan will now plug into the new DC8. By plugging those into the DC8 mounted to the fixture base, I can now unplug them, disconnect the BML strip and pull the entire fixture top out of the hood to change out the bulbs. All without having to fish wires behind the tank.

I love it when a plan comes together. Now it just has to survive contact with reality........Yeah, we will see how that plays out.
 
:dance: The new fixture is complete. :dance: Everything is up and running. The new lights are a little blue but overall its actually not a bad look.

There is no noticeable shadowing on either end despite using 60" of lighting over the 72" tank. I'm running the fixture fans full out but I can't hear them :spin3:. With the hood fans now on a temperature control I hope to see the evaporation rate drop.

Now it is time to let things settle out again.
 
For the last several weeks I have had a major problem with cyanobacteria on the sand bed, especially right under my MP40 on the left side. Yesterday while changing out the lights I realized that most of it is now gone. I wonder what changed......Maybe the RDSB is finally working or maybe it was all the water changes. With the new lights it may come back with a vengeance. Time will tell.

During the month of July I have made three notable changes to the tank:
1) Added 25 pounds of Gulf of Mexico live sand
2) Changed out the RDSB outlet so it can run at full flow
3) Changed the lights

Given how disruptive one change can be, I think it is time to let things settle out, see what effects the changes have and keep up the water changes and testing. Right now the tank is technically a FOWLR setup as all my corals are gone. If I can finally get a handle on the nitrate problem I may begin adding a few more fish but I haven't decided on what kinds yet.
 
I broke out the camera tonight for a few more pictures of the new light fixture.

Here it is installed in the hood:


The bulb layout:


And a FTS:


I'm very satisfied with the overall results. Now I just need to attach handles to the top frame for easier removal.
 
Wow, new light fixture looks great! Kind of a new beginning going on here...I'm sure you'll get those nitrates under control. Minimal feeding and skimming still going on?
 
Third time's the charm? I hope so. The more I look at the tank the more I like this new light. I got smart this time, there are felt pads under the main fixture which allows it to slide nice and easy. My last one was a PITA because the sockets would rub against the supporting boards and get jammed. :mad: Not any more.

Its kind of strange thinking about this as a new beginning. Four years ago this past weekend I moved everything from the 30g over to the 75g that was the beginning of this particular setup. Most the the tank stuff has been changed out over the years but some stuff remains unchanged. The stand has a number of dents but otherwise has held up amazingly well. The power strips are original to that first setup and I'm still using the same controller. Beyond that I think everything else has been changed.:sad1: I still have most of the original equipment floating around but for now those are just being held in reserve.

Yes, I'm still doing minimal feedings, the skimmer continues to pull enough tan gunk out to fill the cup at least once a week, and water changes will be done whenever possible. On that front the monster patch of cyano under the left MP40 seems to have retreated. My next task will be to bring the kalk reactor back into service (just need to get new kalk powder) and things should begin to get back to where they were.
 
The new light fixture is quite impressive. I just went back and saw the felt pads you mentioned...what a great idea.
 
With the new lights I have decided to get off the seasonal timing on my lights and just go with programmed times. The T5s will be on for 11 hours with a 1/2 hour dawn/dusk. The LED runs for 5.5 hours for a "high noon" effect. Despite the fact that the wireless gaming adapter appears to have gone belly up, I was able to use my old Linksys router to connect into the AC3 Pro using hard lines. It is much easier to program through the web interface than using the three buttons on the controller.

Here is the program:
If Time > 10:00 Then LFN ON
If Time > 10:00 Then FL1 ON
If Time > 10:30 Then FL2 ON
If Time > 13:00 Then LED ON
If Time > 18:30 Then LED OFF
If Time > 21:00 Then FL1 OFF
If Time > 21:30 Then FL2 OFF
If Time > 22:00 Then LFN OFF
If Time > 20:00 Then REF ON
If Time > 07:00 Then REF OFF
If Temp < 77.0 Then HE1 ON
If Temp > 77.5 Then HE1 OFF
If Temp < 76.0 Then HE2 ON
If Temp > 76.5 Then HE2 OFF
If Temp < 60.0 Then HE1 OFF
If Temp < 60.0 Then HE2 OFF
If Temp > 82.0 Then FAN ON
If Temp < 81.5 Then FAN OFF
If Time > 00:00 Then SWB ON
If Time > 00:02 Then SWB OFF
If Time > 06:00 Then SWB ON
If Time > 06:02 Then SWB OFF
If Time > 12:00 Then SWB ON
If Time > 12:02 Then SWB OFF
If Time > 18:00 Then SWB ON
If Time > 18:02 Then SWB OFF

LFN = fans in the new fixture.
FL1 & FL2 = T5s
LED = BML LED Fixture
REF = the refugium light
HE1 & HE2 = Heaters
FAN = the old fans blowing across the water
SWB = the Swabbie on the skimmer.
 
Nice job on the new lights. Are you getting any shimmer effect in the tank from the LED's?

Thanks. No, this particular LED fixture uses a diffuser to blend the different color LEDs into a fairly consistent light field. I did have shimmer from my DIY LED setup but it was more like overlapping pools of color so it didn't look very good. Not having shimmer just isn't a big deal to me.
 
With respect to this sump design, if you were to take that last baffle which separates the fuge from the pump section and place it at a SLIGHT angle. Do you think it would make it quieter? The idea is to let the water roll down hill instead of splashing down due to the vertical section.

While a lot of work has gone into the display, the sump also got replaced.

NewSump015_zps69c4cb6b.jpg


The new sump has the compartments reversed which places the skimmer on the left and the refugium on the right. That way the refugium cord only has to go about a foot to plug in. Reversing the sump also put the kalk reactor outlet in the skimmer section with the drains so there is plenty of flow.
 
With respect to this sump design, if you were to take that last baffle which separates the fuge from the pump section and place it at a SLIGHT angle. Do you think it would make it quieter? The idea is to let the water roll down hill instead of splashing down due to the vertical section.

If you look at the picture you will notice that the water sticks to the glass due to surface tension. Because of this and since the flow rate through that section isn't high enough to have the water separate from the surface of the baffle it is totally silent as it is. If I were to increase the flow too much then it will start making noise but being in the stand it is very hard to hear any flow.
 
I did a nitrates test last night and I'm down to 20-40 ppm :rollface:

Yeah, still need to work on that.......But it is better than it was.
 
Back
Top