75 g build Ogden it

Vdubin00

New member
Well I picked up this tank stand canopy , and 2 gen 3 pro radions for $1k ,, the guy said it was a 75g, although in convinced it's bigger then that I actually think it's a 90g , the dimensions are T x H x W 48x26x22 roughly give or take 1/2" due to the top and bottom trims ,, that seems closer to a 90 rather then a 75 ?? Correct me if I'm wrong ,, anyways the guy is going to school didn't have time for it the radions are only 1 year old,, the wood and tank he bought used ,, tank seems like it's in pretty good shape I think I might try to re polish the viewing panel for clearity or install a low iron pane up front for around $120 ,, undecided yet on that ,, I have started on wood work ,, I'm refinishing all the wood, and staining it a red mahogany color and using a semi gloss polyurethane top coat ,, don't want a ton of gloss ,, I started to stain with just a rag ,, and didn't like the consistency or lack there of , so I sanded down the stand (which I had stained while it was lying on its back, dumb *** move cuz everything ran, it looked like **** ) so I started over and im using 80 grit sand paper on all the wood ,, followed by 220 to finish,, I'm going to be using my Wagner sprayer on the rest of it ,
Here is the tank as I picked it up from the guys house (I discarded the sand , learned my lesson on my first tank NEVER USE USED SAND ) maybe some of you have had good results with it , I didn't and I won't ever trust used sand again !!! Anyways
Here's original setup
5920307fb6f8e050604b45d9320e3e11.jpg


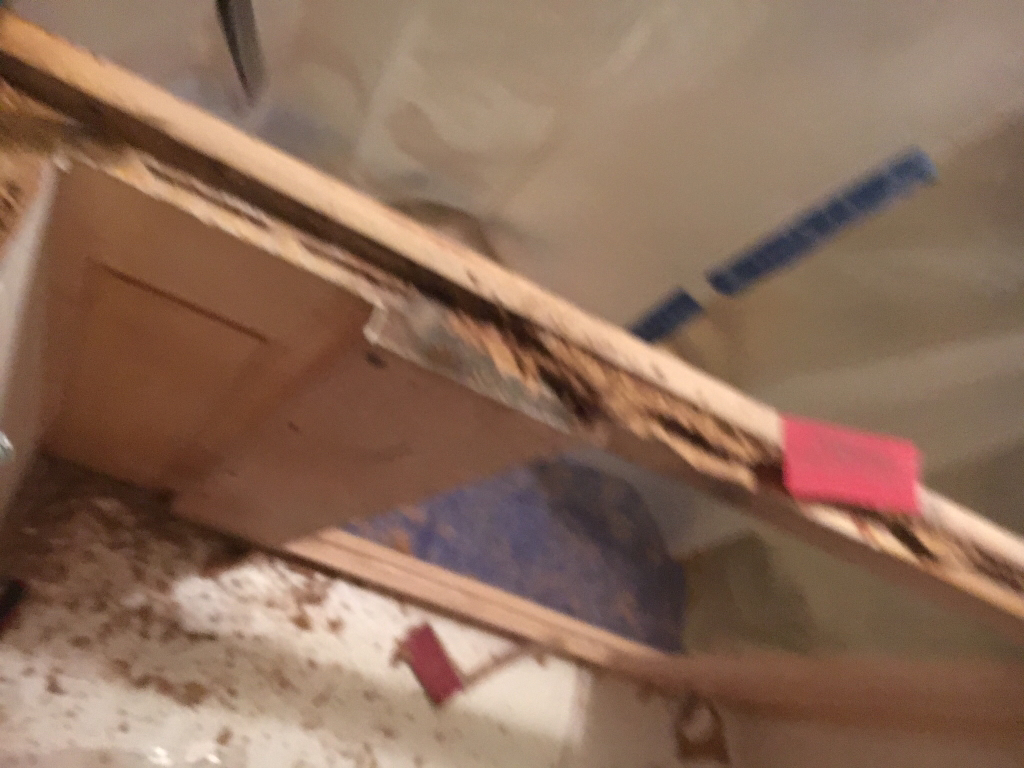
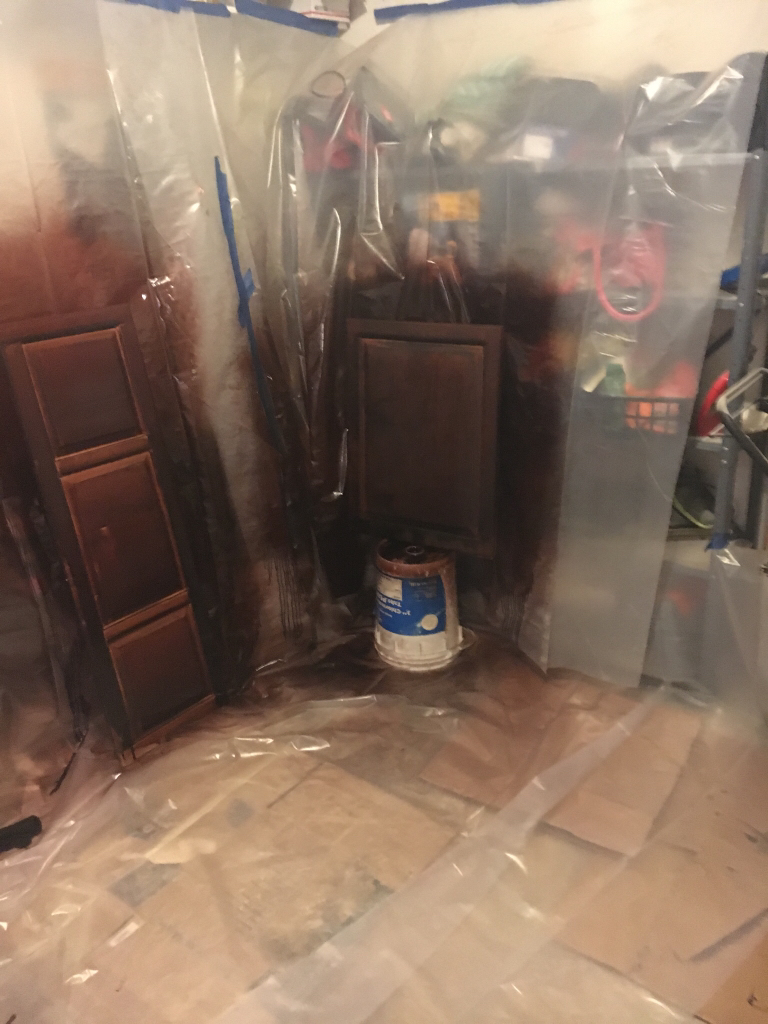
Here's what my garage has turned into a sanding bay and paint booth
5a94cb9bcd9ed704d298dc2f4b511b20.jpg


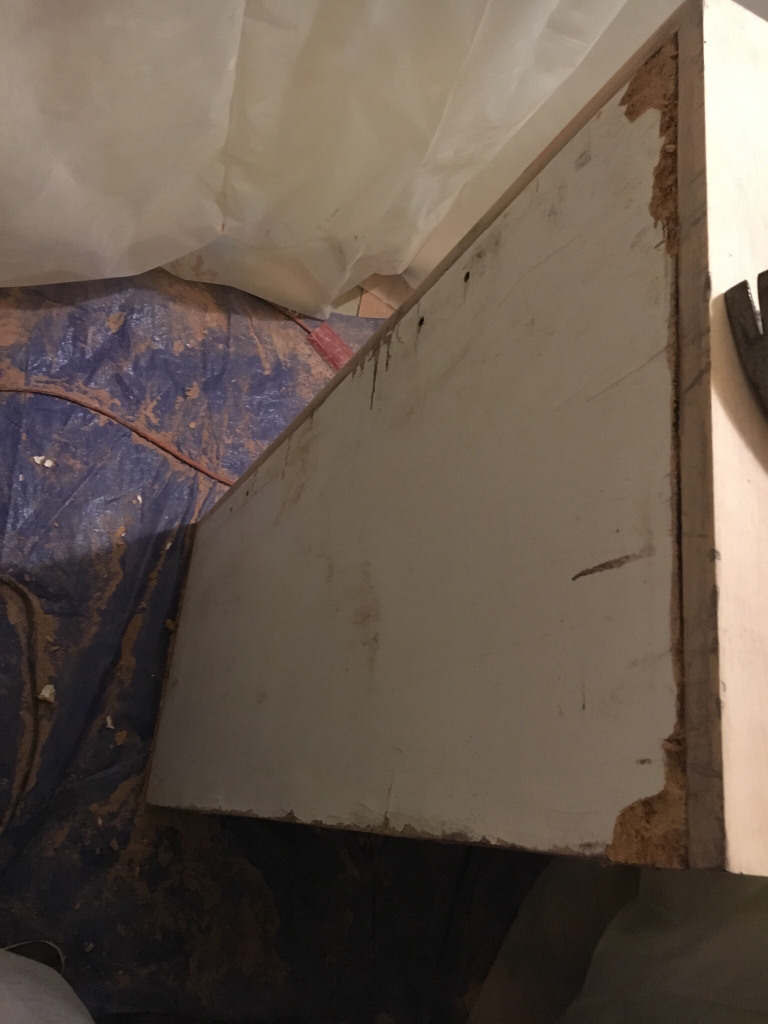
Hers the progress I've made re sanding the stand
ce054d644960d3e940b354071b5304ea.jpg


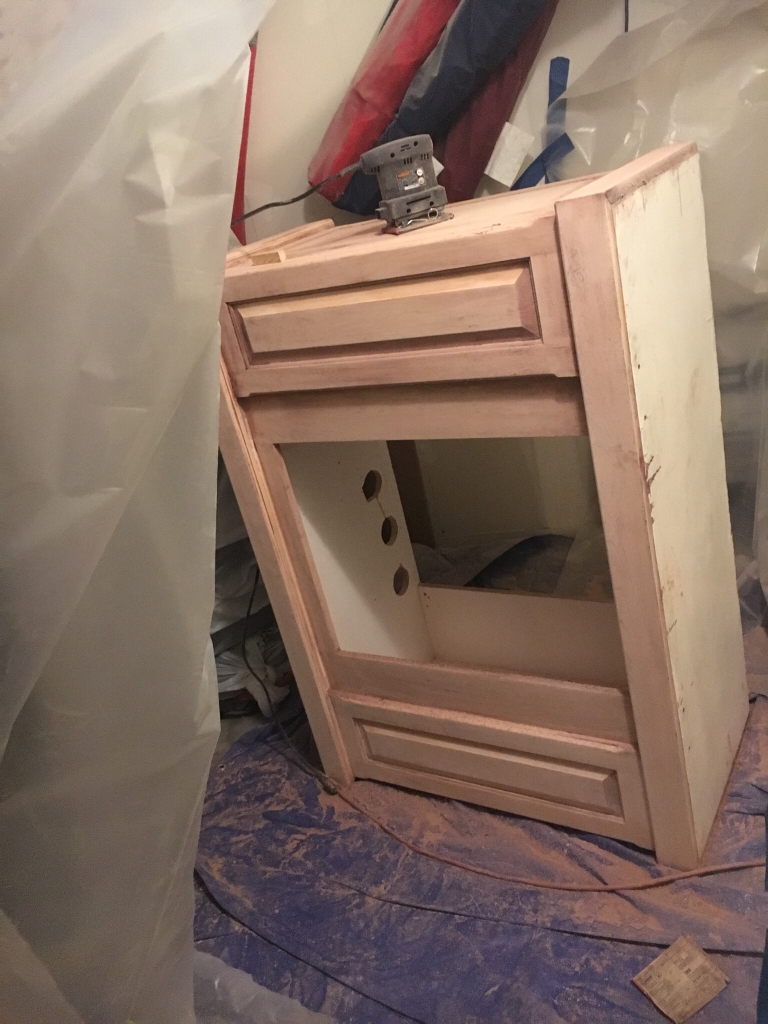
Here's the door and the first attempt using the Wagner sprayer and I will say if kept and a good distance and the trigger set to low paint,, it did AMAZING !! If you see the door on the right looks good , and the canopy door on the left looks crapy , I didn't sand the canopy door very well ,, I'll be going back over it with 80 grit then 220 grit
becadd24766fd91f8f7903f19649766f.jpg

As you can see my garage is in project mode
580fcd2d7834a994832973dc47e47982.jpg


So I'll be updating this as I go , I'd really appreciate anyone's feed back ,, I might just get crickets ,, but that's ok ,, so here's the start of my 75 or 90 reef build !!


Sent from my iPhone using Tapatalk
 
I got around to drilling the tank , so the bottom was already drilled once for a single over flow and had the return come over the top of the tank ,,I want safety and piece of mind in case of emergency,, so I drilled 2 more holes for 1" bulk heads one for main overflow one for emergency overflow in case 1st one fails , and one for the return line ! Making progress slowly but surely

7a47f348d9f50430b1813bc20402206b.jpg

For those of you curious about drilling it's quite easy , I used a plastic bottle with a hole in the lid to keep water on the bit along with some pb blaster ! Worked great ! Took me about 15 minutes per hole taking my time

What do you guys think should I replace the bottom piece of particle board on the stand it looks a lil wrapped and kinda smells like mold or mildew ?

fa1e47331182cd5ea91850ba582bac2c.jpg


Here's one of the inside bottom of the stand,, it's starting to crack

c7d0ca9cf08ce2d412a5234ee45ee263.jpg

What do you guys think replace it ? My brother owns a counter top shop so I'm thinking of having him making me a laminated piece to go on the bottom so the sump can sit on it and be level and the wood can be protected from moisture I can't find nail holes where this thing is connected I'm thinkin it's glued in


Sent from my iPhone using Tapatalk
 
Oops I posted two of the same pictures here's what bottom of the stand looks like
396dd004ec291ef640641c5ca19897c3.jpg


Sent from my iPhone using Tapatalk
 
Stains can be a pain. I went through a few pieces of oak plywood myself when I stained the wrap for my stand. I'm sure there must be tricks but my stand is the only thing I've ever stained. I like them better then paint through.
 
Last edited:
Yeah it sure can I've had to sand a couple things cuz I didn't like how inconsistent the stain turned out


Sent from my iPhone using Tapatalk
 
To be honest I lack the experience to really say. I had pieces that end up with odd spots that I couldn't seem to get rid of and that was with raw plywood.
 
I'm totally confused about the tank size maybe I'm figuring it wrong but wouldn't it be

27456 in3 = 119gal
 
So I messed up on the dimensions! It's supposed to be 48"L X 26"T X 22"W ,, I'm not sure ! I'm going to re check tonight I'll let you know !!!


Sent from my iPhone using Tapatalk
 
So last night I got around to ripping off the bottom of the stand !!! Good thing I did cuz it was all moldy and full of mildew !! I'll be buying a new pre laminated sheet to replace it with
bc38730c107e60f56d3a74e780ab640c.jpg
8be0215401393208c52fb68d00b71491.jpg
3893e9a73406e6e9f7e415734d32fada.jpg
8d978238c08e269e5ec57064ba7d5505.jpg


I'm glad I decided to replace the bottom ,, I'm actually really impressed by how this stand was built ! It had like wood shims cut and glued almost like a dowel would into the bottom piece and the sides ! Very very structurely sound !!! I'm gonna enjoy putting it back together ,,


Sent from my iPhone using Tapatalk
 
Hahaha so never mind the duct tape wrapped around the end of the hammer ! Haha I took a lil piece of cloth and duct tapped it around the head of the hammer cuz I guess I kept waking up my son my wife said,, I needed to be quieter cuz it was late,


Sent from my iPhone using Tapatalk
 
So I messed up on the dimensions! It's supposed to be 48"L X 26"T X 22"W ,, I'm not sure ! I'm going to re check tonight I'll let you know !!!


Sent from my iPhone using Tapatalk

The order doesn't matter because your multiplying. You probably have more like a 100gal something tank. In any case it doesn't really matter.
 
Haha ! Well dang !! That's crazy !! Thanks for the heads up sfish !!! Also I had an arrival from BRS.com show up today I'll post about it in a bit


Sent from my iPhone using Tapatalk
 
Well my 6 stage universal plus RO/DI Unit arrived yesterday !! Someone once said owning a reef tank is basically caring for a tank of water ,, that's it ,, it's all about maintaining water ,, so I bought the best RO unit I could ,, although I should've just spent another $20 and got the water saver add on ,, but it's ok I'll buy that add on later ,,
835937e4894585e8513345d1ec91db62.jpg


I also made more progress with the stand ,, I bought some 3/4" malamine ( I think that's how you spell it ) at Home Depot last night to replace the bottom panel and the two back panels of the stand because they were moldy abs smelled like mildew ,, so I drilled and dowelled the back sides cuz I don't have a biscuit joiner but oh man I'd love to have one !! And I glue everything ,, I had to use the strap to keep everything square !!
e7943d3281c1ab15a0519eb66d361f69.jpg


More updates coming soon thanks for following my progression !!


Sent from my iPhone using Tapatalk
 
I'm tempted to say just build your own stand but after spending the money I would be trying to save the stand as well. As far as the bottom you could just put some plywood there and paint it with water resistant paint or deck paint.

Good choice on the RO/DI filter.
 
I'm tempted to say just build your own stand but after spending the money I would be trying to save the stand as well. As far as the bottom you could just put some plywood there and paint it with water resistant paint or deck paint.

Good choice on the RO/DI filter.


Surprisingly,, the price of the piece to replace the bottom was $25 , at Home Depot so actually not that bad of a price !!

I have already installed the bottom piece and it went back together awesomely !!! I'll
Post pic tonight !!


Sent from my iPhone using Tapatalk
 
Ok so I forgot to take a picture of the new bottom of the stand ,, but I got everything stained ,, and I'm in the process of getting everything ready to spray on the top coat polyurethane
eaeb4de2bb95e5c446c51b7817debfa2.jpg
800b0a5cd326ed4d71e77c47061eea87.jpg


Sent from my iPhone using Tapatalk
 
So 3rd times a charm right ? Well I didn't like how the poly went on so I ended up sanding everything back down AGAIN !!! This is the third attempt !! So anyways sanding by hand in those hard to reach places is kind of a pain in the *** so I found this thing on google saying to make your own sanding block with some foam , 150 g sand paper and some spray adhesive ,, being that I have hard to reach sanding spots on this stand I gave it a try , so spray some adhesive either on the stand or the paper and place it over the area you want to mold your foam to, I used a putty knife to wedge the paper in tight to fit corners ,, also i used the super flexible anti clogg sand paper ,, and then rub your piece of foam over it till you get your custom sanding block then spray the sand paper to the sanding block and boom tight crevis sanding block here's how mine turned out
20f050190af9603234be6c5c0e74e6c4.jpg
2ce248db551ccdc784866860b8df9f7b.jpg


Sent from my iPhone using Tapatalk
 
Back
Top