You are using an out of date browser. It may not display this or other websites correctly.
You should upgrade or use an alternative browser.
You should upgrade or use an alternative browser.
(First Reef Tank Ever) **** 600gal Display **** 1300gal System
- Thread starter JohnL
- Start date
sounds like a future masterpiece stevo! keep the pic's coming")
Tim, your kind words always make people feel good about themself. I will definitely post picture of the progress.
Those are some big boy toys!
(And im not talking about the ones on the left. Lol)
Lol, It is a must to have them toys since he want lots of fish and corals in his system.
Steve, will you or Bart be documenting the rebuild here on RC?
I will be the one who documenting the rebuild since Bart is too busy with other stuff. I already have his authorization to update his thread. He will eventually come around.
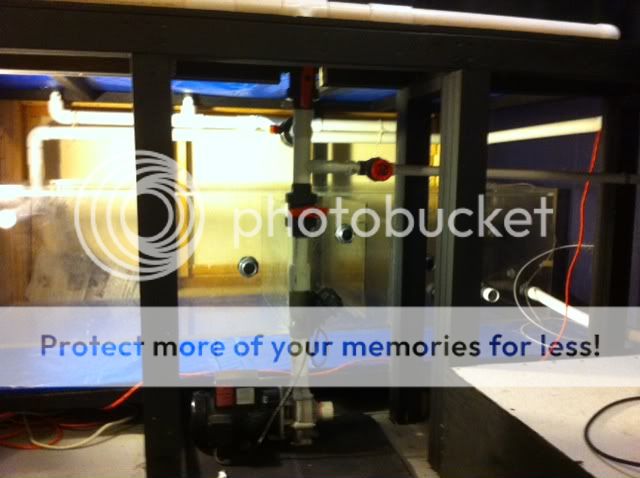
plumbing looks like inside of nuclear sub
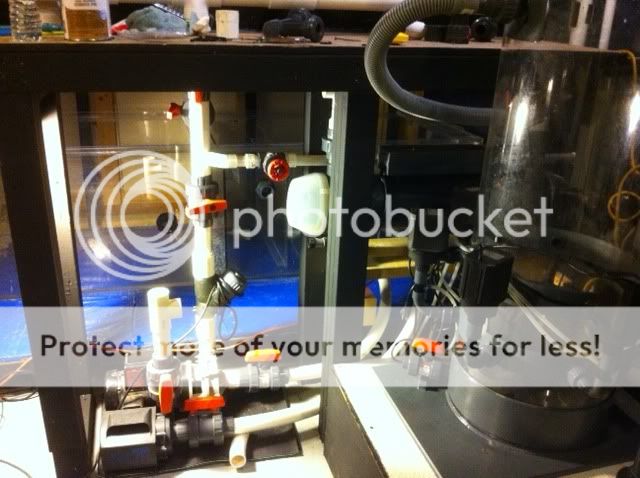
Not so much of a nuclear sub it is rather be more like home depot plumbing rack lol. I am not posting any plumbing pic as of yet but it will eventually come around as the tank filled and making sure no leak...
Did Bart ever have any issues with is tank? Is it still holding up well, seemed to had been a nicely constructed tank if I remember correctly.
He never has any issue with the tank as far as contruction concern. He is more concern about his electricity usage and the lack of knowledge in chemistry.
Wow I cant bielieve this thread is back from the dead. Than to Steve and John posting. hahhaha Glad you made it back safe Steve.....I might have to check on reef central more often. hHhHAHAHAH
Eric, i have been through 2 deployments since the last time we chat. Glad Bart allow me to work on his tank. It will get better and this thread will come back to life.


steve
i need some tips of polishing the tank ...
Lawrence, all you need is a speed adjustable drill and set it between 1000-1200rpm, you will need novus 1,2,3 and some micro fiber cloth as well as their buffing kit. You only need 8oz of each compound.
One thing that I learn is that if you apply more compound it will make a bigger mess lol. Just put a little bit at the time onto your buffing wheel and you are good to go.
bullitr
broke but happy
Lawrence, all you need is a speed adjustable drill and set it between 1000-1200rpm, you will need novus 1,2,3 and some micro fiber cloth as well as their buffing kit. You only need 8oz of each compound.
One thing that I learn is that if you apply more compound it will make a bigger mess lol. Just put a little bit at the time onto your buffing wheel and you are good to go.
Thanks
How about the wet side sanding?
Thanks
How about the wet side sanding?
If your tank is dry and you have a lot of scratches like Bart's tank which will require the use of Novus 3 it will take approx 1hr for 96x30 panel. If you want to do it with water and fish, it will take much longer. I used to polished all 3 sides in my tank and it took the whole weekend. Mighty magnets have the scratch removal kit but it is not as good as the one from Everclear.
juststartingout
New member
What are you doing for overflows? It looks like they are cut out of the tank.
What are you doing for overflows? It looks like they are cut out of the tank.
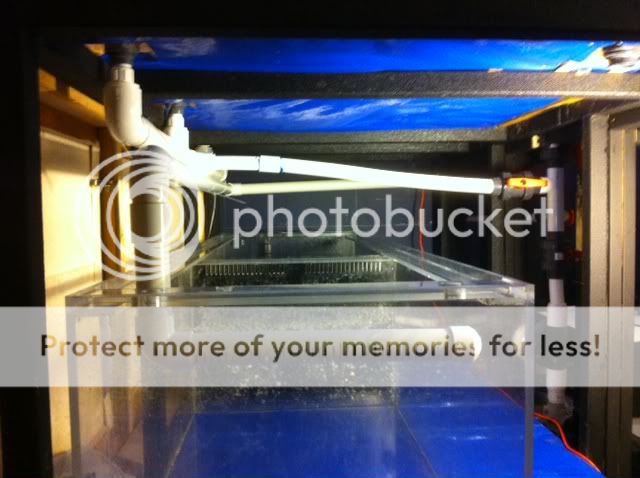
Yup, both overflow boxes being removed due to the fact the genuis who build his tank mounted a 4 sides overflow 3/8" away from the back wall so we have all kind of clean up crews stuck and die back there. I'm using the existing holes on the back wall as a drain.
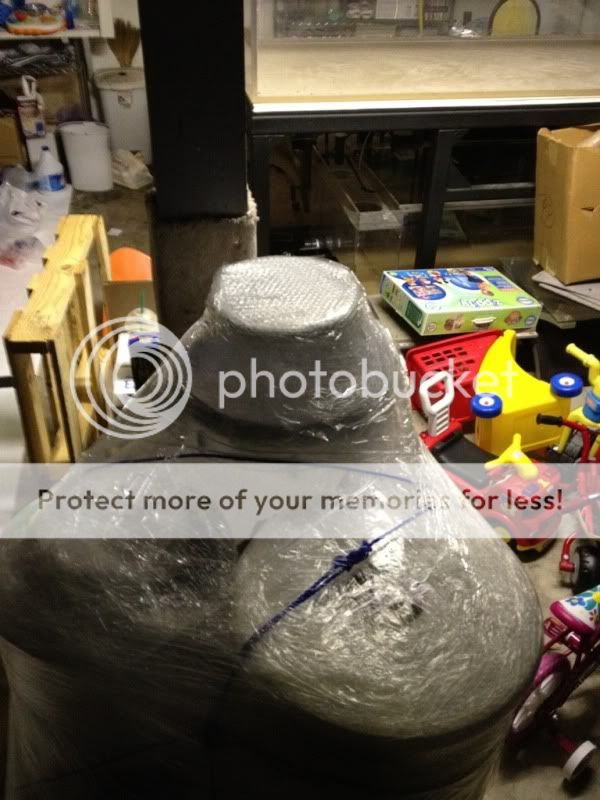
As mentioned before the shipment arrive with some damage to the skimmer and Calcium reactor.
skimmer with broken drain.
Calcium reactor broken bubble counter
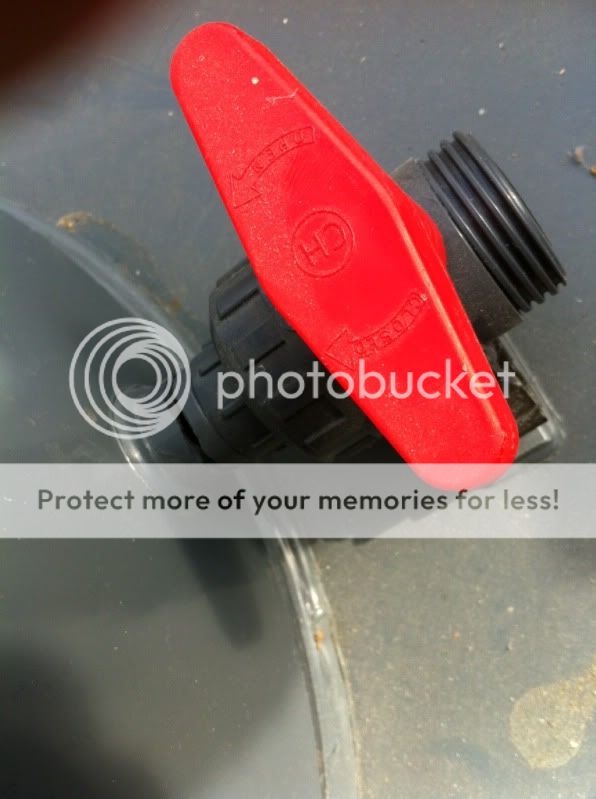
Good thing the remain pvc fit 3/4" valve.
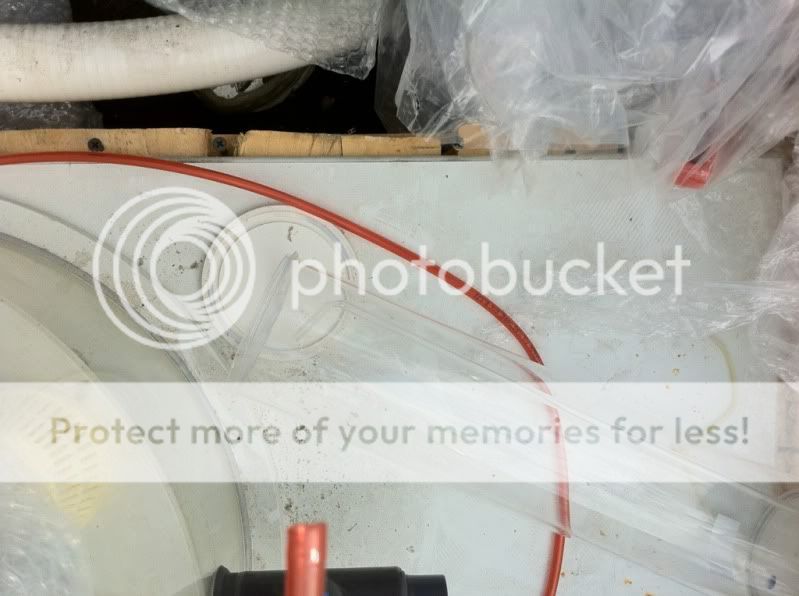
Bubble counter back to it original position

The twin
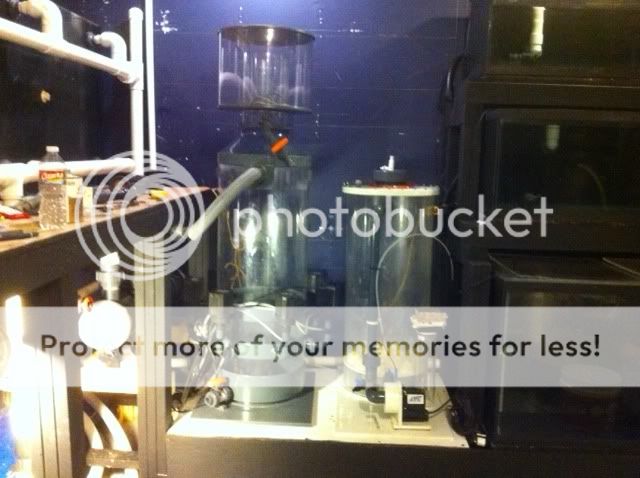
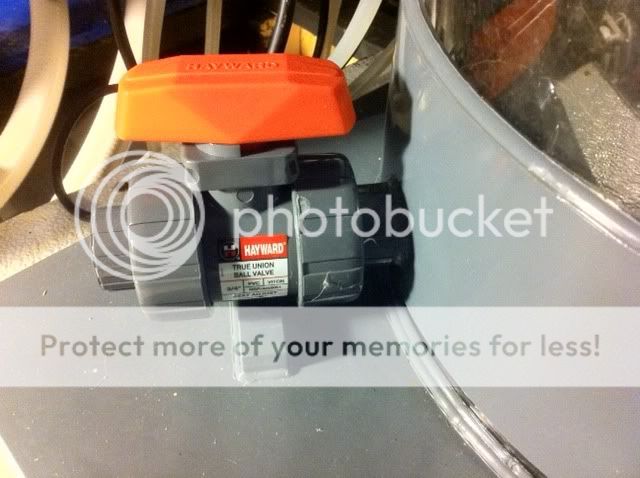
Finish plumbing the return, will finish the feed pump to Skimmer and 160w U.V tomorrow.
skimmer with broken drain.
Calcium reactor broken bubble counter
Good thing the remain pvc fit 3/4" valve.
Bubble counter back to it original position
The twin
Finish plumbing the return, will finish the feed pump to Skimmer and 160w U.V tomorrow.
Similar threads
- Replies
- 39
- Views
- 780
- Replies
- 2
- Views
- 2K
- Replies
- 4
- Views
- 1K
- Replies
- 23
- Views
- 4K