You are using an out of date browser. It may not display this or other websites correctly.
You should upgrade or use an alternative browser.
You should upgrade or use an alternative browser.
griss' Tank Upgrade Thread
- Thread starter griss
- Start date
Vinny Kreyling
Premium Member
Lookin Good
Thanks VinnyLookin Good

You can do it!
Vinny Kreyling
Premium Member
Time is now!
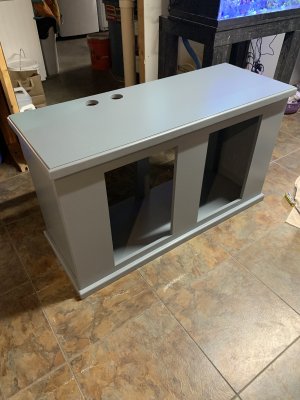
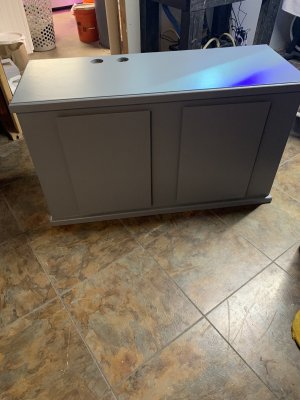
Okay, had the week off work, but the new (first) grandchild and some other projects around the house have taken priority. But got a chance to work on the hood today. Need to put some strips in to make it sit on top of the tank, then cut holes out for the MH pendants and finally paint it.
Attachments
Looks pretty good
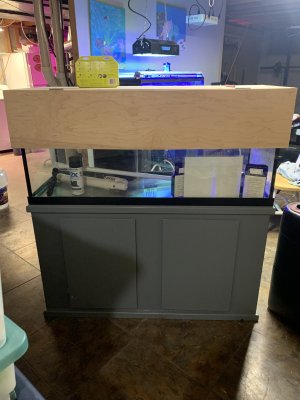
I’ll preface this by saying I’m NOT a good woodworker, but the canopy isn’t looking too shabby. Cut the holes for the. Coralvue MH pendants. Need to route 1/2” around the edges so the pendants will sit down in the holes and not move.
Attachments

n2585722
Well-known member
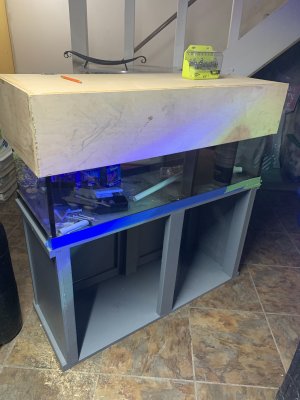
I use a router table and templates to make cuts. If it does not go all the way through I use a bit with the guide bearing on the router side and if the cut goes all the way through I use a bit with the bearing away from the router. Below is a section of the upper frame of my canopy with the templates in place ready to make the cut. The bit used is in the photo also. The second photo is the sections of the upper frame ready for assembly. The last 2 photos are of the completed upper frame assembly including the lid which also has a router cut in the center so the lid clears the fans on the light fixture. I used a rectangular template for that cut and a bit with the guide bearing opposite the router. Be careful using a router though.Routed out to fit the MH pendants over the weekend and hadn’t had a chance to post. Not the prettiest. But, the holes are on top and once the pendants are in place, you can’t see the uneven edges
Looks great. Nice job.I use a router table and templates to make cuts. If it does not go all the way through I use a bit with the guide bearing on the router side and if the cut goes all the way through I use a bit with the bearing away from the router. Below is a section of the upper frame of my canopy with the templates in place ready to make the cut. The bit used is in the photo also. The second photo is the sections of the upper frame ready for assembly. The last 2 photos are of the completed upper frame assembly including the lid which also has a router cut in the center so the lid clears the fans on the light fixture. I used a rectangular template for that cut and a bit with the guide bearing opposite the router. Be careful using a router though.
View attachment 32377701
View attachment 32377702
View attachment 32377703
View attachment 32377704
n2585722
Well-known member
Thanks, I learned a lot building it. I owe my wife some kitchen cabinets now. I am sure you will learn form your build also.Looks great. Nice job.
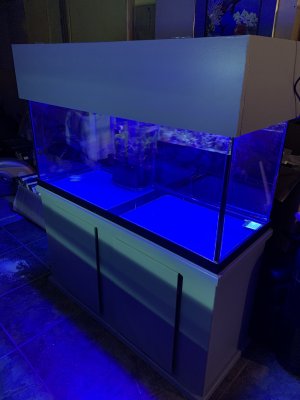
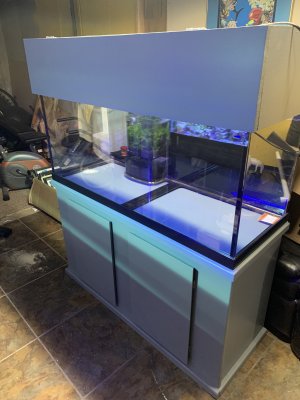
Very nice work GeorgeFinished the hood, installed the T5’s.
Thanks John. I’m NOT good with woodwork and, up close, the hood isn’t very good. But, it’s functional.Very nice work George
Still need to add the Apex moonlights, but no sense in that until I’m ready to move the 40 livestock to the 75.
Looks better than what I probably could have done
Thanks brother.Looks better than what I probably could have done
Similar threads
- Replies
- 4
- Views
- 268
- Replies
- 24
- Views
- 751
- Replies
- 3
- Views
- 311