Ricepow's 150G Crystal Dynamic Eurobraced Build (60x24x24)

ricepow

New member
So I've been piecing this build together since back in June of this year (2016). I was a bit lazy about getting on here and posting my progress, so the build itself will all be posted quite quickly, but I am going to try to use this post as a means of documenting the rest.

Specs:
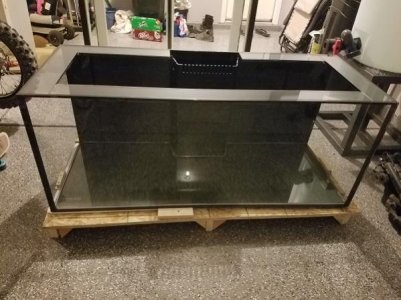
Crystal Dynamic 150G (60"L x 24"W x 24"H) Eurobraced Tank w/3 side Starphire Glass
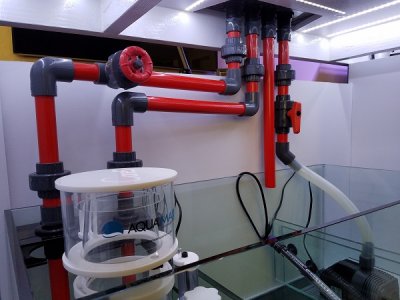
Tank is drilled for 4-1" Bulkheads (Bean-Animal)

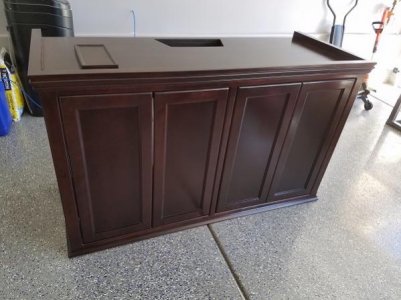
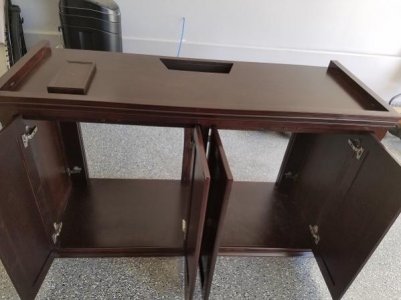
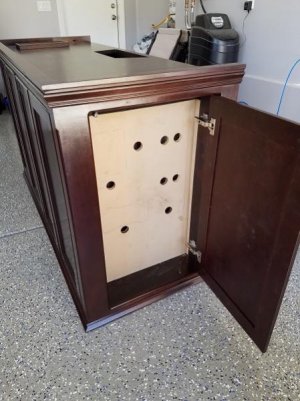
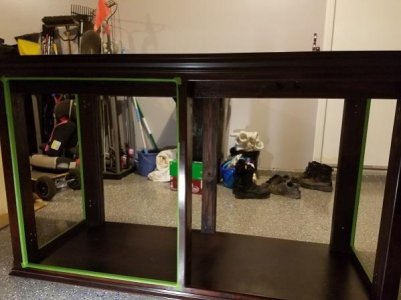
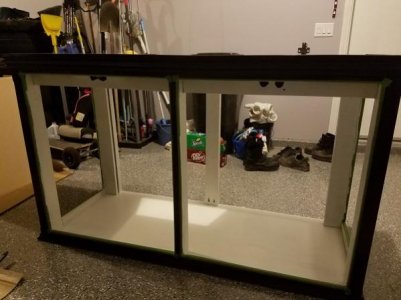
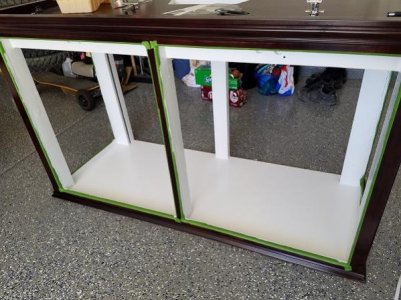
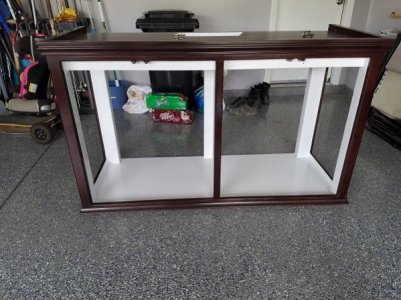
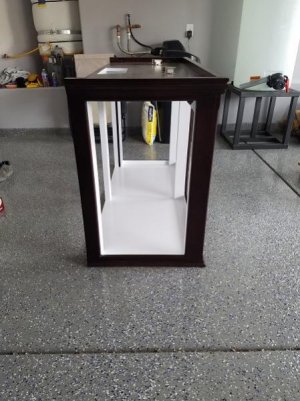
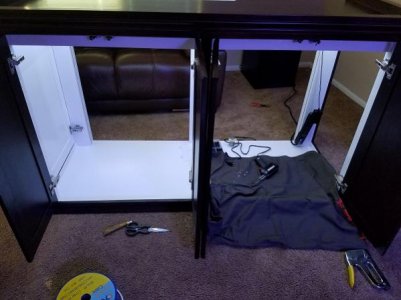
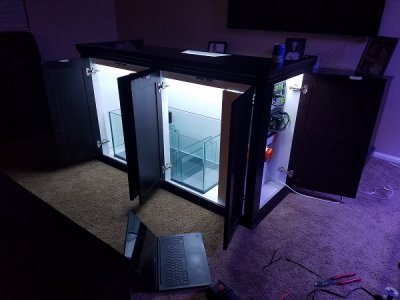
Crystal Dynamic 36" Tall Malibu Stand. Stained to match existing furniture.

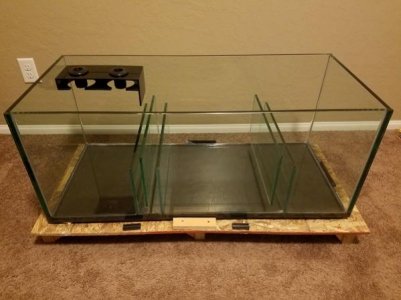
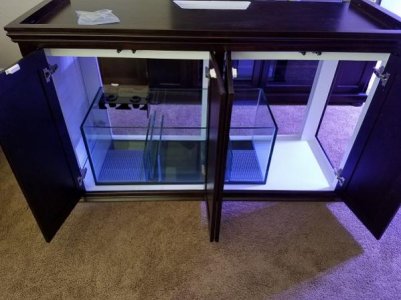
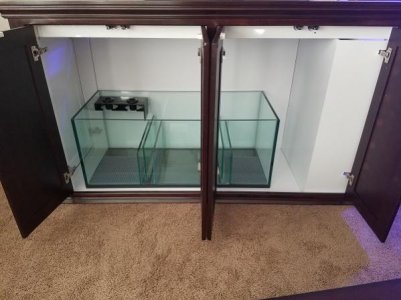
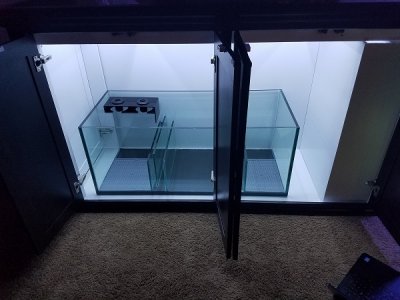
Crystal Dynamic rimless sump (40"L x 18"W x 16"H). Constructed as I requested.

So here are a couple pics of the tank and stand as it looked when it arrived..............
 

Attachments

  • 20161016_202029.jpg
    20161016_202029.jpg
    50.8 KB · Views: 6
  • 20161004_112946.jpg
    20161004_112946.jpg
    42.1 KB · Views: 6
  • 20161004_113002.jpg
    20161004_113002.jpg
    33.3 KB · Views: 5
  • 20161016_201855.jpg
    20161016_201855.jpg
    36.5 KB · Views: 5
There were some setbacks, but it gave me a lot of time to think about how I wanted to do certain things. I have learned patience in this hobby is mandatory, so I was very patient. I had seen where people had made a separate area for all of their electronics and had it accessible from the side door. I decided to do that, but needed it to be removable. So I had a friend help me make a very basic piece to accomplish this. This same friend helped me out by making a stand for my 105G vertical storage container for storing my RODI water. Here it is through it progression of building, fitting, and mounting the electronics.
 

Attachments

  • 20161005_142643.jpg
    20161005_142643.jpg
    75.3 KB · Views: 5
  • 20161004_113041.jpg
    20161004_113041.jpg
    50.8 KB · Views: 7
  • 20161005_102031.jpg
    20161005_102031.jpg
    47.3 KB · Views: 6
  • 20161005_110242.jpg
    20161005_110242.jpg
    91.8 KB · Views: 6
  • 20161005_111147.jpg
    20161005_111147.jpg
    47.9 KB · Views: 6
Again, through poking around online I really liked the look of a bright, clean white inside the stand/sump area. Did some research and decided on the following. 2 coats of Kilz primer. GE silicone all the corners, seams, gaps, etc. Followed by 3 coats of Rustoleum white appliance epoxy. I am very pleased with the results. I also made cut a sheet to fill in the back of the stand. That will be seen later. Here is the progression of that process.
 

Attachments

  • 20161011_215241.jpg
    20161011_215241.jpg
    36.3 KB · Views: 7
  • 20161011_230730.jpg
    20161011_230730.jpg
    37.3 KB · Views: 5
  • 20161019_113527.jpg
    20161019_113527.jpg
    54.4 KB · Views: 5
  • 20161023_144000.jpg
    20161023_144000.jpg
    55.7 KB · Views: 5
  • 20161023_144009.jpg
    20161023_144009.jpg
    50.8 KB · Views: 5
Something else I really liked the idea of were lights that would come on when the cabinet doors were opened. Did some reading and pieced together a setup to accomplish this. LED strip lighting, magnetic read switches, and a power supply from Amazon along with an Apex Breakout Box. Here are some pictures of that process.
 

Attachments

  • 20161101_111833.jpg
    20161101_111833.jpg
    55.9 KB · Views: 7
  • 20161102_154955.jpg
    20161102_154955.jpg
    79.8 KB · Views: 6
  • 20161102_154909.jpg
    20161102_154909.jpg
    37.4 KB · Views: 6
  • 20161106_121422.jpg
    20161106_121422.jpg
    44.6 KB · Views: 8
Once the inside of the stand was complete with epoxy and lighting, it was time to place the sump inside, insert the box for my electronics, and the back sheet to clean things up. Here it is.
 

Attachments

  • 20161106_152512.jpg
    20161106_152512.jpg
    40.5 KB · Views: 6
  • 20161106_151813.jpg
    20161106_151813.jpg
    100.3 KB · Views: 6
  • 20161106_173212.jpg
    20161106_173212.jpg
    97.3 KB · Views: 8
  • 20161106_173230.jpg
    20161106_173230.jpg
    93.8 KB · Views: 6
  • 20161106_180546.jpg
    20161106_180546.jpg
    95.5 KB · Views: 7
So after completing all of those things, it was time to work on the plumbing. I went with red PVC and schedule 80 fittings from Bulk Reef Supply. I am using the Bean Animal plumbing setup. Everything is 1". Once in the overflow box, the return splits to 3/4". I previously ran carbon and GFO reactors but prefer running without them. Tried to keep the plumbing relatively simple, and it can always be modified later if I decide I want to change or add something. This is the 90% finished product of that and the tank sitting atop the stand. This is currently where I am at. I was hoping to transfer things over tomorrow, but I don't think its going to happen. Maybe this weekend.
 

Attachments

  • 20161113_080213.jpg
    20161113_080213.jpg
    81.2 KB · Views: 6
  • 20161113_153125.jpg
    20161113_153125.jpg
    100.8 KB · Views: 6
Super clean install! I love the look of the red PVC. That gate valve will be really nice, much more adjustable than the traditional ball valve.
 
Back
Top