You are using an out of date browser. It may not display this or other websites correctly.
You should upgrade or use an alternative browser.
You should upgrade or use an alternative browser.
A Low Country Reef Tank....one more final upgrade
- Thread starter SPotter
- Start date
SPotter
Active member
Awesome when will it arrive? How is that stand coming along?
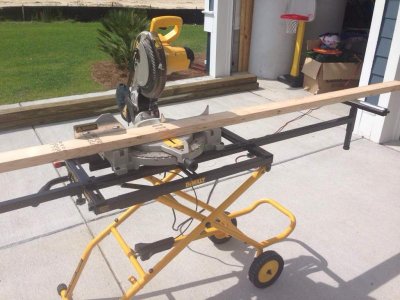
Should be here by the end of next week. As far as the stand goes....havent made any progress on it. I hope to get it started on friday.
SPotter
Active member
Good Luck Steve... Exciting busy times ahead.. have fun
Thanks Osama!
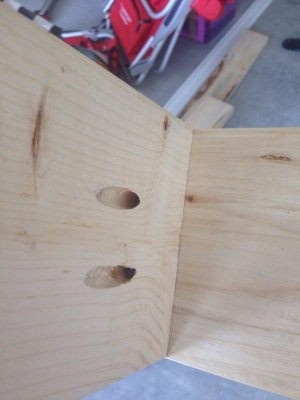
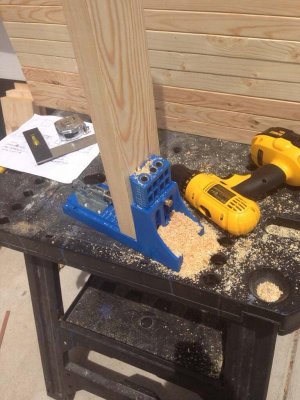
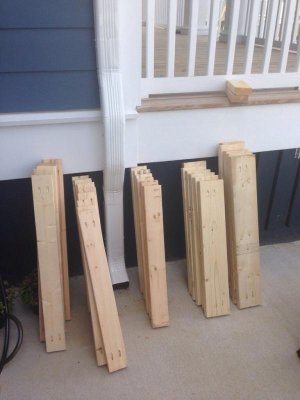
Looks like you made good progress. That pocket hole jig makes life a lot easier. I finally bought one a few months ago and wish that I had done it sooner. The only thing that I'm not crazy about is the propriety screws.
Are you going to skim it or find a cabinet guy to do it?
Are you going to skim it or find a cabinet guy to do it?
SPotter
Active member
Looks like you made good progress. That pocket hole jig makes life a lot easier. I finally bought one a few months ago and wish that I had done it sooner. The only thing that I'm not crazy about is the propriety screws.
Are you going to skim it or find a cabinet guy to do it?
Well....Im feeling ambitious and would love to do it myself but Im concerned about being able to stain it properly. I will start looking for cabinet guys and see what they will charge to finish it and build a canopy.
Newbie Aquarist
Reefing is my middle name
Great job on the startup of the stand Steve. Good luck this weekend with the tank also.
Floyd R Turbo
Either busy or sleeping
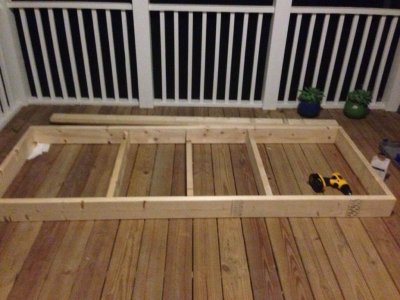
Are you going to use more cross-braces? For the Miracles 144 I made a stand for, I used doubled-up 2x6s all around


Floyd R Turbo
Either busy or sleeping
Last time I spoke with James (which was just a week or so ago) we had a discusssion about tanks that are placed on inadequate stands ending up with a "belly" on the bottom. Imagine the tank sagging in between the cross-braces. Makes the tank unsellable (not that you're going to sell yours) but also unmovable.
Double up the 2x6 front to back cross braces and put in more of then, then double up the 3/4" plywood top and you will be fine. But 2x4 single cross braces are not enough IMO
Double up the 2x6 front to back cross braces and put in more of then, then double up the 3/4" plywood top and you will be fine. But 2x4 single cross braces are not enough IMO
SPotter
Active member
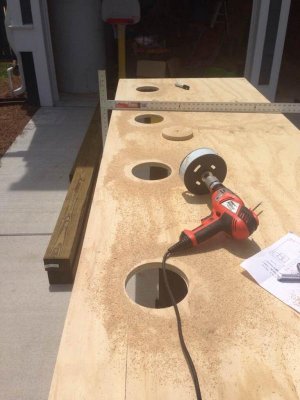
The entire top is 2x6's. The ones in the picture aren't in their final spots. I have two sheets of 3/4" drilled for the closed loop holes. I will be limited as to where and how many cross braces I can use. Per James suggestion each cross brace will rest on a support as well. I'm pretty sure that I'll be able to get 5 cross braces on there.
SPotter
Active member
Wasn't able to get any more work done on the stand as I spent a good part of the day adding more floor support in the crawl space where the tank will be. When we started building the house I had them double up the I joists in the room and then the builder filled in the webbing area with 3/4" plywood but I still wanted a little more piece of mind. So I added 3 hand blocks that were sitting on 20x20 patio blocks. I then laid a 10' 4x6 across the the hand blocks, secured another 10' 4x6 to the I joists and then added three posts using 4x4's. I knew the floor was secure before doing this but for the $100 in materials and a few hours of work I feel totally secure now.
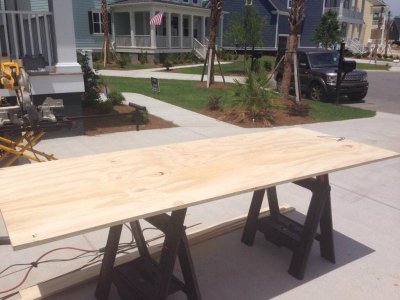
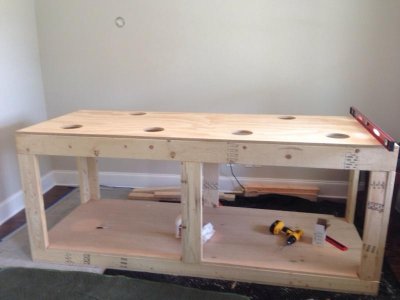
As far as the stand goes....I was able to layout where all of the cross braces will go. From left to right they will go at the 16", 30", 42", 42", 30" and 16". As stated in my previous post, the top of the stand will have two sheets of 3/4" plywood that will be screwed and glued down to the stand. Im hoping to get the top and base finished tomorrow morning.
As far as the stand goes....I was able to layout where all of the cross braces will go. From left to right they will go at the 16", 30", 42", 42", 30" and 16". As stated in my previous post, the top of the stand will have two sheets of 3/4" plywood that will be screwed and glued down to the stand. Im hoping to get the top and base finished tomorrow morning.
Floyd R Turbo
Either busy or sleeping
Hey steve, where are the inner members on the 4 corners? You do need those for stability
SPotter
Active member
Hey steve, where are the inner members on the 4 corners? You do need those for stability
Hey Bud.....based on what rocket engineer has in the diy stand thread and a response I got from him on another question I had asked, I didn't have to use them since I am using pocket screws. This is from his thread....
Pocket drilling the legs (purple) can eliminate the need for the screw strip (green) but I would make sure to skin the stand on three sides to keep it from racking/twisting. Also, be sure to screw both leg pieces together on the corner for added strength.
All of the corners are screwed to the base, the top and each other with glue. There are 3 vertical supports now on each side which also include a vertical support for the cross brace it sits under.
Floyd R Turbo
Either busy or sleeping
Ah yes, I forgot about the pocket jig.
Similar threads
- Replies
- 2
- Views
- 312
- Replies
- 2
- Views
- 128

