Mako Shark II
Fish are Friends not Food
My renaissance story: a 120 Gallons of Living Art
After a several-year hiatus, I returned to the hobby with a modest twenty-gallon nano tank, which was given to me by a friend who was moving out of his house. The irony is that this is exactly the same scenario, which caused me to surrender my own 55-gallon salt tank previously several years prior. Thus, the “reef-bug†bit pretty hard, and it was an all-too-familiar itch.
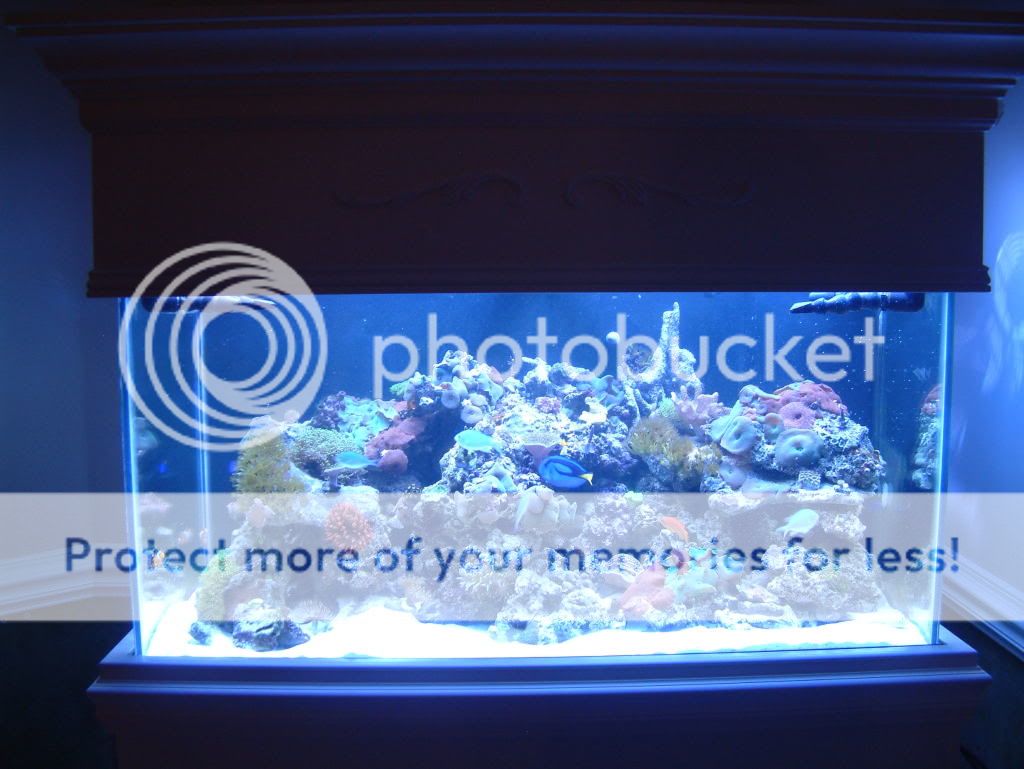
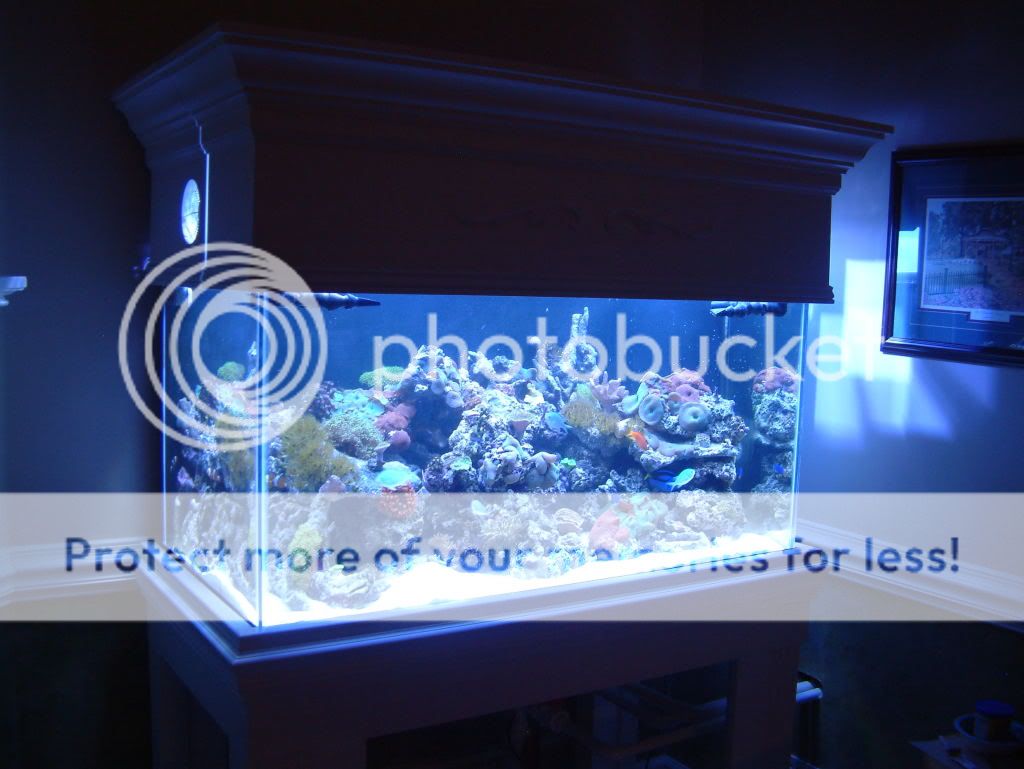
Now, this latest work has become for me, a 120-gallons of “Living Art†which continues to grow and thrive. There isn’t a day that goes by that we don’t interact and study its selfless beauty.
There are many of you in our Club and in other forums on RC, who have inquired about this development; while others of you have actually been hands on and have contributed your tenured knowledge, experiences, opinions, frags(!), moral-support and enthusiasm for this: my latest and largest endeavor in the reef realm.
To those of you (and you know who you are), you have my profound thanks and gratitude. I have met many new friends over the past year through WTMRAC, and I especially would like to lift up my thanks to the staff at Kermit’s Reef, and especially to Andy & Richard from MemFish, for all their on-going support during this endeavor.
This pictorial story-board is dedicated to all of you for your previous consultation, as well as to serve as a humble inspiration to future enthusiasts in this very focused and dedicated hobby as Reef Aquarists.
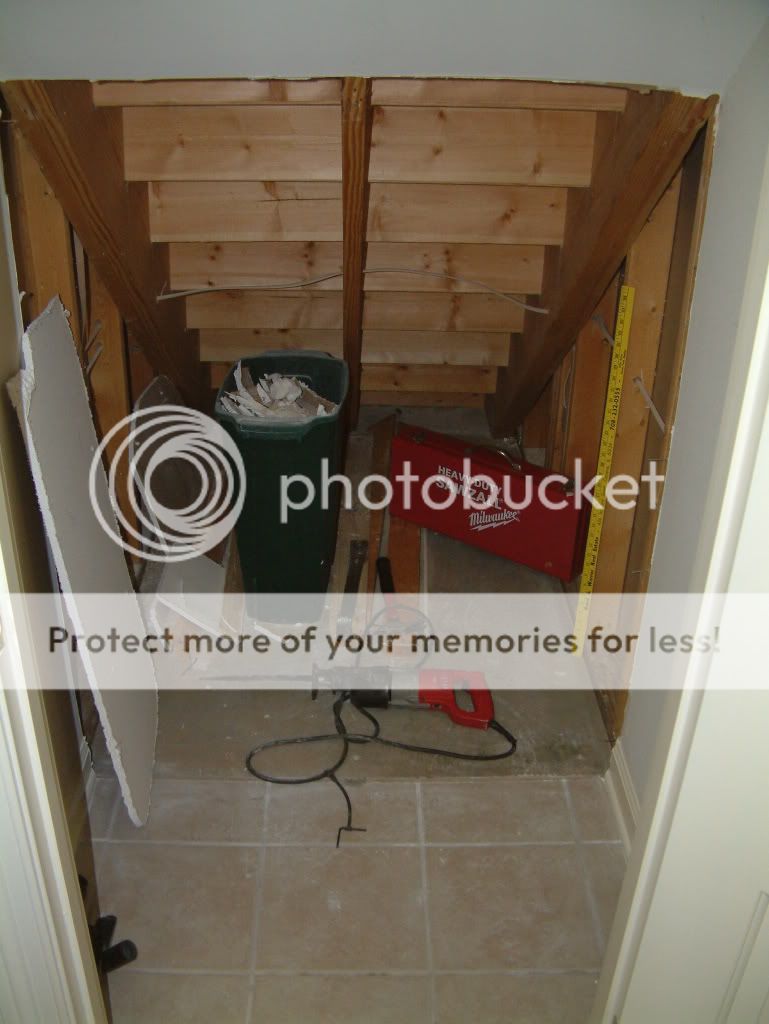
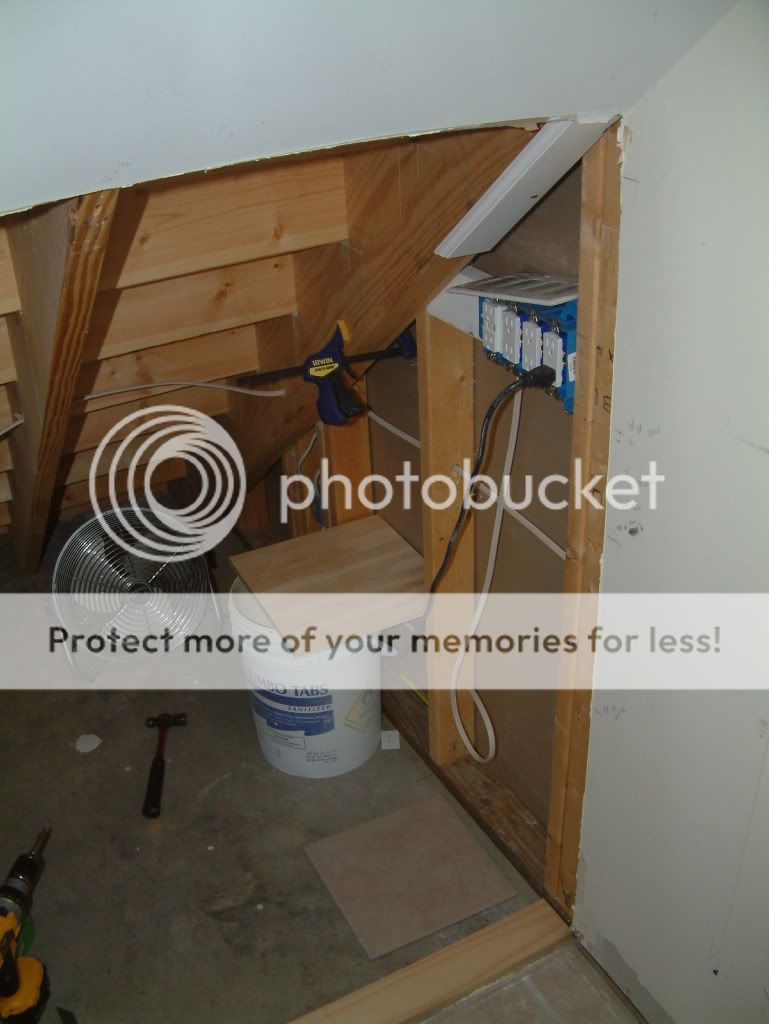
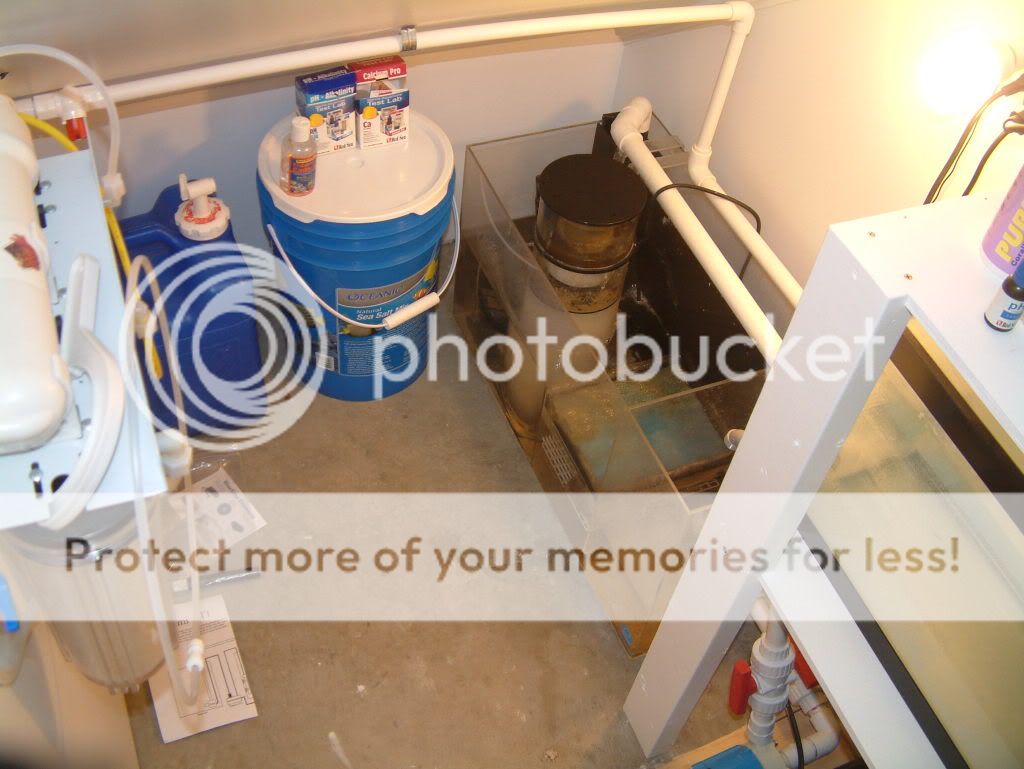
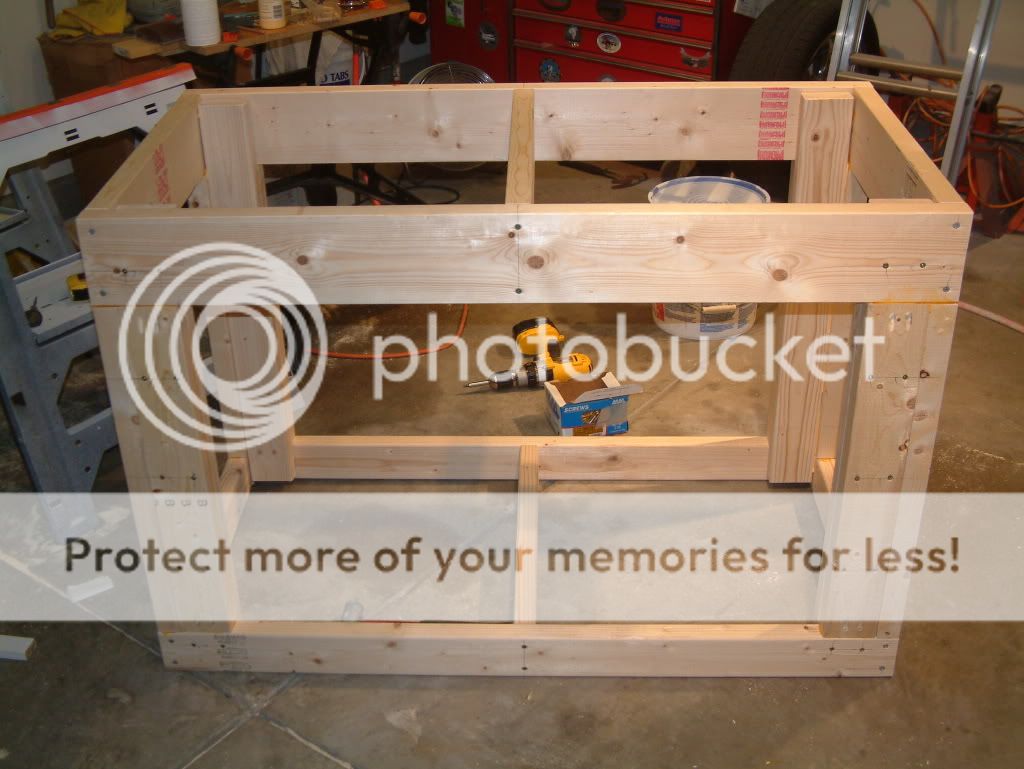
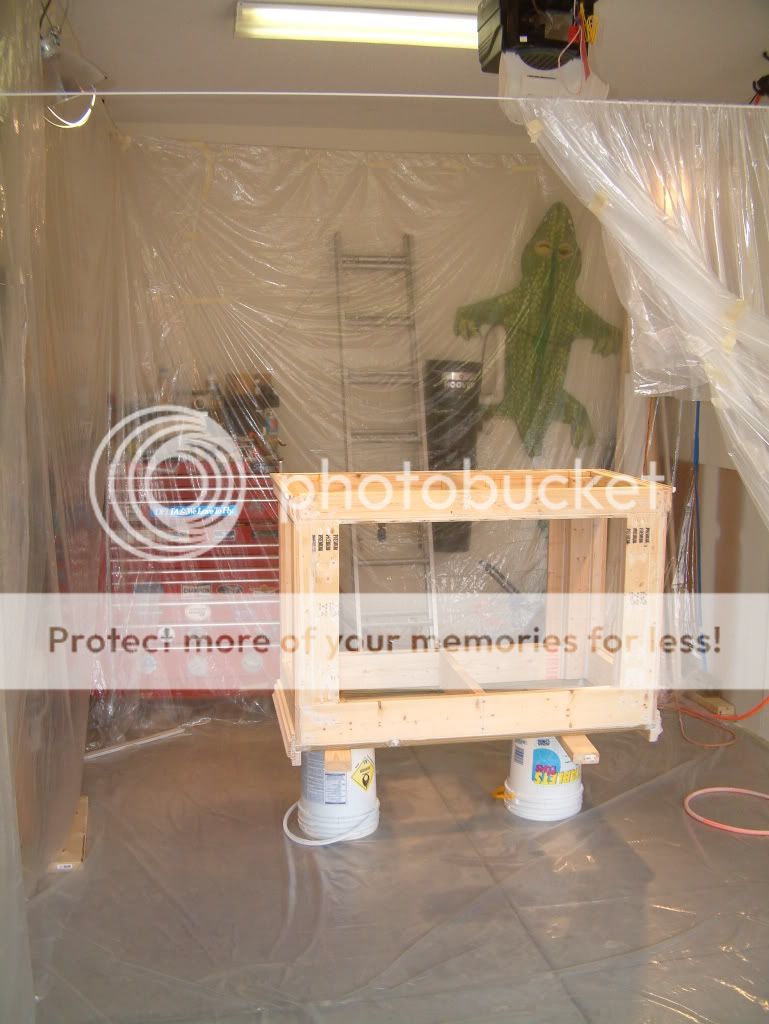
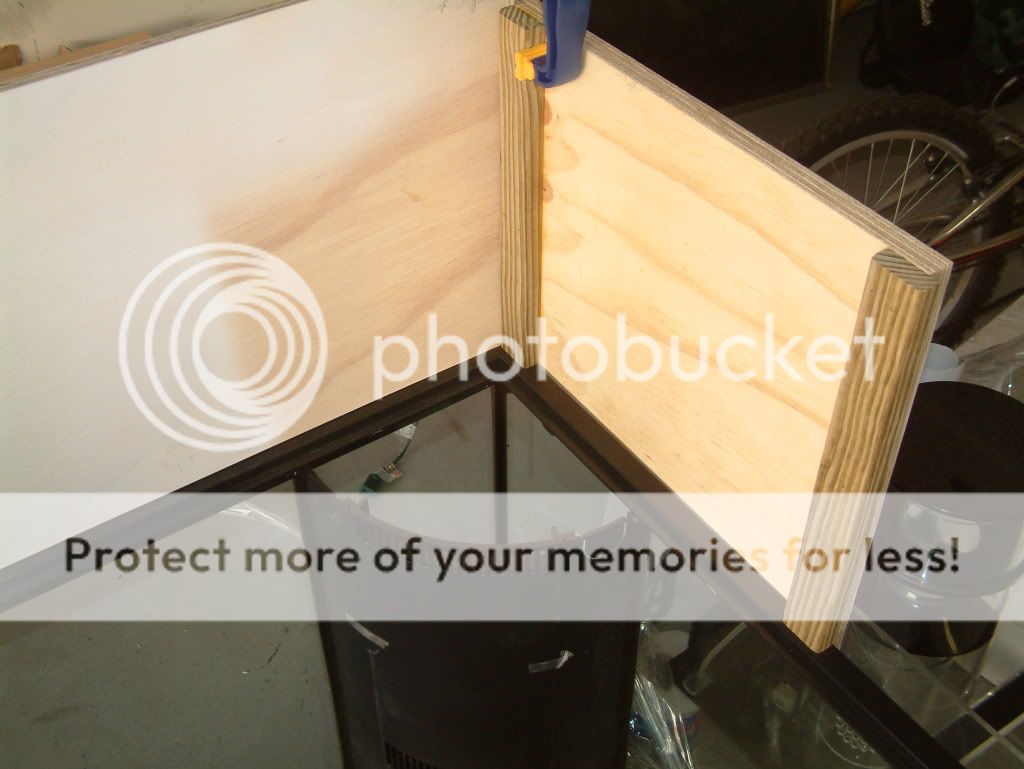
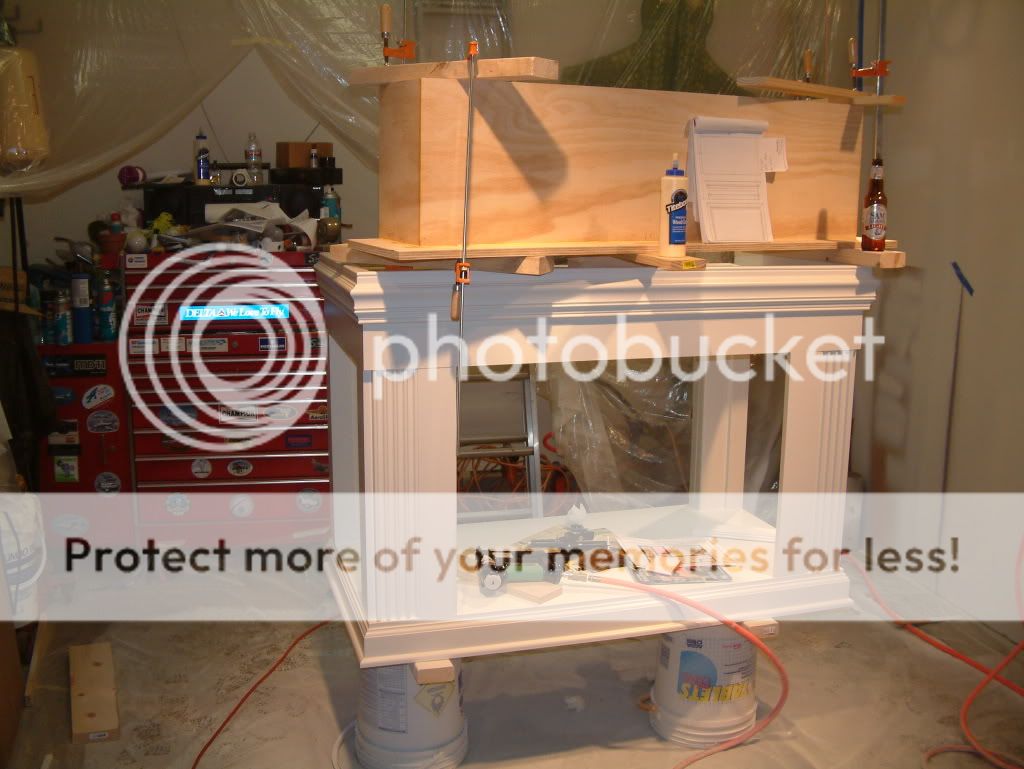
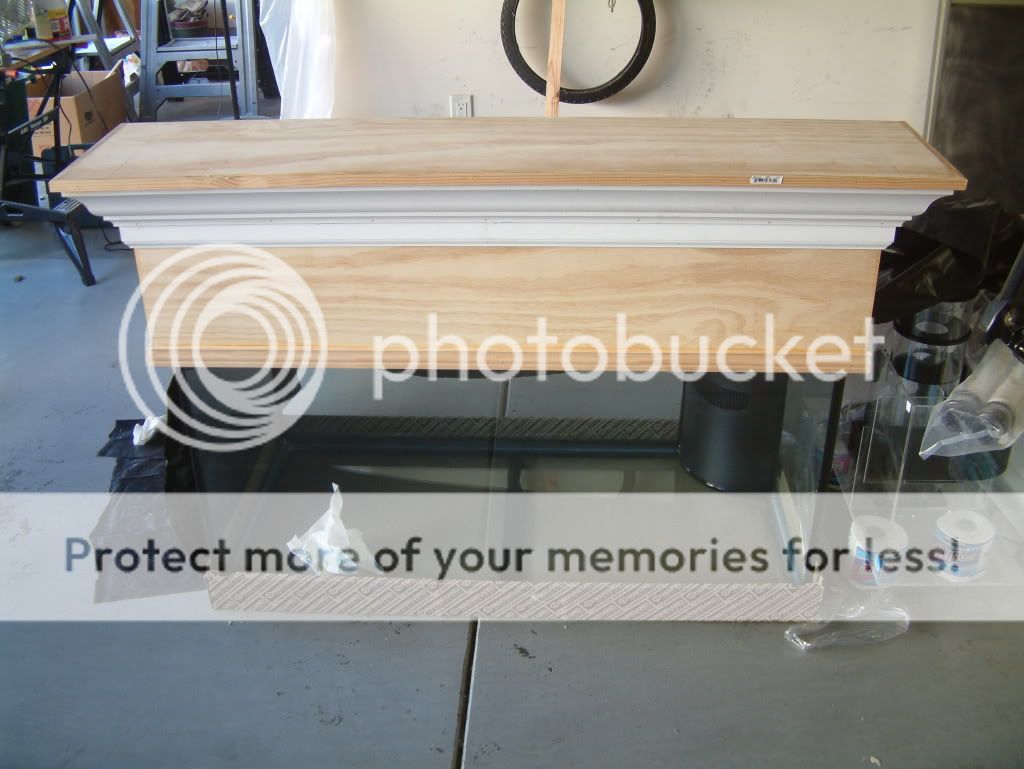
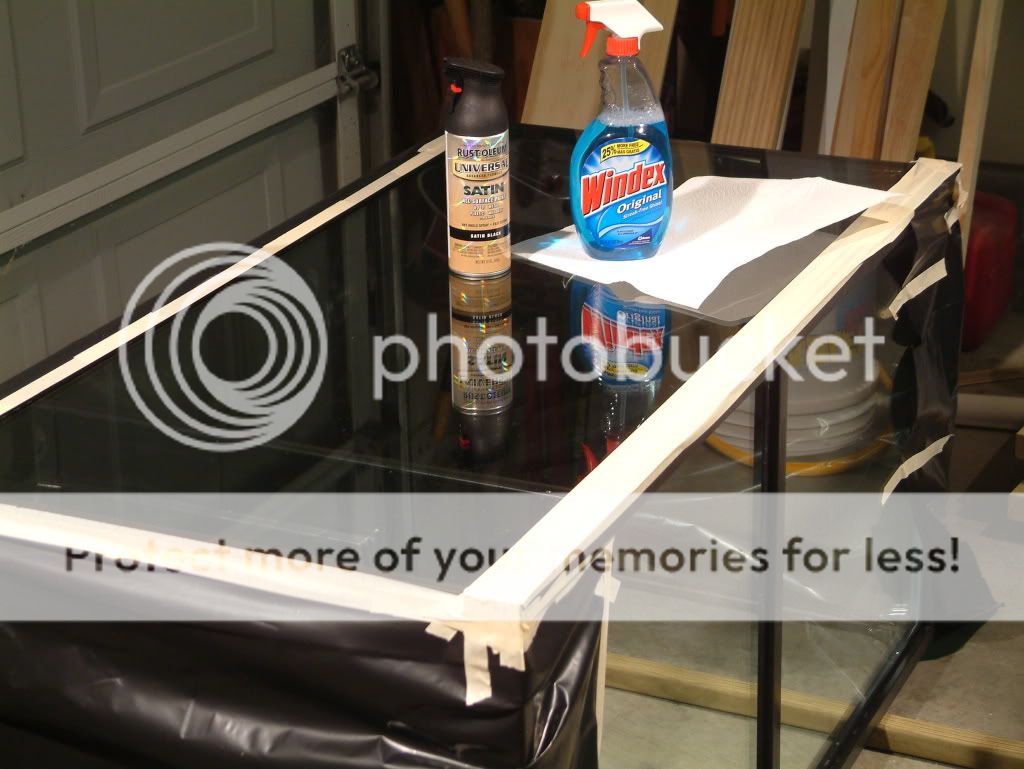
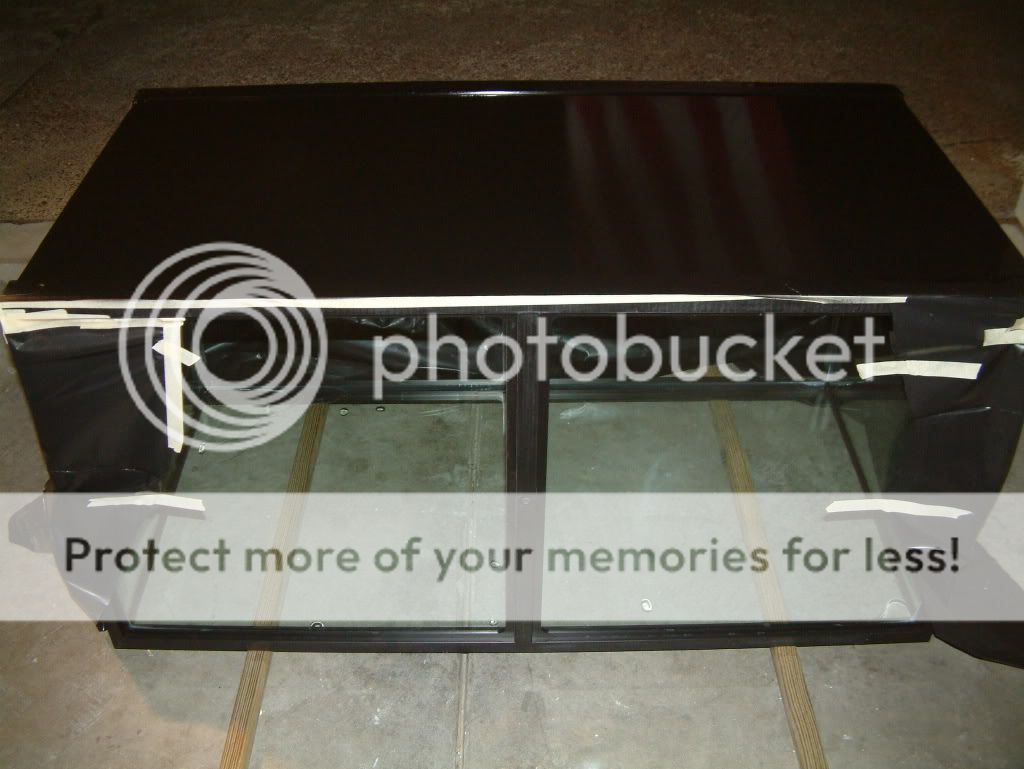
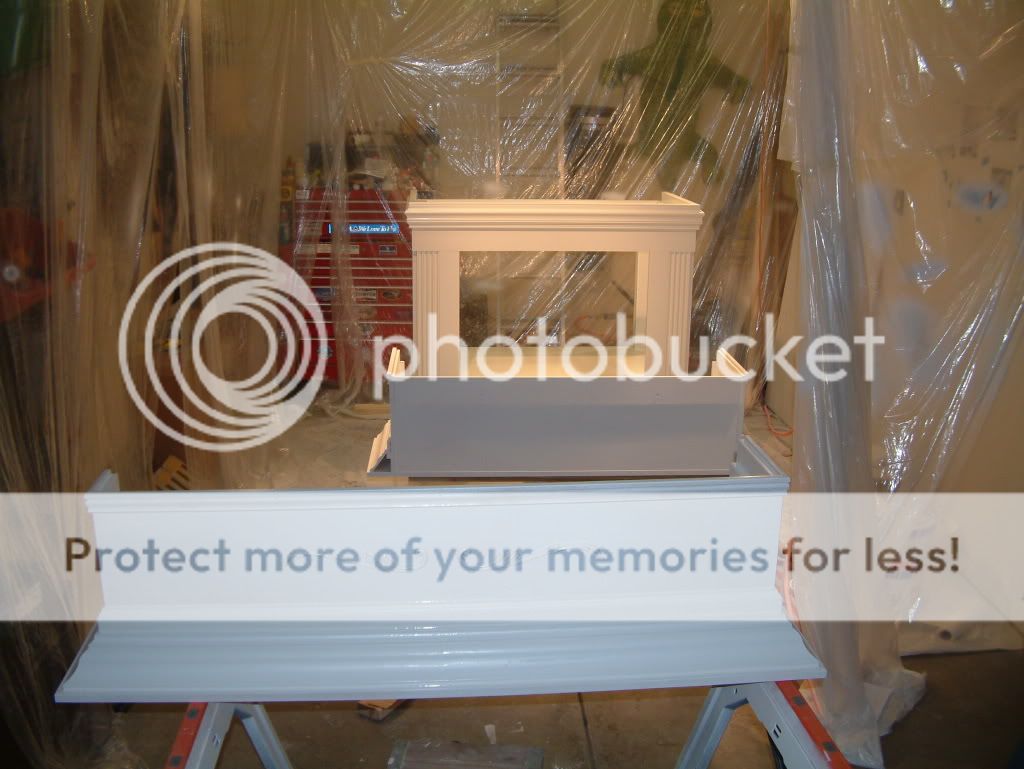
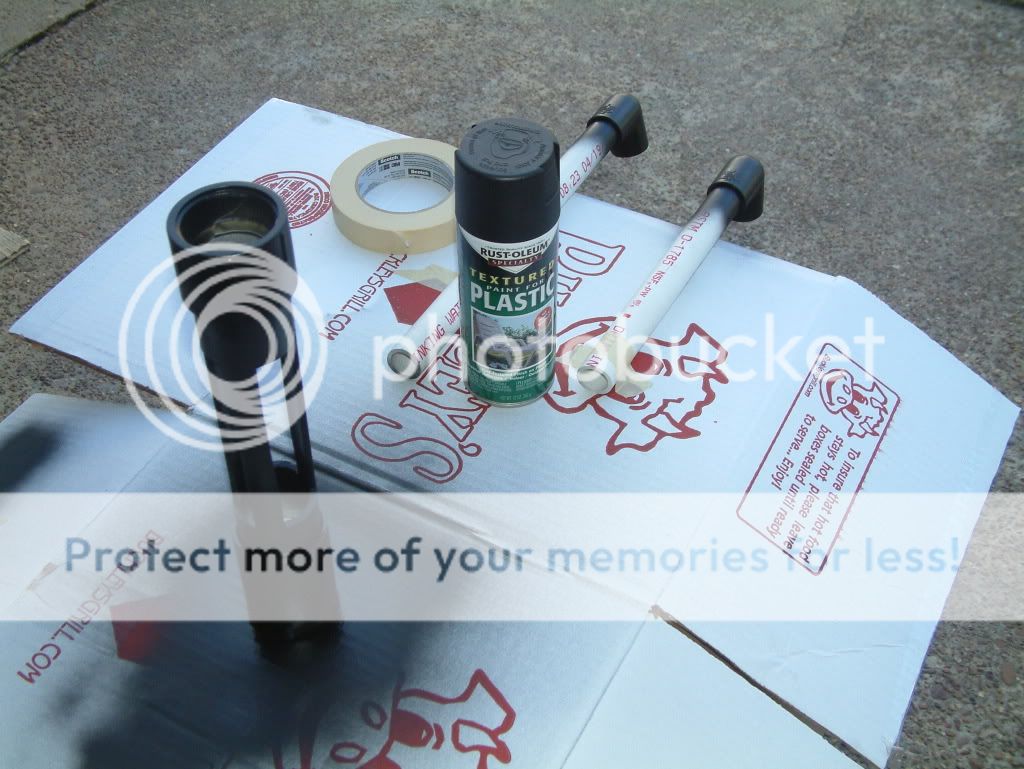
To start things off, no journey would be complete, unless you knew where we came from. Suffice it to say, the planning (read: obsession) meter has been pegged around the stop for several months prior to any saw-trigger being pulled, or any new water being spilled, so chart your own plan carefully. Here we go:
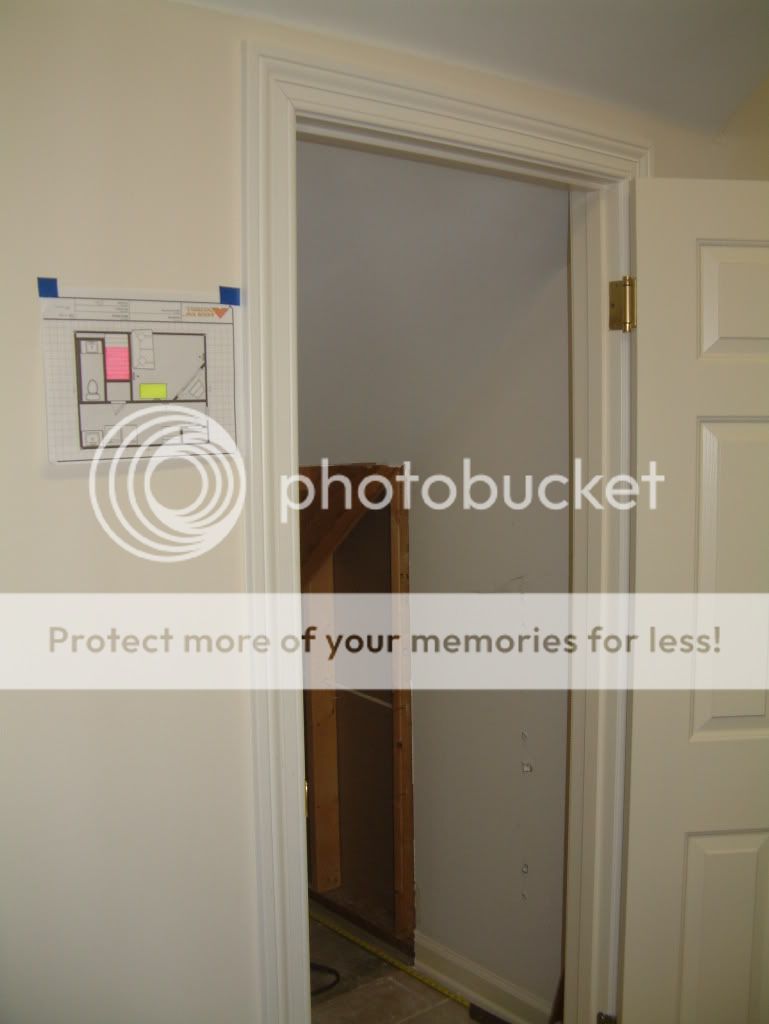
Here’s the “Before†Shot:
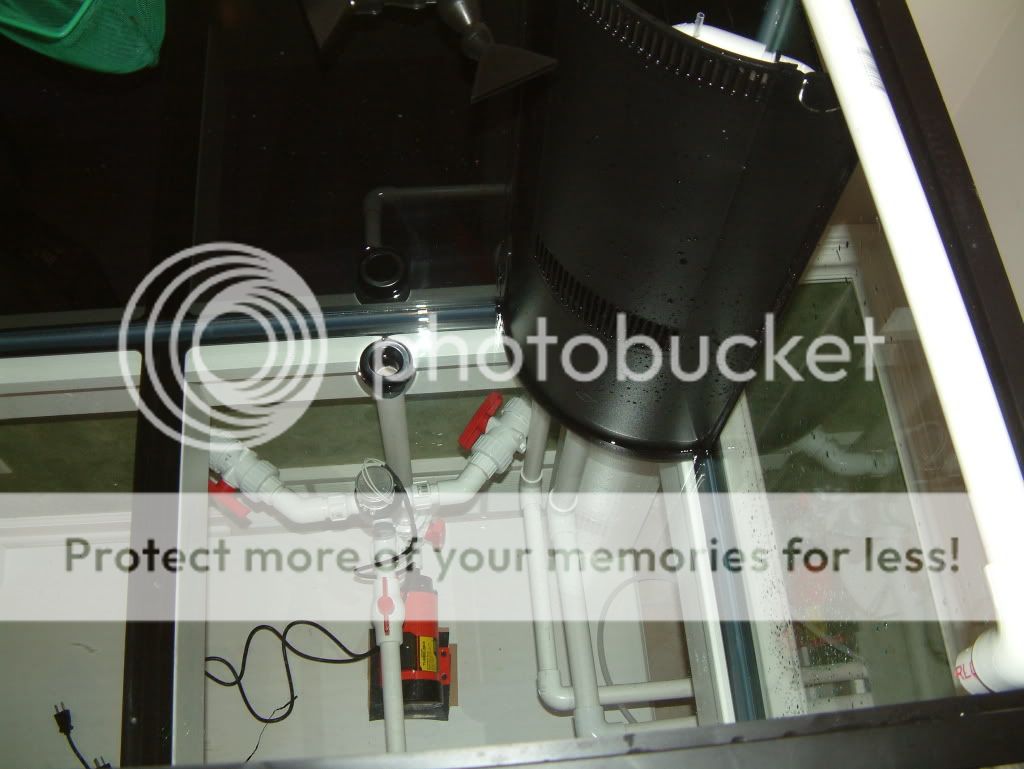
April 12th, 2008. This small but mighty 20g nano ignited the Reef bug, after a seven year hiatus. Now, the challenge was to match the Room's existing finish trim work.

Here’s the “AFTER†Shot:
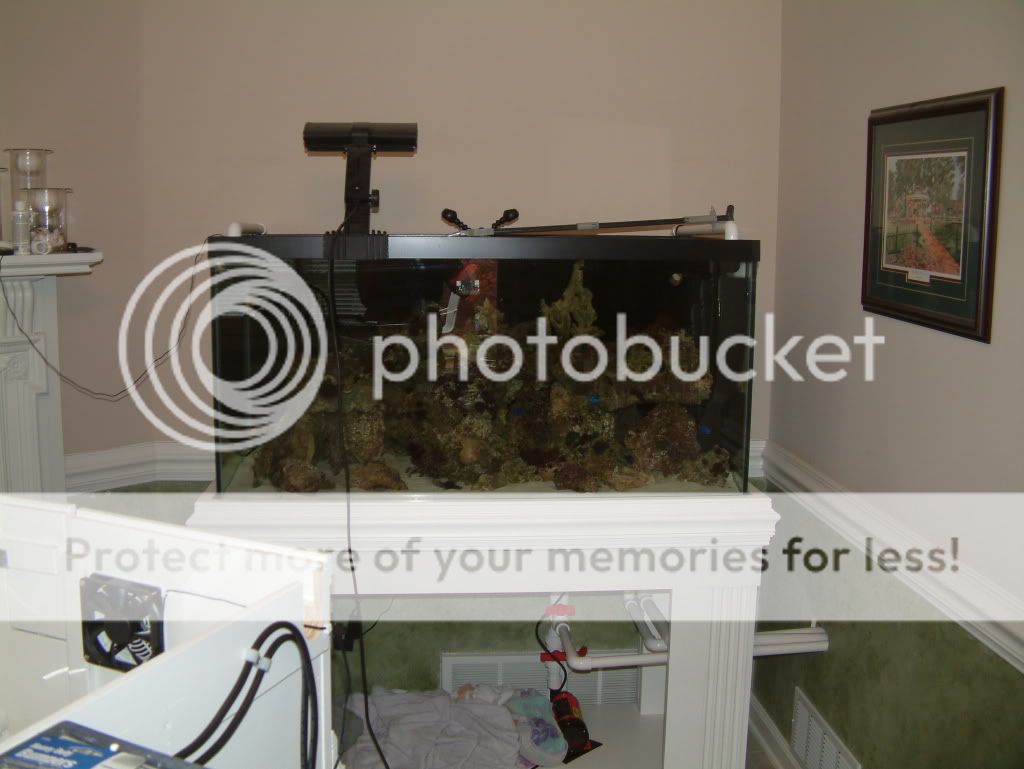
Note the architectural tie-in to the existing trim theme. Ironically, this shot was taken on Oct 12th 2008, six months to the day before the previous pic.
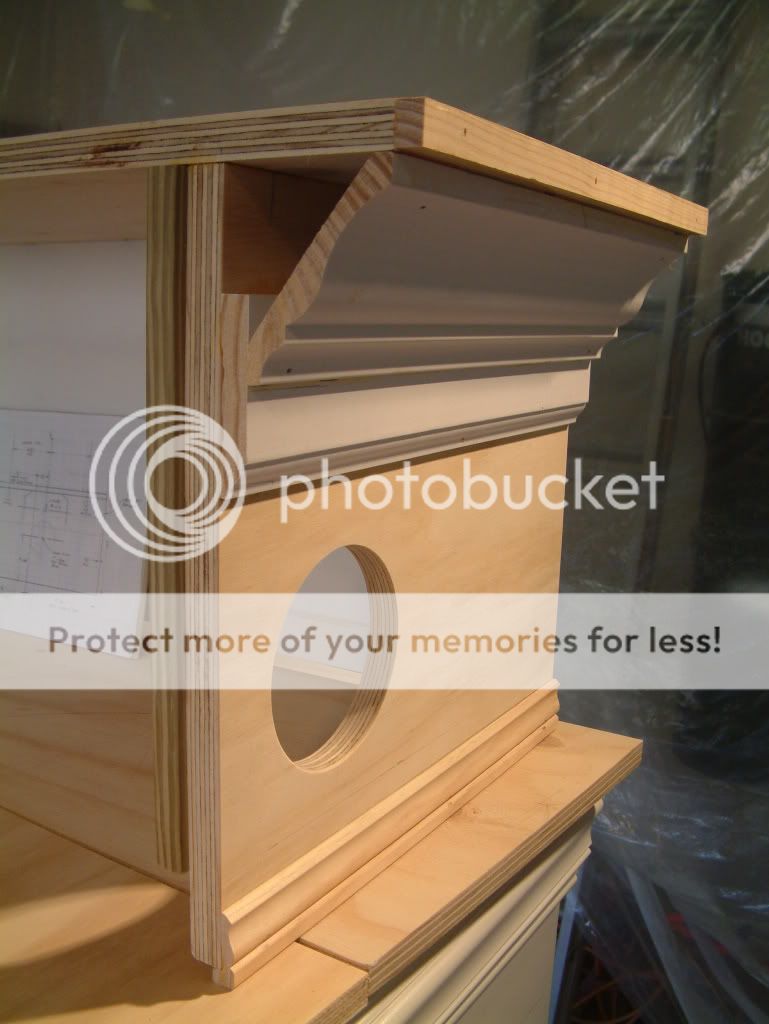
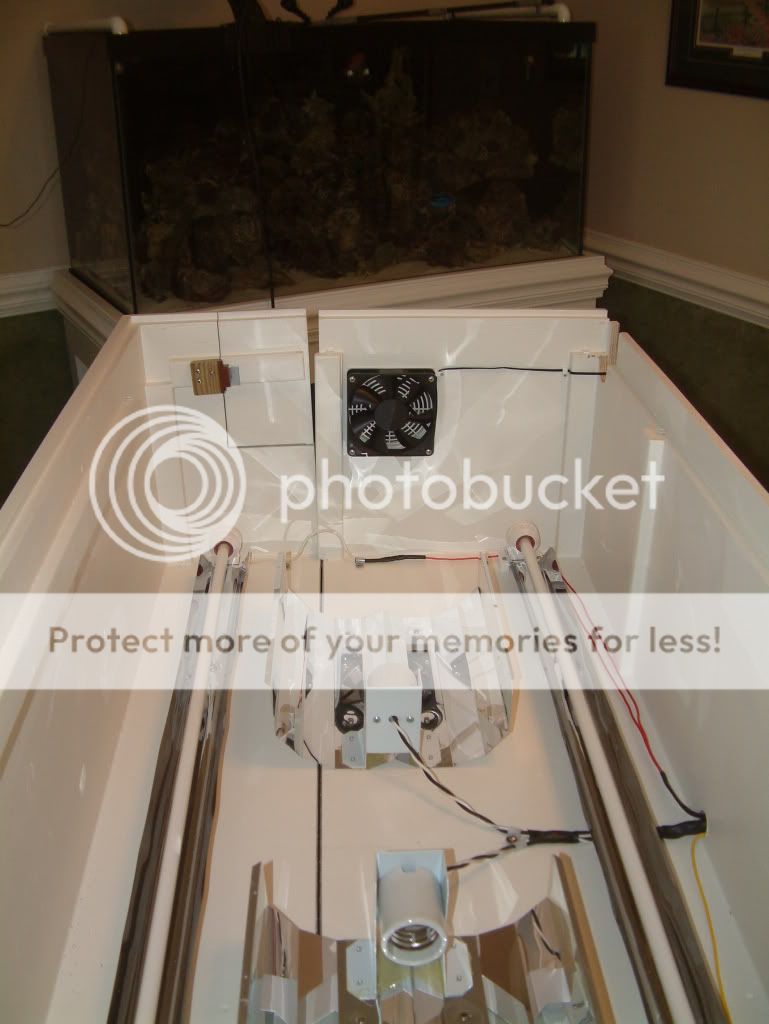
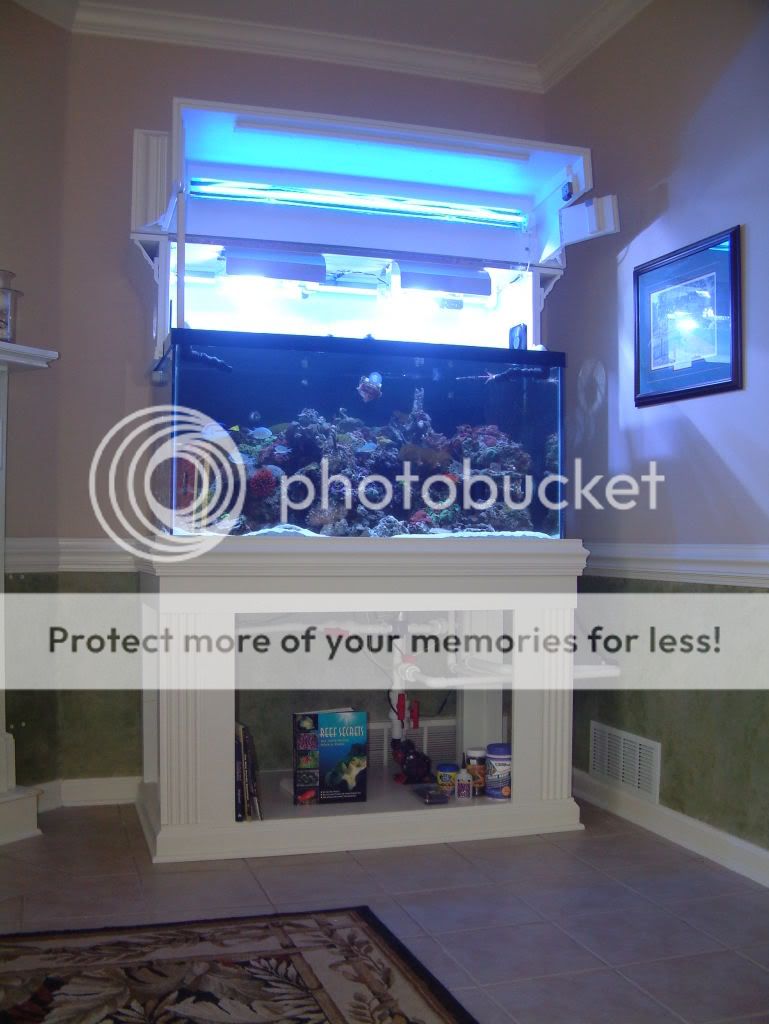
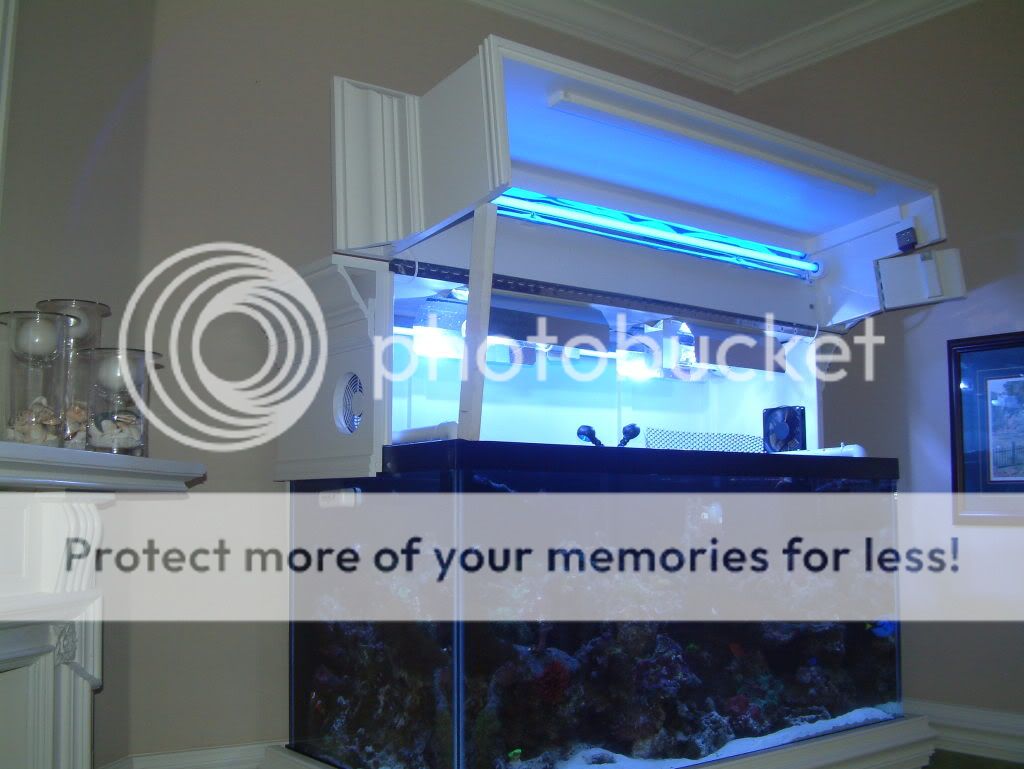
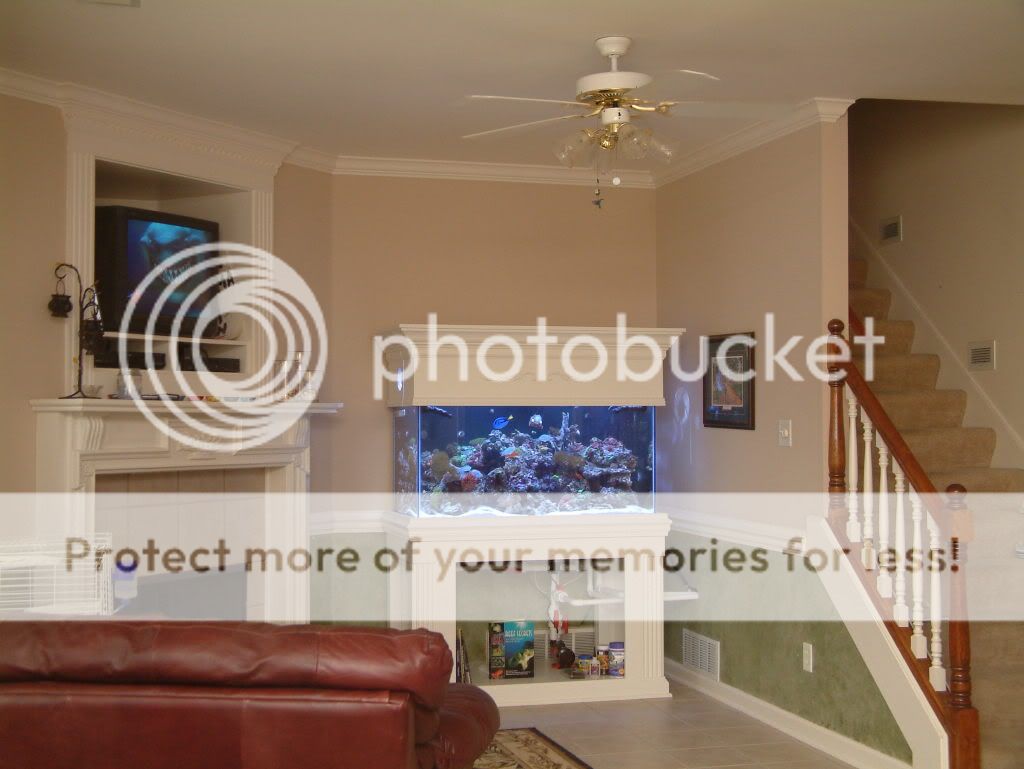
This is cheating, but here’s the Final Product:
Finished Tank as of 10/6/08:
After a several-year hiatus, I returned to the hobby with a modest twenty-gallon nano tank, which was given to me by a friend who was moving out of his house. The irony is that this is exactly the same scenario, which caused me to surrender my own 55-gallon salt tank previously several years prior. Thus, the “reef-bug†bit pretty hard, and it was an all-too-familiar itch.
Now, this latest work has become for me, a 120-gallons of “Living Art†which continues to grow and thrive. There isn’t a day that goes by that we don’t interact and study its selfless beauty.
There are many of you in our Club and in other forums on RC, who have inquired about this development; while others of you have actually been hands on and have contributed your tenured knowledge, experiences, opinions, frags(!), moral-support and enthusiasm for this: my latest and largest endeavor in the reef realm.
To those of you (and you know who you are), you have my profound thanks and gratitude. I have met many new friends over the past year through WTMRAC, and I especially would like to lift up my thanks to the staff at Kermit’s Reef, and especially to Andy & Richard from MemFish, for all their on-going support during this endeavor.
This pictorial story-board is dedicated to all of you for your previous consultation, as well as to serve as a humble inspiration to future enthusiasts in this very focused and dedicated hobby as Reef Aquarists.
To start things off, no journey would be complete, unless you knew where we came from. Suffice it to say, the planning (read: obsession) meter has been pegged around the stop for several months prior to any saw-trigger being pulled, or any new water being spilled, so chart your own plan carefully. Here we go:
Here’s the “Before†Shot:
April 12th, 2008. This small but mighty 20g nano ignited the Reef bug, after a seven year hiatus. Now, the challenge was to match the Room's existing finish trim work.
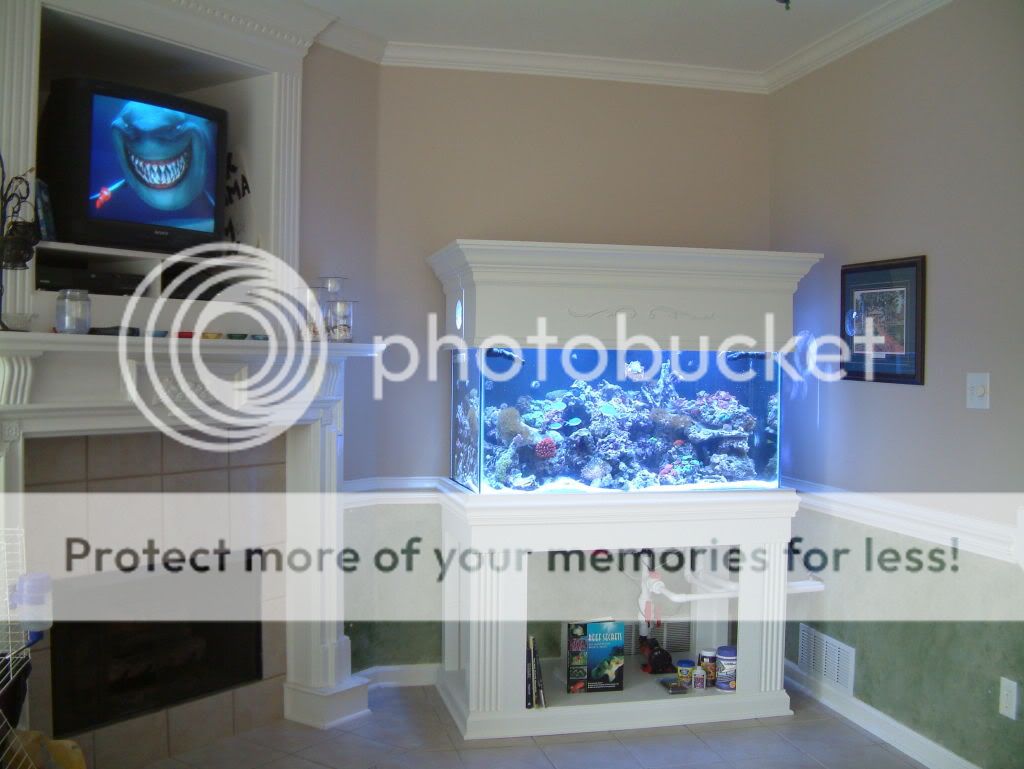
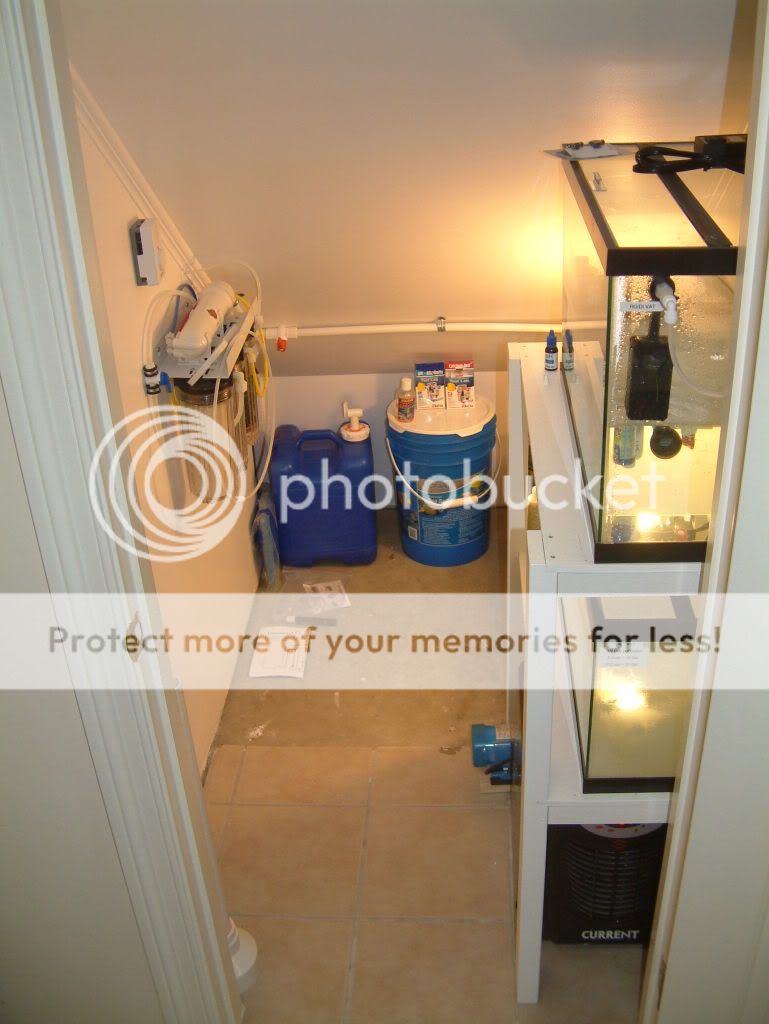
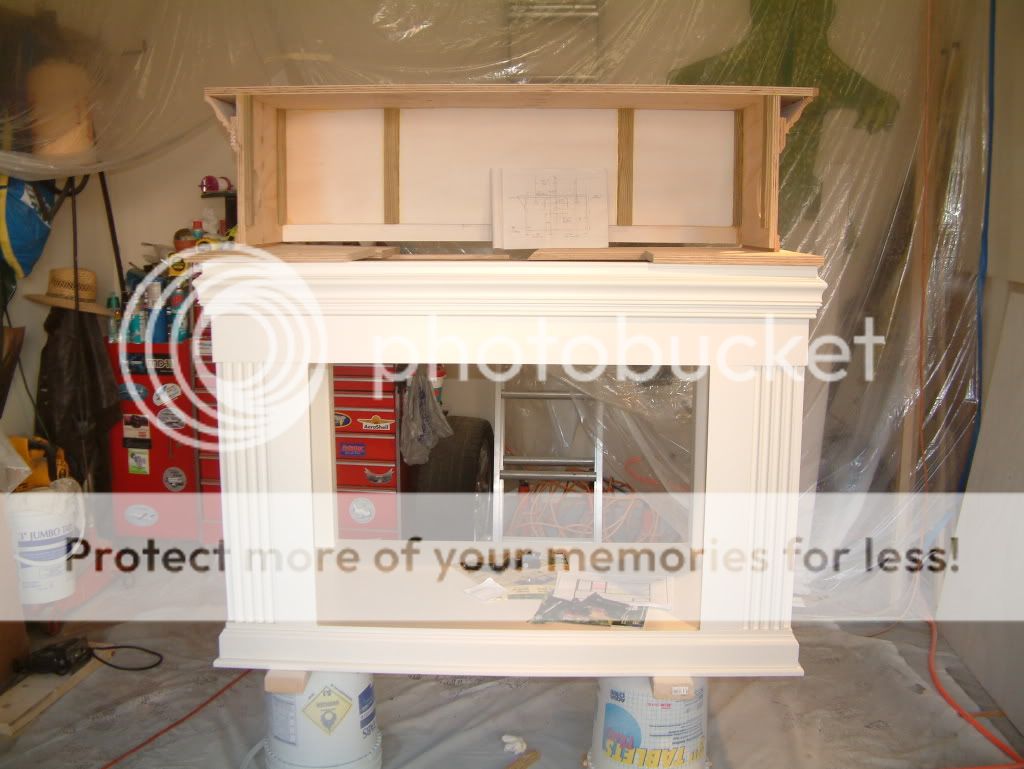
Here’s the “AFTER†Shot:
Note the architectural tie-in to the existing trim theme. Ironically, this shot was taken on Oct 12th 2008, six months to the day before the previous pic.
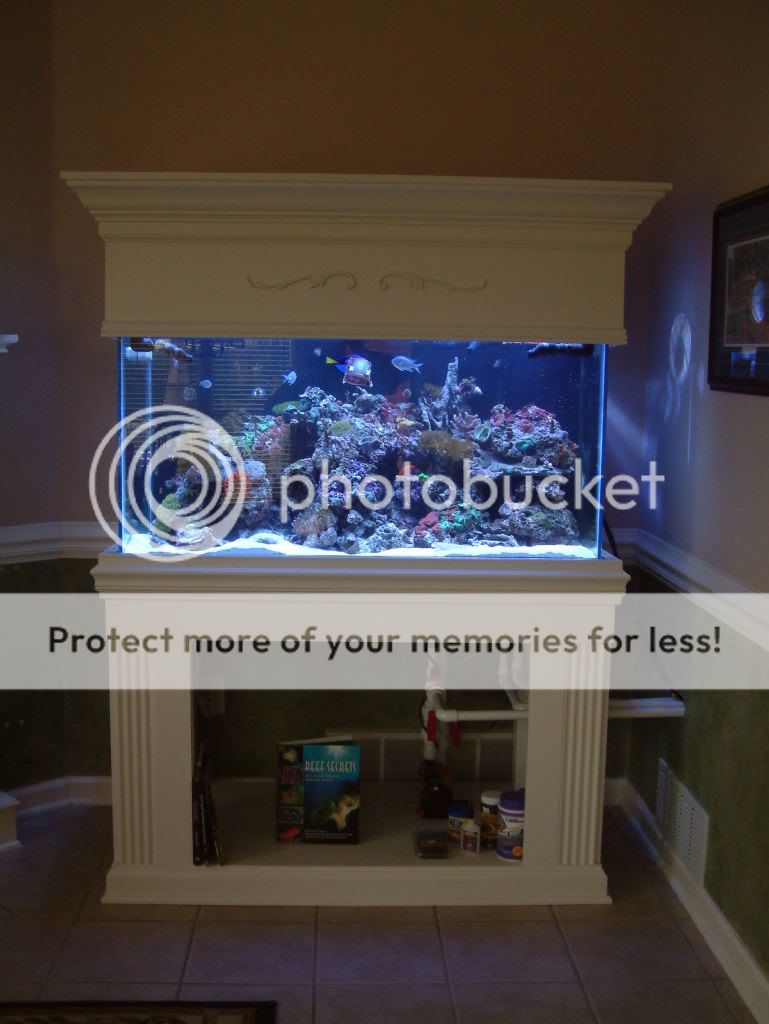
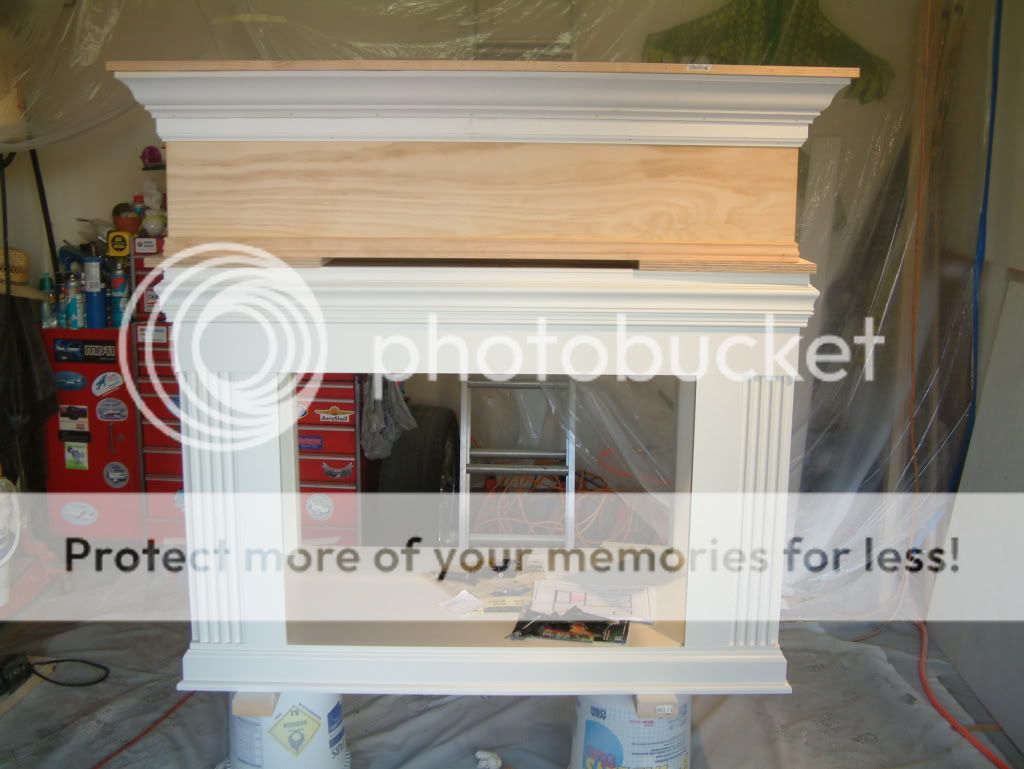
This is cheating, but here’s the Final Product:
Finished Tank as of 10/6/08:


") My older Brother is still a fine trim carpenter.
My older Brother is still a fine trim carpenter.