Mountains of sawdust (360g plywood, LED, Arduino build)

Welcome back & Welcome to the "REAL Closed Loop" Club!!

I believe the founding father was liveforphysics.

We are all but humble apostles.... I hope to see water soon.

Stu

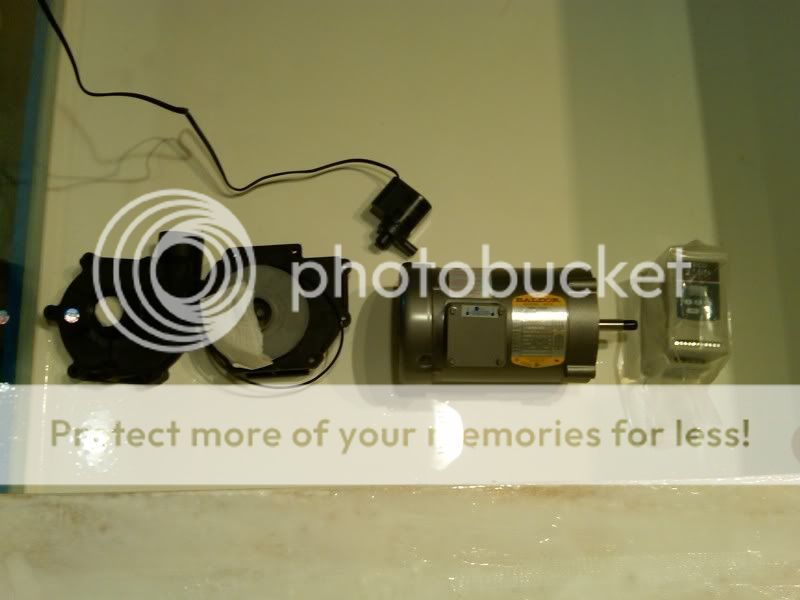
P.S. dont forget to install the slinger disk on the drive shaft just in case you didnt get one with the wet-end.
 
Oh and I laid out the components for the VFD closed loop:

IMG00188-20100519-1857.jpg


MJ1200 included for a sense of scale. Impressions: The VFD itself is much smaller than I'd imagined, and that motor is a BEAST.

I should have read the "MJ1200 included for a sense of scale" comment at the bottom before scratching my hair out trying to figure out how it fit in. Next time use a wire coat hanger, a pair of pantyhose, and a roll of duct tape for scale :)
 
"Next time use a wire coat hanger, a pair of pantyhose, and a roll of duct tape for scale'

I usually use a 12 oz. beer can for scale, but it has never been intentional ;-)

Stu
 
"Next time use a wire coat hanger, a pair of pantyhose, and a roll of duct tape for scale'

I usually use a 12 oz. beer can for scale, but it has never been intentional ;-)

Stu

I have spent many late hours intensionally using beer to put things into perspective. It's just about the only thing that can.
 
For us wannabees could you pleae tell me what a 'slinger' is? Sounds like something else I should learn about :)
Thanks

It's a thin disk placed on the motor shaft between the wet end and the motor. Can be leather, rubber, anything that forms a tight fit against the shaft.

The idea is, if water starts leaking from the seal on the wet end, it drips back on the shaft, hits the slinger, and gets "slung" away from the pump by centrifugal force. Otherwise, it'll run back down the (rotating) shaft and hit the front bearings on the motor, and kill them.

Only really applies to large direct-drive pumps. The typical mag-drive pump used in this hobby doesn't suffer from this danger, of course.
 
No matter how thorough and over-built you go, it's always nerve wracking during the first fill :) Looking good.
 
Great thread (and tank) - I should really check in here more often (a long way from having a tank). Plus, this hits a lot of points I had in mind for my eventual "dream tank" build; LEDs, Arduino controller, plywood tank...

Bonus points for the Laughing Man icon early in the thread.

I can't wait to see where this goes. I'll be following along intently. I'm thinking of using LEDs to supplement natural sunlight, and I'm very curious to see how your "asymmetrical" lighting works out.
 
IMG00006-20100620-2051.jpg


It's now been full for 3 or 4 hours. It's sitting on a 2x6 structure that will eventually become the top of the "stand" built in the house. Figured, this way, I can test the tank and stand frame as a unit, at the same time. Plumbing in the photo is just mocked up to plug the bulkhead holes and allow for water testing.

At one point I got really nervous because there was a drip of water on the outside of the main glass panel near the bottom seam. Then it occured to me that the humidity was so high, water was condensing on the glass (due to the cold water on the other side of the glass). I quintuple-checked, and at this point it appears there are zero leaks or other problems.

FWIW I precisely measured the gap across the middle of the tank (front to back) when it was empty, and then again every few minutes as it filled. It appears that there's a little less than 1/64" of bow. (I could measure down to 1/32" and the bow was less than half the distance between two tick marks). This is surely an acceptable amount of bow, as far as I'm concerned. Practically within the realm of measurement error.

So, all in all, I'm pretty happy. Will probably leave it full in the garage for a few days. Then I have to figure out how to empty it and what to do with 360g of water. :lol: I'll probably just start a siphon or use a small pump and let it run into the lawn.
 
I'm thinking of using LEDs to supplement natural sunlight

No doubt, this would be my ultimate dream - a sunlit tank. It's just not feasible for me though, the tank's in the middle of the first story of a 2-story home and I live in one of the cloudiest parts of the country. Still though, there's something alluring about growing corals under sunlight. We'll probably put up a greenhouse within the next few years - for plants - and I'll probably end up stealing a corner of it for a small prop tank just to see what happens when corals get this sort of variation in lighting from day to day.

Glad to see someone with similar tastes following along, though!
 
Awesome, glad to see it with some water in it. Knowing what lengths you went to on the build and seeing your attention to detail I'm actually surprised it bowed as much as it did lol. This is going to be a great tank and I have a feeling the lighting and final setup will be stunning in person.
 
No doubt, this would be my ultimate dream - a sunlit tank. It's just not feasible for me though
I'll be building my house (someday), so I'll be planning ahead. :D

der_wille_zur_macht said:
Glad to see someone with similar tastes following along, though!
I have a small amount of woodworking ability (and a small collection of tools), so wood tanks make a lot of sense to me. I also overengineer, so I'm going to do crazy stuff like torsion boxes to eliminate any flexing whatsoever. My tank is probably going to way 1000 lbs. :hmm4:

I've already got an Arduino I've been playing around with for other projects, and I've got an EE degree (tho I specialized in computer design - the math was easier - and have only really programmed computers in my career). For me, the fun part about my hobbies isn't maintenance, but engineering and building, and then just enjoying the end result. Automating control makes perfect sense for just about every reason possible.

It will be a long, long time before I'm ready to build again, but I'll be monitoring this thread (and your LED and DIYRC threads) for clever ideas. I really want to see how your lighting works out for this tank.
 
Back
Top