Poker Room 70G Build - New to Reefing

I'm really impressed, you went the extra mile with your plumbing and it looks great. That pipe holder on back is a neat idea. And I can't get over how nice the overflow came out. It's going to be fun filling that thing and seeing it in action for the first time.

I'd like to see the sump and fuge area again now that the plumbing is done.

Oh, about your background. It's a cool idea but those plastic velcro strips, they are mounted with a glue/adhesive type backing no? I don't know if I would want that in the tank.

Keep up the great work!
 
Plumbing looks great! When is this thing going to get wet?

Muttley000,
That is a great question! I'm driving my kids crazy with the wait. To quote my four year old daughter, "Just put water in it for goodness sakes!"

Seriously though, I am finishing up my second sump after breaking the first one. Everything was going well until I cut one of the baffles just a little too small. I would have broken another sump if I tried to squeeze the sides together. So, I had to put a small piece along side it to hold it together. Keeping my fingers crossed that it won't leak. Leak test tonight when I get home.
 
I'm really impressed, you went the extra mile with your plumbing and it looks great. That pipe holder on back is a neat idea. And I can't get over how nice the overflow came out. It's going to be fun filling that thing and seeing it in action for the first time.

I'd like to see the sump and fuge area again now that the plumbing is done.

Oh, about your background. It's a cool idea but those plastic velcro strips, they are mounted with a glue/adhesive type backing no? I don't know if I would want that in the tank.

Keep up the great work!
Rjukan,
I will take some pictures of the sump area as soon as I finish building the second sump. Hopefully by the weekend. Check back.
Regarding the adhesive backed dual lock, do you think that small amount of adhesive will effect the tank chemistry? Maybe that's a question for waterkeeper?
 
I don't know if that small amount of adhesive would be a problem water chemistry wise, but I don't think it will stay stuck for long in saltwater. I'll be back to check those pics out.
 
Awesome, I would have just bought a reef ready tank because i can't do all of that custom work, but simply awesome!
 
twas the night before Christmas...

twas the night before Christmas...

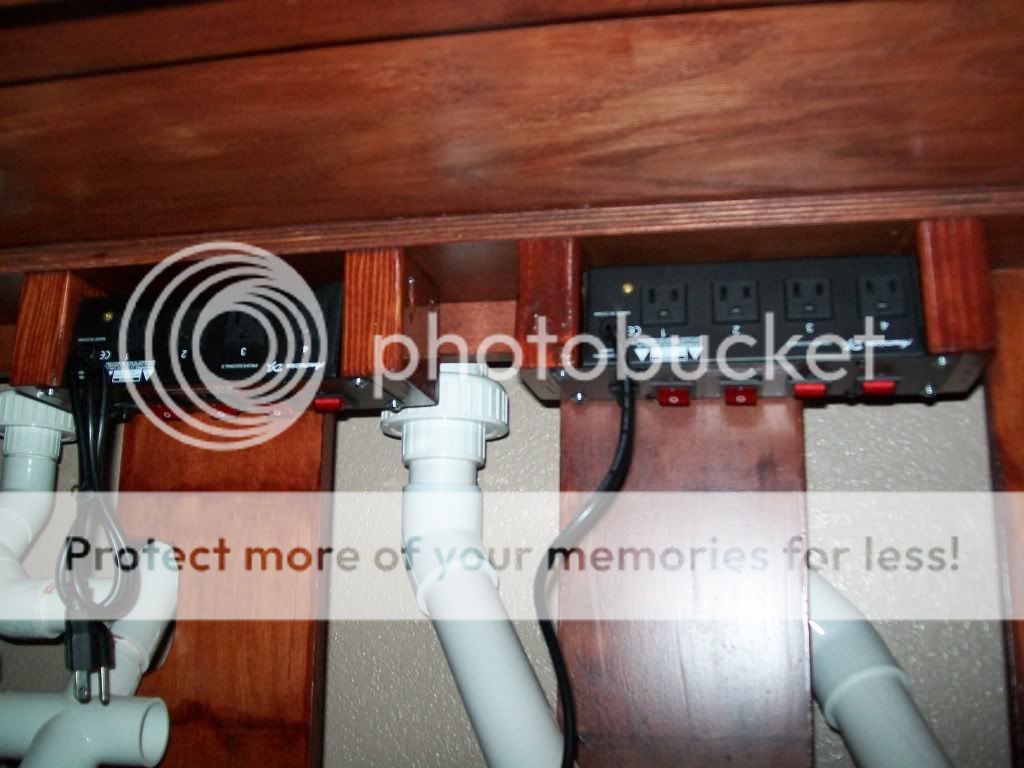
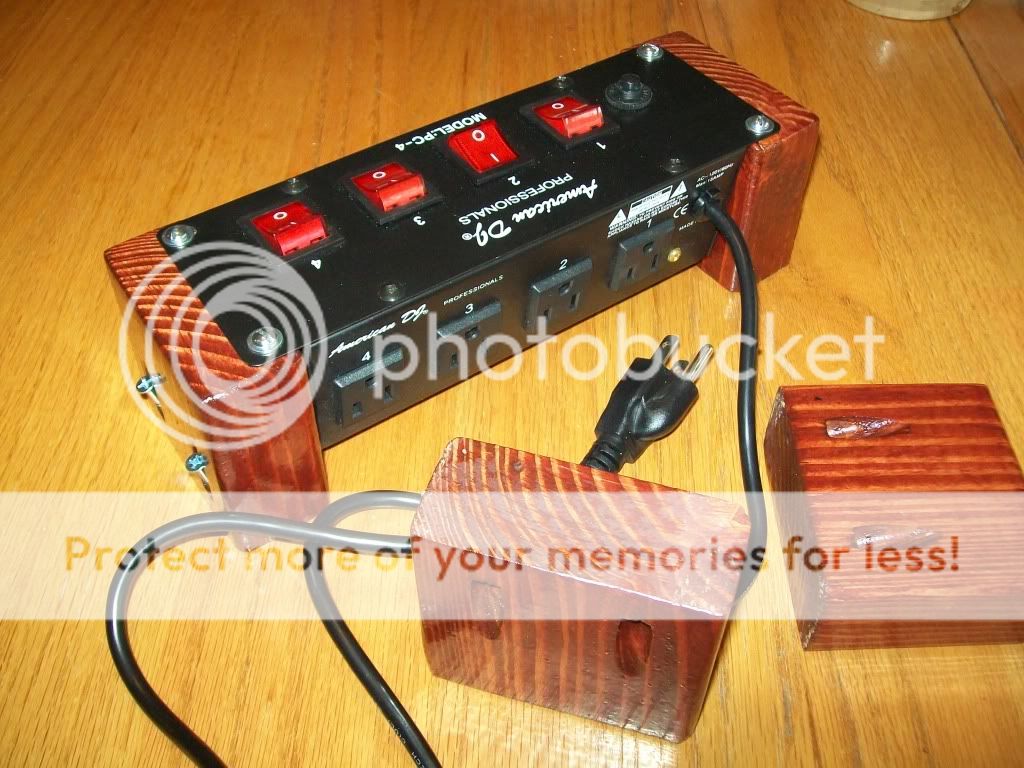
Been a real long time since I've posted any updates. The tank isn't finished yet unfortunately, but the lights are in the canopy and I mounted some American DJ PC-4 toggle switches inside the stand.
100_1345.jpg


100_1346.jpg


Merry Christmas fellow reefers!
 
retro kit installed and working!

retro kit installed and working!

Slowly and methodically finishing the build! The retro kit is done. Just need to tidy up the wiring a little. Moved on to cooling the lights. I decided to go with 4 - 3 speed Antec 120mm TriCool fans. They will be powered by a coolerguys.com 2000ma power supply with molex connector for easy assembly/disassembly when it arrives. http://www.coolerguys.com/840556029977.html

In order to mount the fans for easy removal, I had acrylic plates made that were cut with a laser for precise hole alignment and fan opening. The fan was then assembled with 4, 8-32 1-1/2" bolts and neoprene washers to absorb any vibration. Then on each assembly I added two strips of the 3M dual lock SJ4570. This will hold the fans tight to the canopy and then will be removable to replace, relocate or clean the fans. So here are a few pictures for the people that enjoy visuals!

100_1419.jpg
[/IMG]
The "DIY Fan Kit"!
100_1420.jpg
[/IMG]
Kit assembled and ready for mounting. Looks pretty good next to Big Slick!
100_1430.jpg
[/IMG]
Close-up of the fan assembly mounted to the canopy.
100_1429.jpg
[/IMG]
The 4 fans mounted and the T5 lights lit for the first time!!
 
Thanks Sisterlimonpot. I appreciate the compliment.

Moving on to the RO/DI system now. Anxious to get water in this thing! I purchased a Spectrapure MaxCap 90GPD and now need to plumb it. I have not decided how to set this up yet. I've read where some people hook theirs up directly to their sump. I also read that it is better to set-up an ATO system with a separate reservoir for fresh water. Anyone care to elaborate? If I should go with the ATO system does anyone have any recommendations?
 
Looks sweet, but man, you're into the 5th month now... I'm with your daughter on this one... Put some water in it. lol
 
Thanks stickboy. But counting the stand build, I'm into the seventh month. But who's counting? I'm planning to water test everything with tap water this weekend. If all goes well, I will drain and add in the RO/DI water.
 
your a tease coyote LET's see some H20.. i have to say everything looks great though!! GJ on plumping and the stand..

you could at least fill the top with ro and get your salinity right and start the tank cycle with some Live rock
 
Anyone care to share any advice on setting up the RO/DI system? Or ATO?
Missed that post,
I would discourage you to hook your RODI up directly to your sump, there have been way too many horror stories about flooding and lowering salinity to the point it wiped out the entire tank due to a stuck valve.

For an ATO I would use a reservoir with only enough RODI water in it not to overflow your sump/fuge.

If you want to try your hand on making your own ATO check out my homepage, buried in about page 5 or 6 I make my own setup.
 
Thanks for all the compliments and ATO advice. Spleify, thanks for finding my thread. I've been subscribed to your build thread and gained inspiration for my build from it.

For the ATO, I'm going to go with some sort of separate container to hold the fresh water. I'm thinking maybe a plastic reservoir inside a decorative clay pot on the side of the stand? Anyone do this or have pictures of creative ways to hide the reservoir?

Finally, I went to AZ Seabottom yesterday. Carlos is no longer there :( Probably old news for some. But I did meet Kyle. He's a great guy and we had a long chat about my build. If you want to continue to get the kind of service that Carlos provided at AZ Seabottom, make sure you visit on the weekend and see Kyle.

Kyle - to answer your question about the layout of my T-5 lighting, it looks like this:

Front
ATI Blue Plus - IC 430
Fiji Purple - IC 660
ATI Blue Plus - IC 660
Actinic White - IC 660
GE - IC 660
Blue Plus - IC 430
 
Back
Top