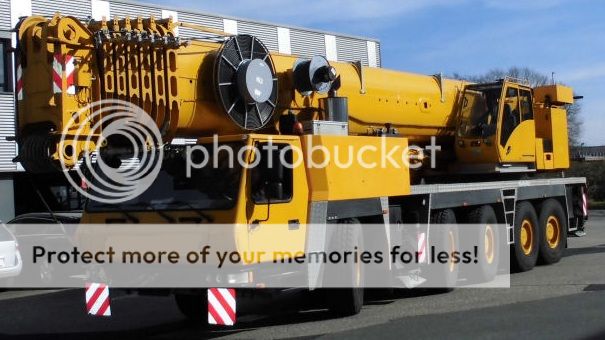
2. Yeah, I got a kick out of the crane. I was a huge Tonka fan as a kid.
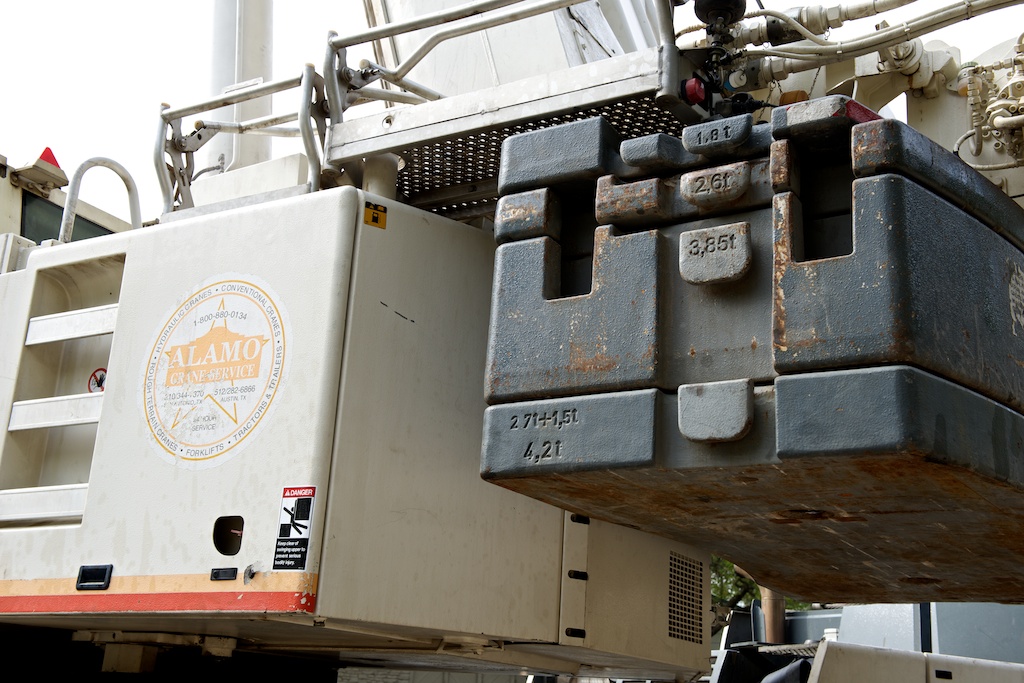
Crane counterweight
The counterweight is 25,000 pounds and had to be delivered on a separate 18-wheeler flatbed.
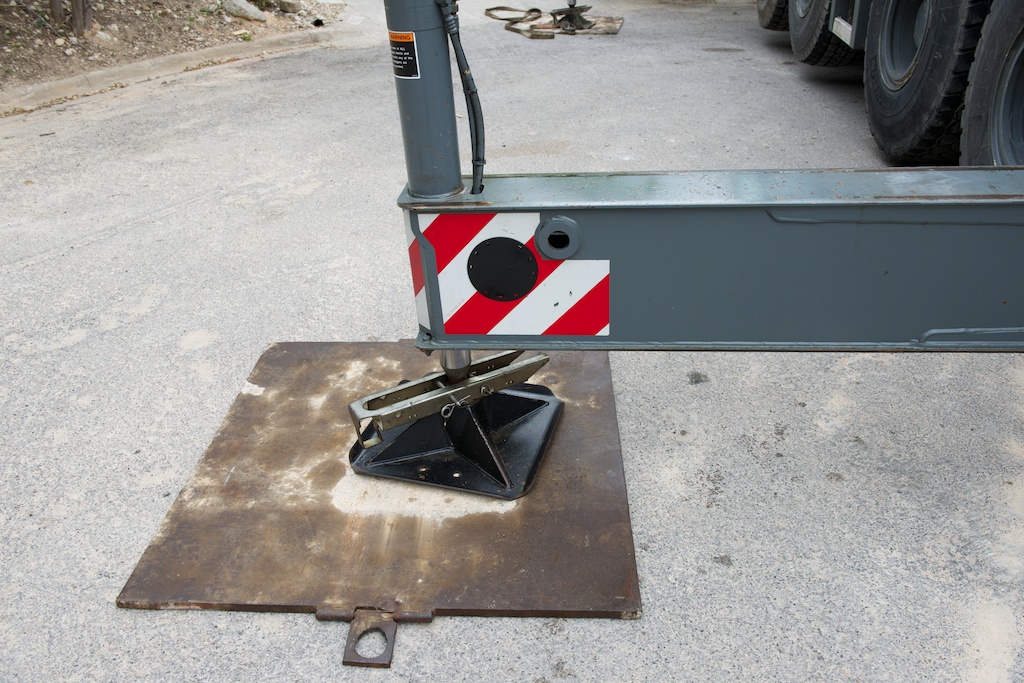
Crane footing
Apparently even 18" square feet might punch through the asphalt of the street, so they bring 4' steel plates to further distribute the weight.
lol, yeah I sell those for a living. Pretty neat stuff to be around. Thats actually a bit of a baby crane.
I've got a 275-tonner hitting the docks in Houston from Europe in 2 weeks if you want to buy one. lol ..... 155,000lbs of counterweight. Takes 4 trucks. Make you a hell of a deal. Only used by a grandmother on Sundays to move her oil drilling rig around.