You are using an out of date browser. It may not display this or other websites correctly.
You should upgrade or use an alternative browser.
You should upgrade or use an alternative browser.
Ben's "gettin back Into the hobby" build.
- Thread starter Bent
- Start date

Tiki God
New member
Great progress! (I feel like an idiot on the drill guide now, it looks so obvious when you know what it is! :lmao: )
Does walmart really sell RO water? I called them and the woman helping me said "I have never heard of that brand before" :lmao: I need a quick way to do water changes on my 40 FOWLR. Ammonia might be jumping a bit :sad2:
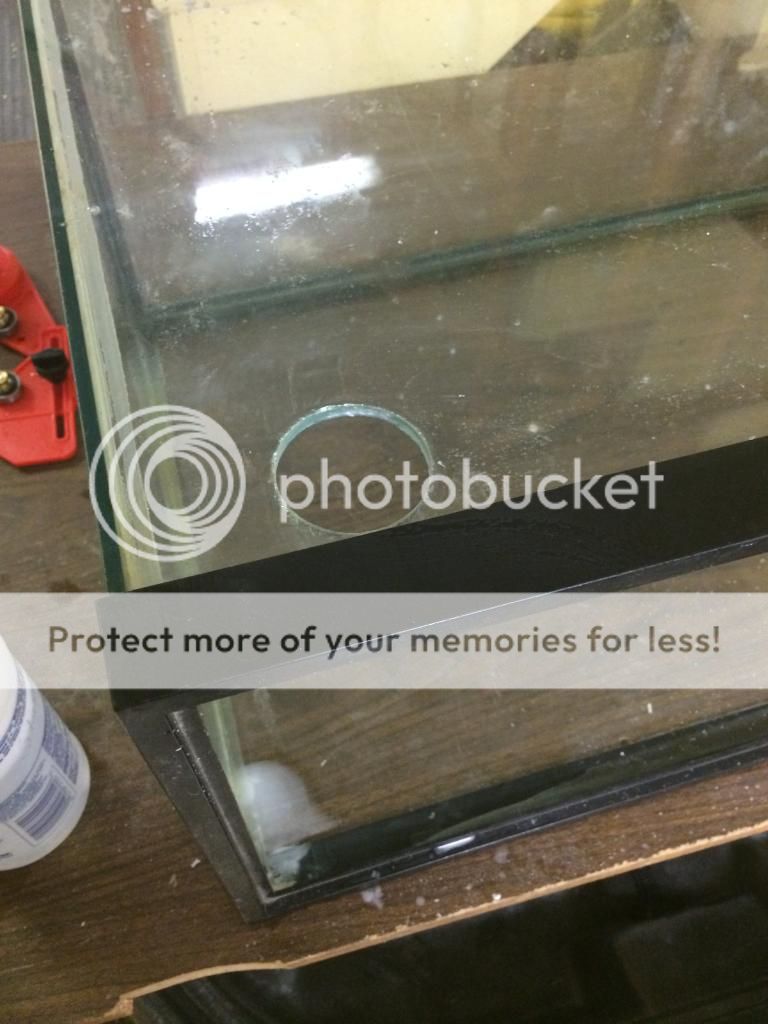
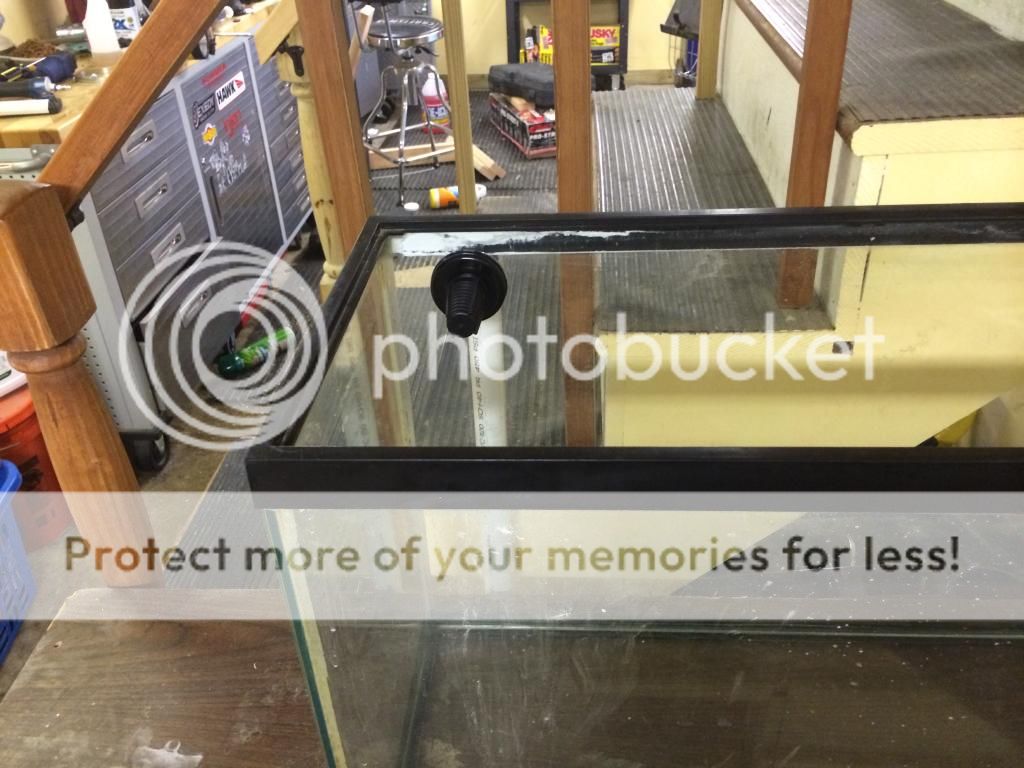
That cracked overflow is sort of weird, I haven't seen that happen before!
I agree with the above, I wish I had done this before I set my tank up! It's going to be a super simple tank when it's all up and running!
Does walmart really sell RO water? I called them and the woman helping me said "I have never heard of that brand before" :lmao: I need a quick way to do water changes on my 40 FOWLR. Ammonia might be jumping a bit :sad2:
That cracked overflow is sort of weird, I haven't seen that happen before!
I agree with the above, I wish I had done this before I set my tank up! It's going to be a super simple tank when it's all up and running!
Bent
I got nothin'
Well the cracked overflow was my fault, I used a wood bore bit instead of a hole saw. It was pure lazy. Had the wood bit already chucked in the drill and instead of grabbing the hole saw that was within arms length, just tried to use the wood bore. Oops.
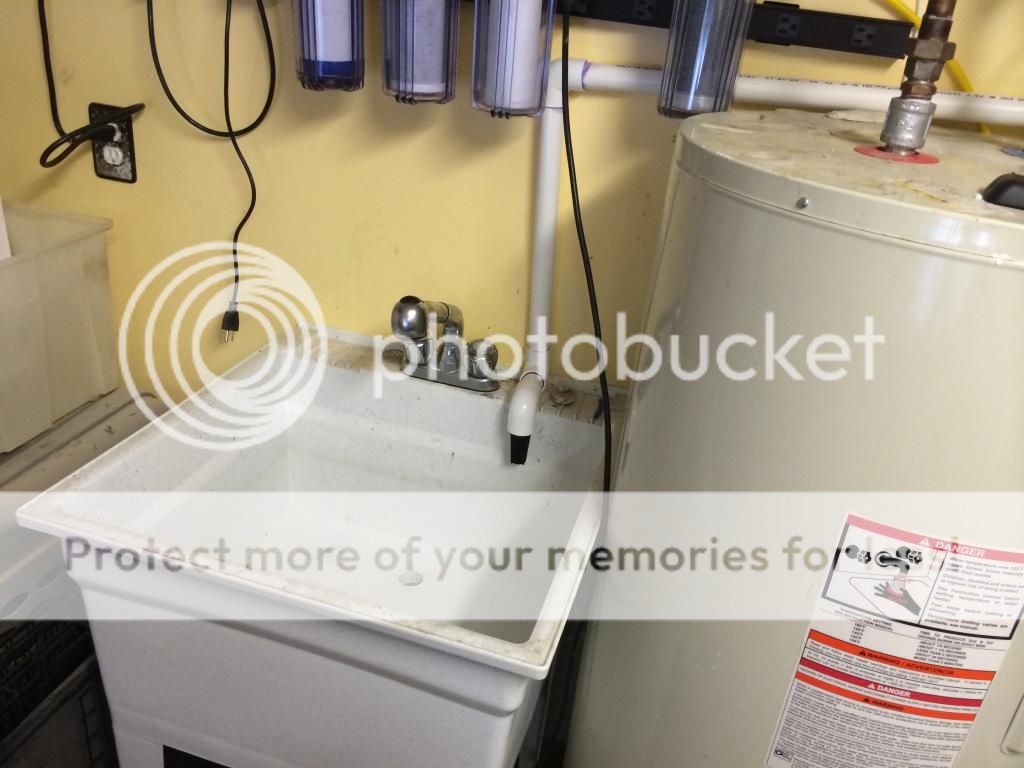
And the RO/DI water that wal-Mart sells (at least here) has a purple cap/label and says "filtered by reverse osmosis) the TDS on all I used was 0. But your results may vary.
The point of this build is to make things as easy as possible. Simple corals and critters, simple lighting, simple maintence, etc. I know my limits and I simply don't have the time to invest in a super complicated tank. I want something that's easy, and pretty and can help my 3 y/o learn about the ocean, yet won't exhaust me to the point of hating it.
I finished up some plumbing today. Will take more pics soon!
Bent
I got nothin'
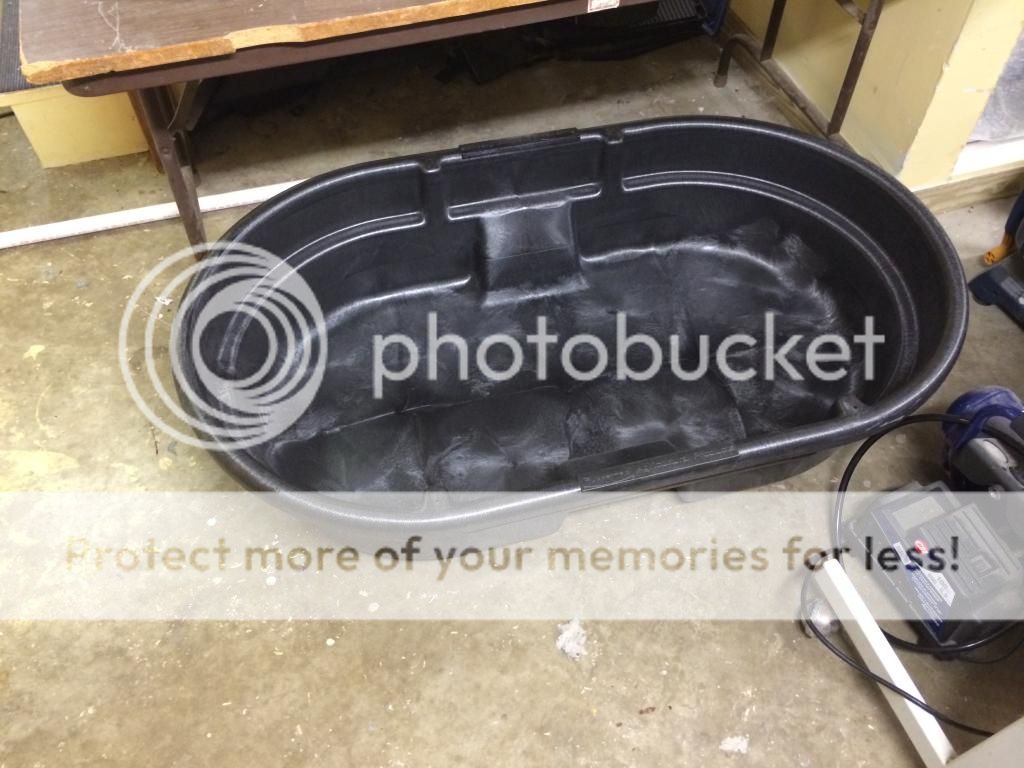
Ok big update here:
Here's what I got done today.
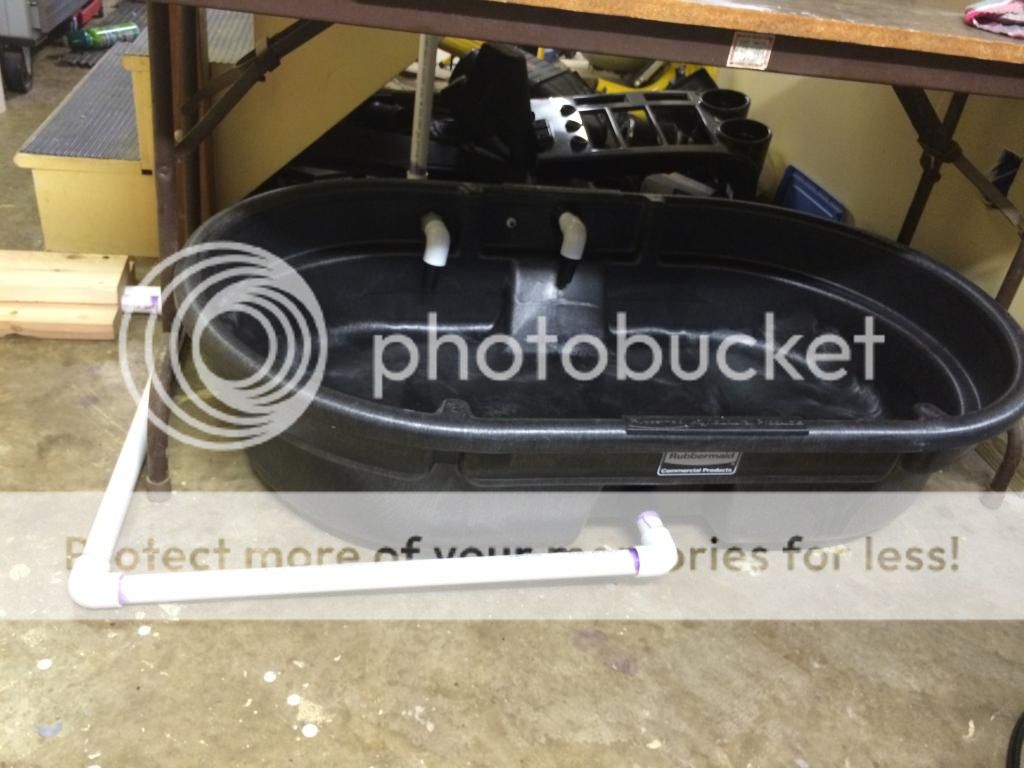
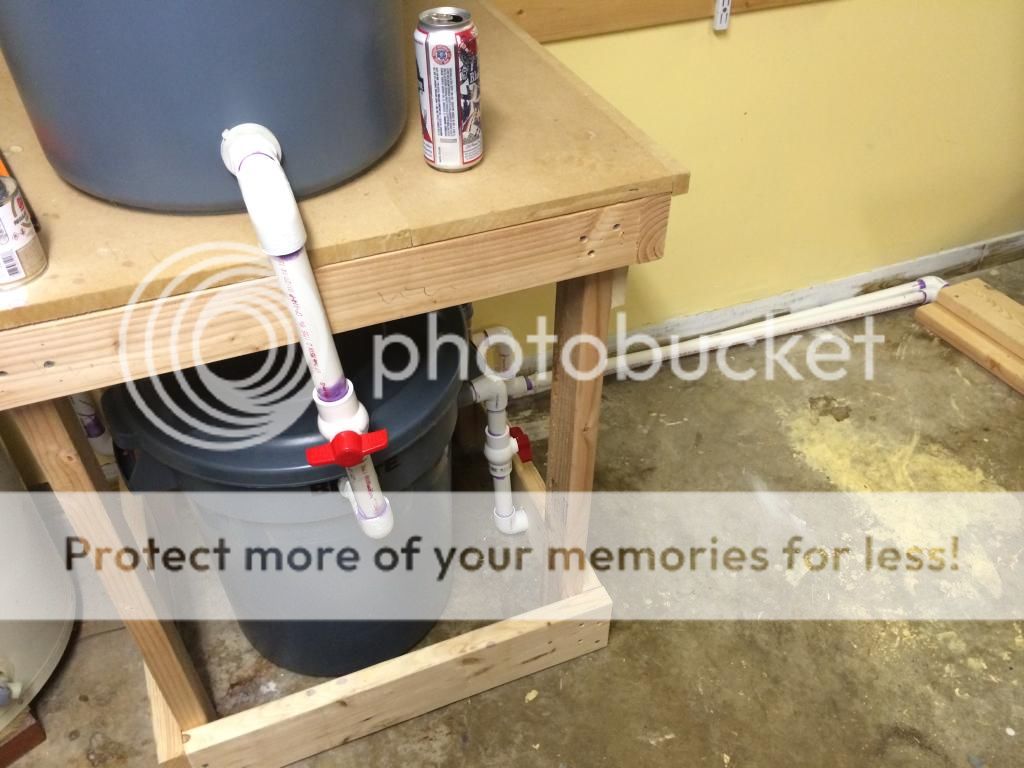
Finished plumbing up the drain line, the fill line and the sump overflow.
Now I just need to wait on the return pump and plumb up the return line. Then hit up the daunting task of drilling the DT and the header in the wall.

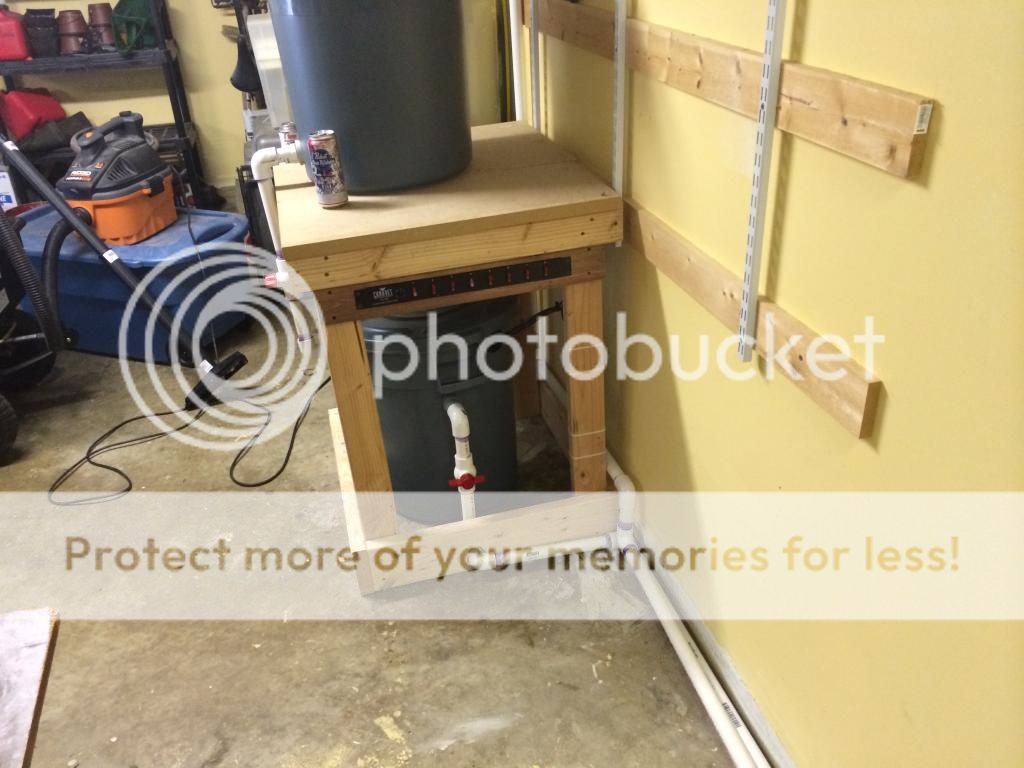
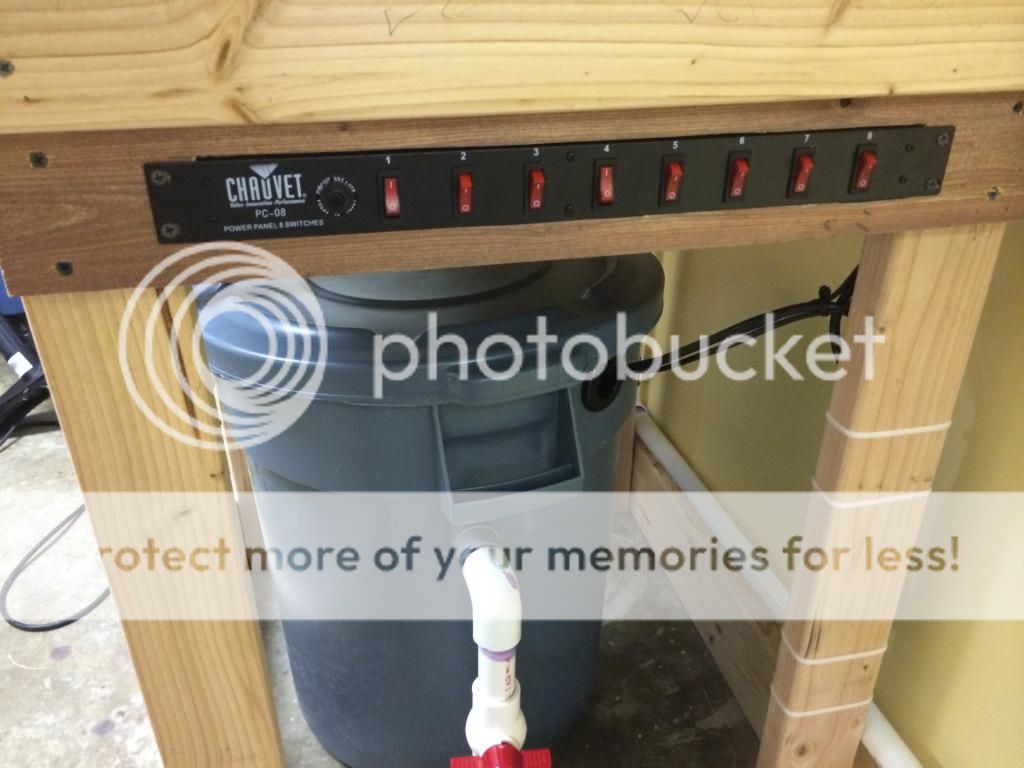
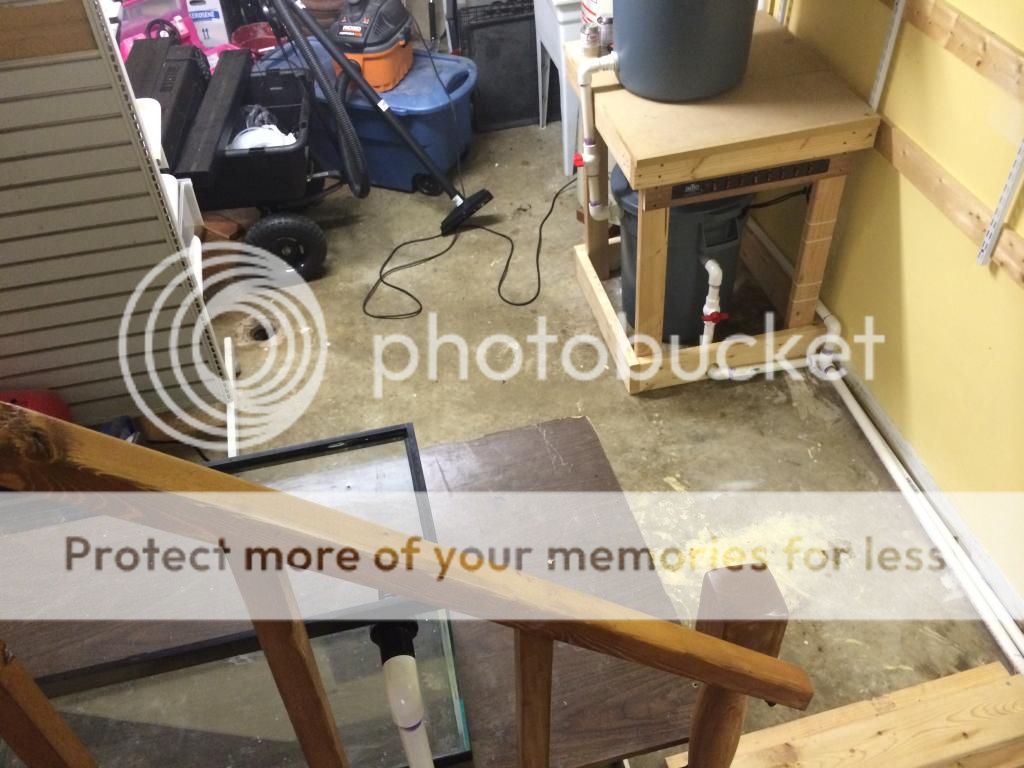
Edit: ignore the disgusting garage. It will be cleaned up when all this crap is done.
Here's what I got done today.
Finished plumbing up the drain line, the fill line and the sump overflow.
Now I just need to wait on the return pump and plumb up the return line. Then hit up the daunting task of drilling the DT and the header in the wall.
Edit: ignore the disgusting garage. It will be cleaned up when all this crap is done.
Bent
I got nothin'
Nice PBR :beer:
The gas station next to me sells 6 pack 32 ouncers for 9 dollars!
Tiki God
New member
Haha, I thought it was part of the RO/DI station! LOL I was going to say that's something for the "Ghetto Rigs" thread
With the wood bit, I've been there haha I work with robotics in my free time (any time left after reefs), and I tried to use a wood drilling bit to put a hole in sheet metal…the metal was fine! I just had two bits now LOL
With the wood bit, I've been there haha I work with robotics in my free time (any time left after reefs), and I tried to use a wood drilling bit to put a hole in sheet metal…the metal was fine! I just had two bits now LOL
animalkingdom
New member
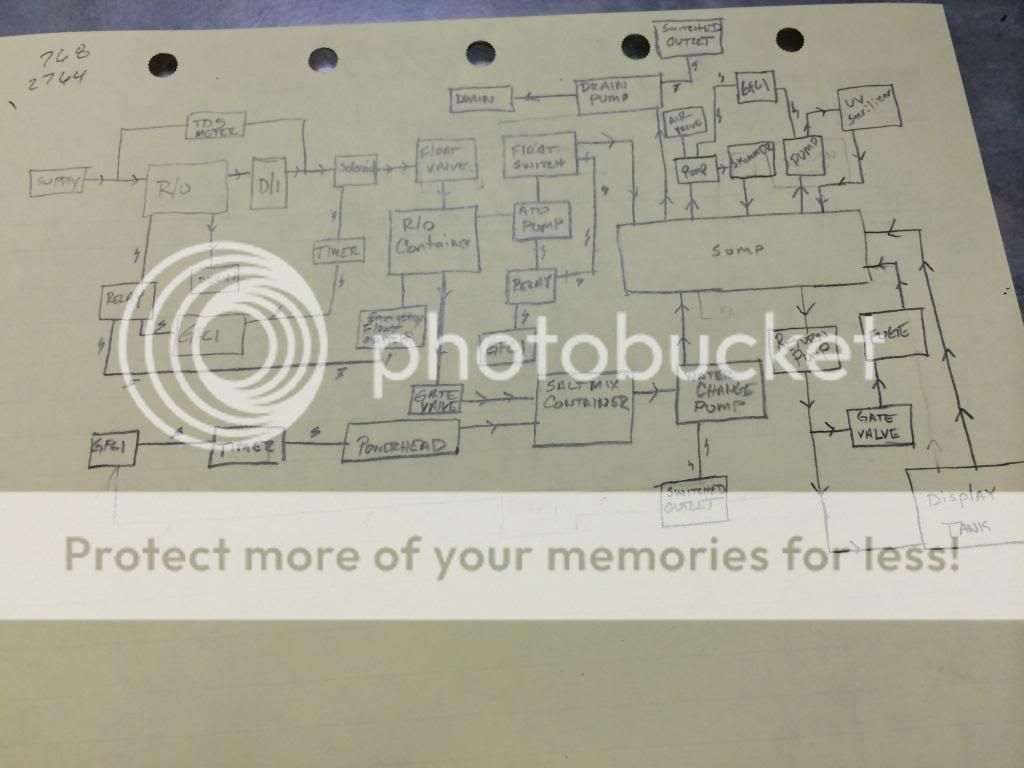
Here is my completed systems map for the entire basement. Took me a while to draw it out, but at least now I have a clear goal in my head:
this makes my head hurt....lol
great planning and its looking great so far.
Bent
I got nothin'
Haha, I thought it was part of the RO/DI station! LOL I was going to say that's something for the "Ghetto Rigs" thread
With the wood bit, I've been there haha I work with robotics in my free time (any time left after reefs), and I tried to use a wood drilling bit to put a hole in sheet metal"¦the metal was fine! I just had two bits now LOL
NICE.
Laziness has bit me in the hind end more just this once. :worried:
Bent
I got nothin'
this makes my head hurt....lol
great planning and its looking great so far.
Thanks! Hopefully it all goes as planned. Already have some slight deviations from this map, but nothing major.
Bent
I got nothin'
Here is a to scale sketch of how the overflow box will be drilled. I have 8.5" of workable space. So I can either use only two standpipes and run a herbie, or just put an additional stand pipe outside the box as a stand-alone, and run a Bean.
I'll have to space the overflow at least 2" away from the side when I drill the tank so there is enough structural support.
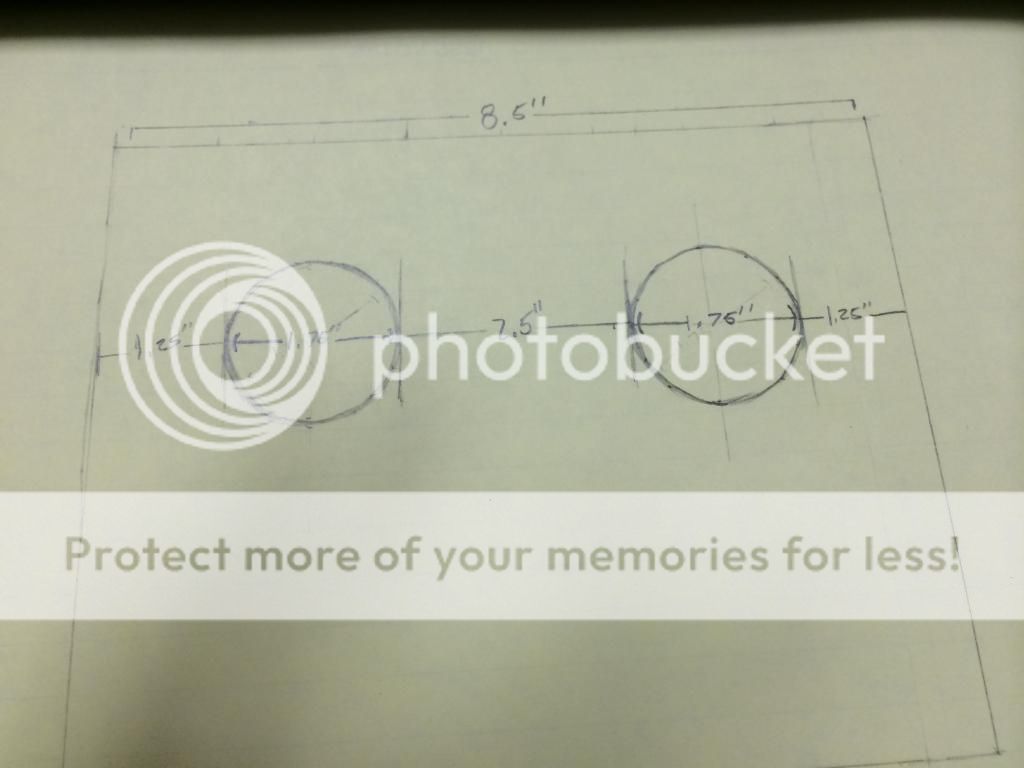
I'll have to space the overflow at least 2" away from the side when I drill the tank so there is enough structural support.
Bent
I got nothin'
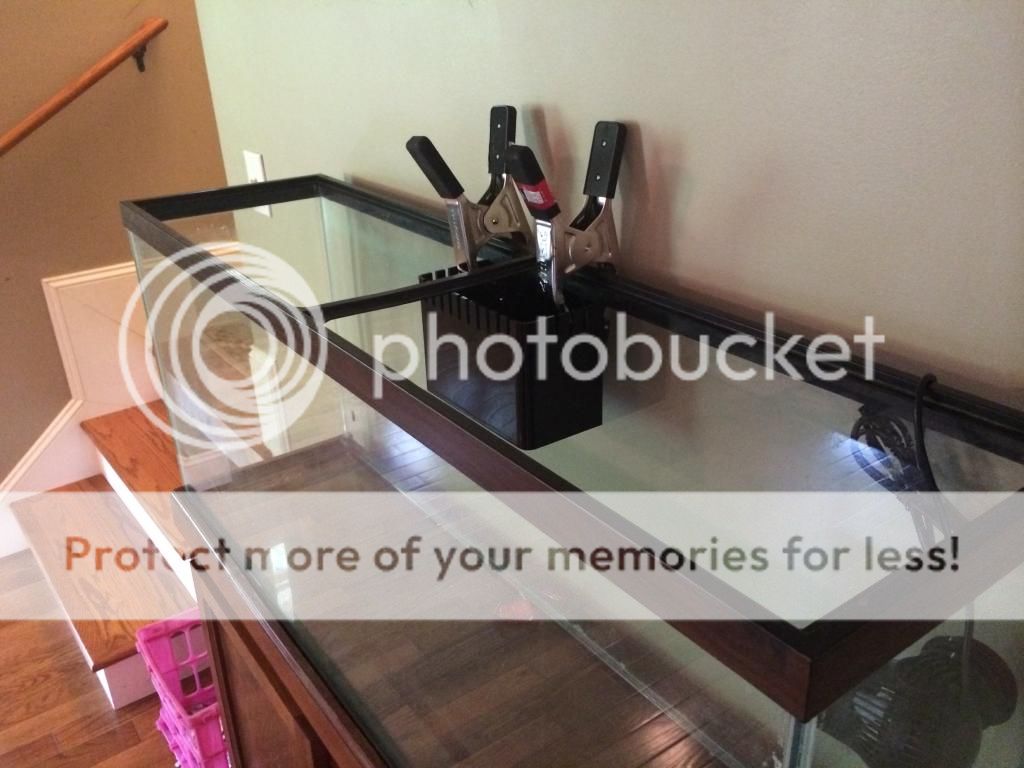
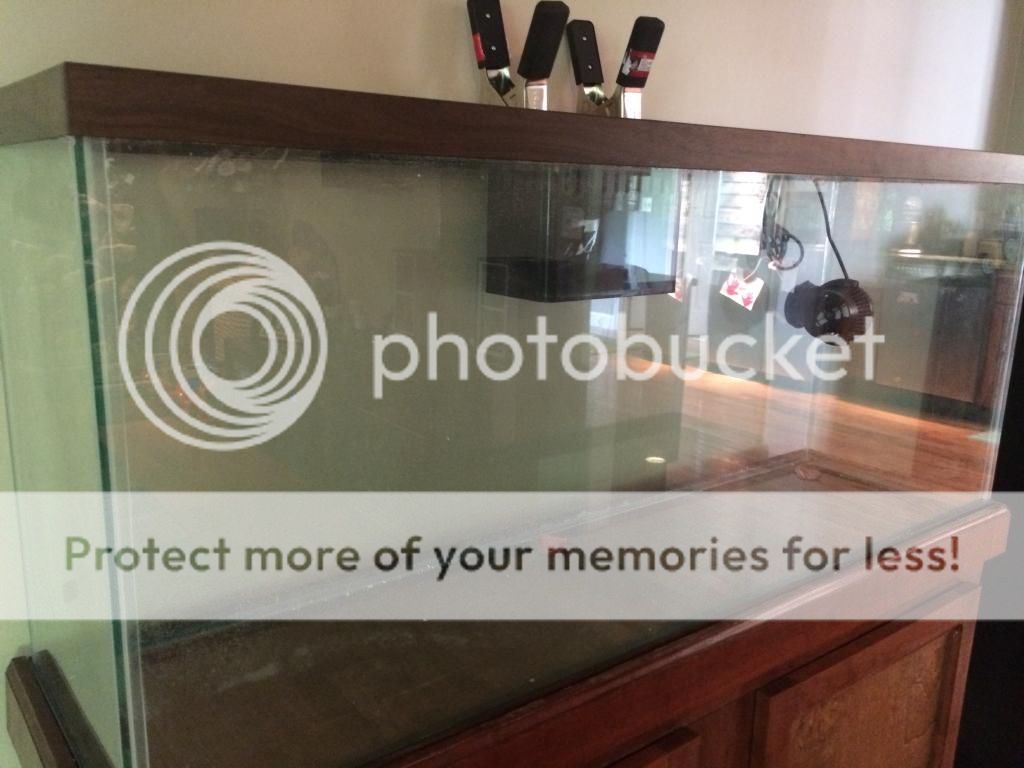
I've been thinking today about how I can eliminate the cord from the wp60, and still be able to remove the PH from the tank for maintenance. Also I've been thinking of how to keep the back of the tank clean looking so you don't see the plumbing hanging out of the back when you look at it from the side, but still be able to get back there and work if need be.
I think the easiest method would be to make a "blind" on both sides of the tank and stand made from 2x4s and a removeable piece of drywall with trim around it. When you need back there. Just pull the drywall off. You would have to mount the drywall to some 3/4 plywood to increase the strength of the drywall so it doesn't but when you go to pull it off.
As to the chord issue I've thought about making a bulkhead, taking a screw on cap, threading the wire through the cap, and epoxing the magnet to it. Then running some PVC up above the water line and running the cord up and out.
Then if I needed to remove the PH I can just pull it off the rubber mount and pull the cord through.
Bent
I got nothin'
I will, I think it's going to work. I just need to figure out what size plug that the magnet mount will fit on. Drill a hole through the plug and run the wire through the cap. Screw the cap to the bulk head and elbow out the bulkhead and up above the water line. Then you should be able to run the wire up and out.
The cap won't need to be water tight as even if the PVC floods, it will reach out above the water line. Then when you do maintenance on the pump you SHOULD be able to disconnect it from the rubber feet and pull the wire back through the other way.
The only real question is if it will hurt the wire/connector to get it wet.
And actually, if the cap is big enough to hold the magnet on the other side I may not even need to epoxy it.
No no no wait.
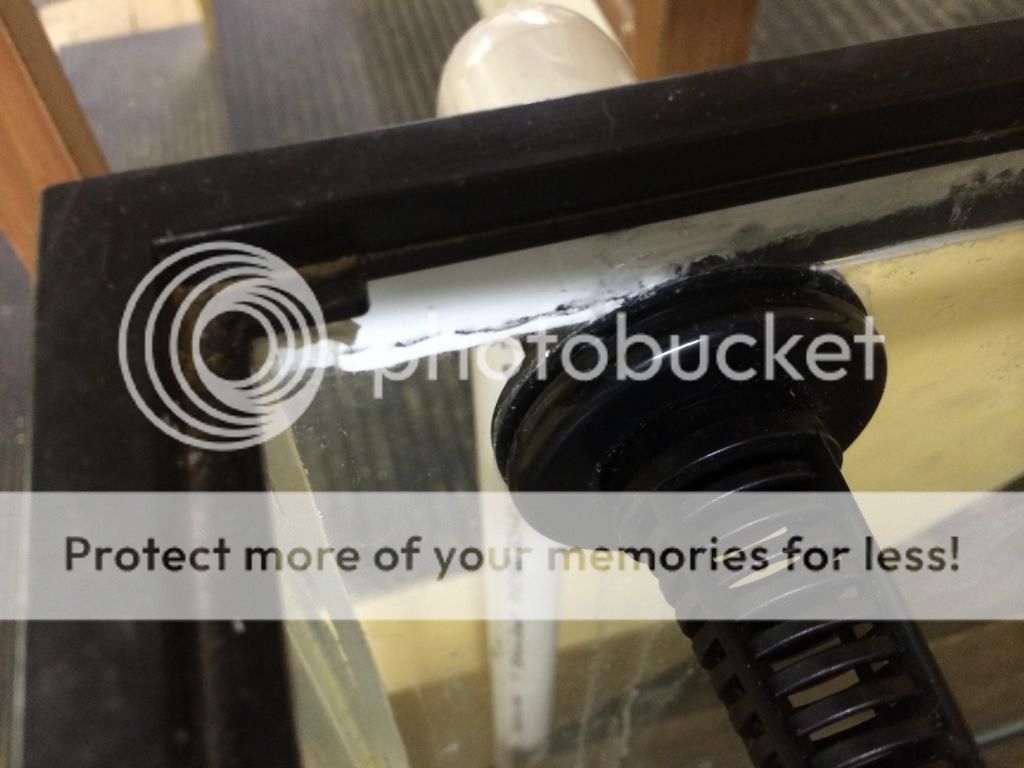
I'm getting way to complicated with this. ALL one would have to do is drill a very small hole in the glass and use a small bulkhead and elbow and route that above the water line. Mount the wp next to the hole with the standard magnet mount and then run the cord through the bulkhead and out of the fitting.
Then you have more flexibility of where the WP will go.
That's the answer. Maybe 1/2" bulkhead.
The cap won't need to be water tight as even if the PVC floods, it will reach out above the water line. Then when you do maintenance on the pump you SHOULD be able to disconnect it from the rubber feet and pull the wire back through the other way.
The only real question is if it will hurt the wire/connector to get it wet.
And actually, if the cap is big enough to hold the magnet on the other side I may not even need to epoxy it.
No no no wait.
I'm getting way to complicated with this. ALL one would have to do is drill a very small hole in the glass and use a small bulkhead and elbow and route that above the water line. Mount the wp next to the hole with the standard magnet mount and then run the cord through the bulkhead and out of the fitting.
Then you have more flexibility of where the WP will go.
That's the answer. Maybe 1/2" bulkhead.
Last edited:
Bent
I got nothin'
They are all soaking in vinegar, going clean and test and post pics!
Test and post pics of what?


Similar threads
- Replies
- 137
- Views
- 2K
- Replies
- 56
- Views
- 842