Everyones Hero
New member
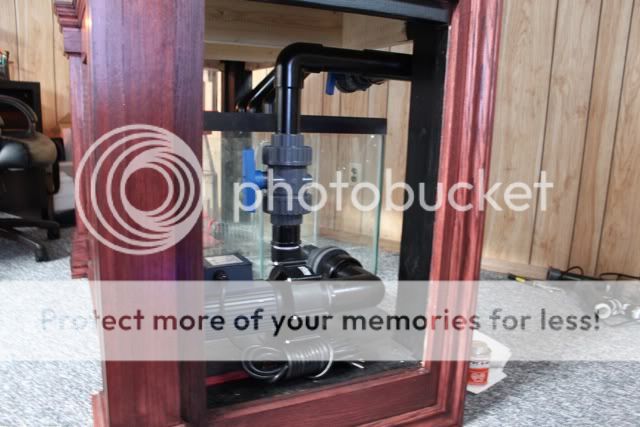
Is that a uniseal screwed onto the bulk-head? That's one thing I'd definitely recommend. It'll allow you to take the pump off to clean it in the future.
It looks like there is a uniseal already on it but I didn't think anything could be screwed onto the threads of a bulkhead because of the thread pattern.
It looks like there is a uniseal already on it but I didn't think anything could be screwed onto the threads of a bulkhead because of the thread pattern.