I know its been some time but I'm ready to retake this thread wit more pics and ready to answer your questions.
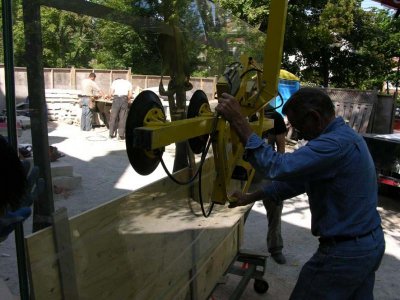
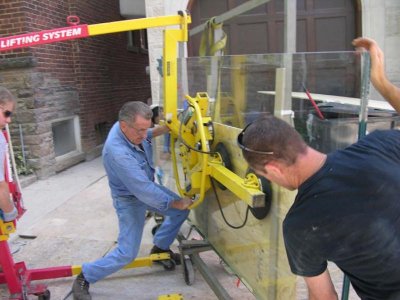
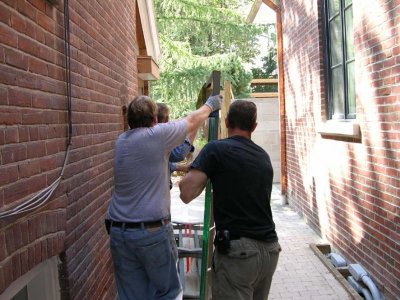
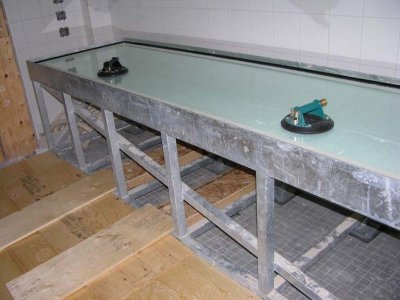
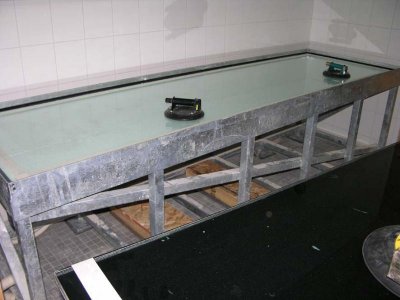
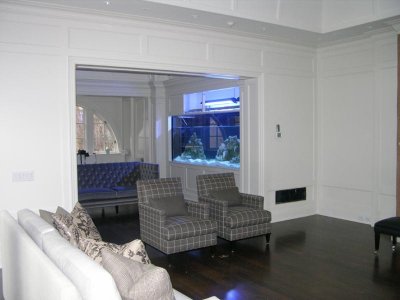
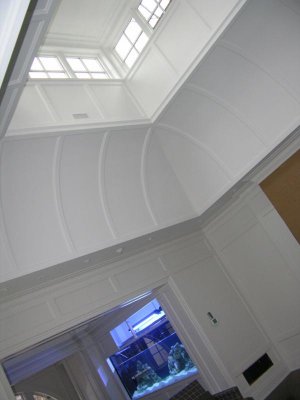
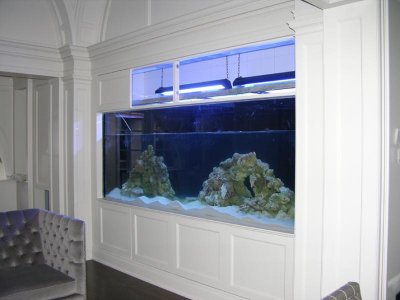
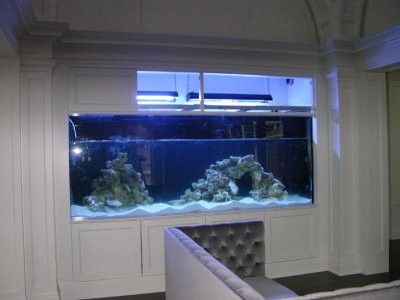
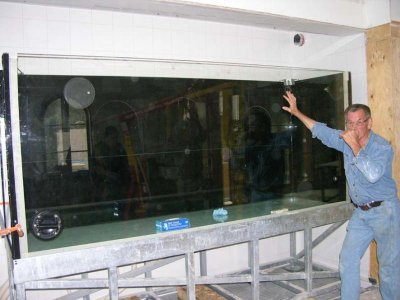
By the end of 2009 I was embarked in this beautiful project which bring me definitely in to the club of the 1000 gal ( Magic number)
A few other fellow aquarist are there as well I am now
I'll send as many pics as I can.
Regards,
Frank A.
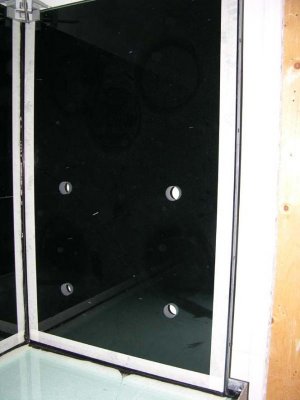
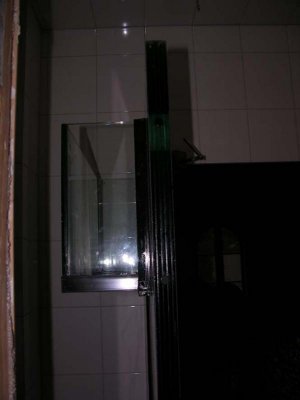
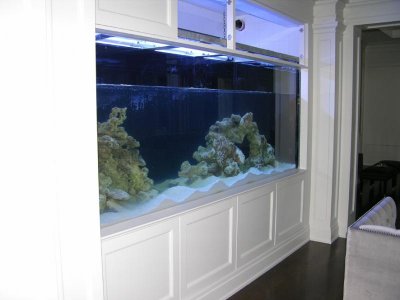
Frank, congrats on what looks to be an awesome build. I'm wondering if you could share with us how you did the doors over the tank. I can see that the outer ones are hinged, but the inner ones just seem to be removed...is that the long term plan or will they hinge up?
I'm about to begin a 290G build and I'm trying to figure out how I will build the surround to the tank still.
Thanks.


")