Our 1000 gal in Canada

Frank Aguirre

New member
Hello all,

Some might say how come? Other would have a hard time believing but pics talk more than a thousand words...

Me and my team been planning this project for about 2 years and finally things are happening...

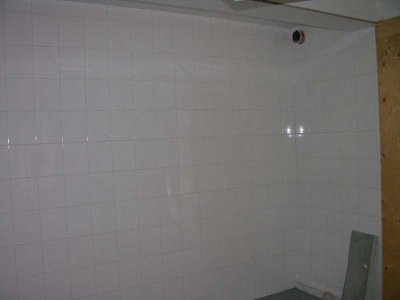
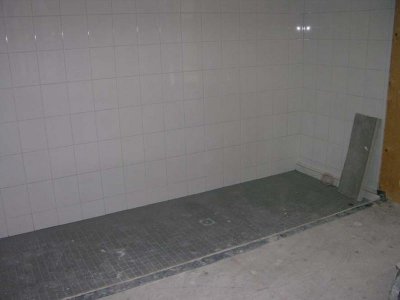
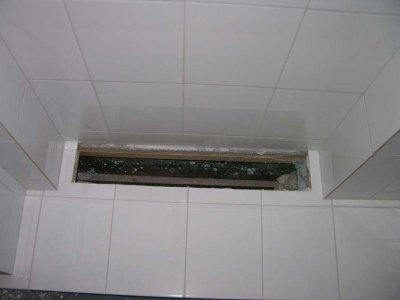
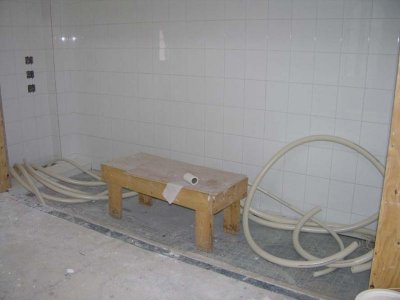
I invite you to see step by step what we did what we are doing and what we have plan to to do in the near future always in the spirit to share with you my fellow aquarist hoping your input help others learn and gain experience...

Sincere regards,

Frank A.
 

Attachments

  • Aquarium place.jpg
    Aquarium place.jpg
    66 KB · Views: 15
  • Aquarium place (1).jpg
    Aquarium place (1).jpg
    68.2 KB · Views: 16
  • Aquarium place (4).jpg
    Aquarium place (4).jpg
    65.2 KB · Views: 22
The Beginning

The Beginning

With the construction of a new house I always had a dream.

A dream that this time it was to become true a 1000 gal tank.

The library was chosen so I can enjoy the relaxation and a good sit in front of it.

The plans were to have the tank in the main floor and an specific fish room in the basement so I can minimize vibration and noise to the max.

In the previous pics you can see the site and the supplies to build a bathroom shower kinda.

The plan was to build such an enclosure that no humidity can transfer to the walls or the house in general, as well a proper drainage just in case something happens.

Since the tank will be in the main floor an engineer calculate the weight and propose the proper reinforcement which are the pictures in this segment.
 

Attachments

  • Fishroom.jpg
    Fishroom.jpg
    37.7 KB · Views: 14
  • Steel beams for Aquarium Floor.jpg
    Steel beams for Aquarium Floor.jpg
    61.9 KB · Views: 16
  • Steel beams for Aquarium Floor (2).jpg
    Steel beams for Aquarium Floor (2).jpg
    72.1 KB · Views: 14
  • Steel beams for Aquarium Floor (5).jpg
    Steel beams for Aquarium Floor (5).jpg
    59 KB · Views: 20
  • Structural reinforcement.jpg
    Structural reinforcement.jpg
    61 KB · Views: 13
The Beginning II

The Beginning II

As the work continues the tiles and floor were done.

On the left are the GFI power supply for the lighting system and close loop pump.

At this stage we are still debating using an Oceans Motions device or not.

On the right upper level you can see the opening left for the humidity extractor.

The floor has a central drain just in case any leaks or future leaks due to maintenance.

Since the library would have fine floors it was very important to somehow isolate any possible water from them in the future.
 

Attachments

  • Aquarium place finished.jpg
    Aquarium place finished.jpg
    51.3 KB · Views: 16
  • Aquarium place finished (1).jpg
    Aquarium place finished (1).jpg
    45.5 KB · Views: 16
  • Aquarium place finished (2).jpg
    Aquarium place finished (2).jpg
    24 KB · Views: 13
  • Aquarium place finished (3).jpg
    Aquarium place finished (3).jpg
    23.8 KB · Views: 18
  • Aquarium place finished (4).jpg
    Aquarium place finished (4).jpg
    31.3 KB · Views: 12
The Beginning III

The Beginning III

In this segment you have the opening left for the plumbing and a view of the area which will become the fishroom.

I was making sure that not external devices will be inside the aquarium for that reason a external overflow on the left will take care of the water out and also an intake in the bottom for the internal water circulation which will be split in to four on the other side.

The tank is made in glass by my friend Derek Smith of Miracles Aquariums which is a sponsor on this forum.

I'll promise more as soon as the pics are ready

Regards,

Frank A.
 

Attachments

  • Fishroom.jpg
    Fishroom.jpg
    37.7 KB · Views: 12
  • Opening for plumbing.jpg
    Opening for plumbing.jpg
    26.8 KB · Views: 15
  • Aquarium place ready.jpg
    Aquarium place ready.jpg
    38.2 KB · Views: 14
  • Final touches before aquarium comes in.jpg
    Final touches before aquarium comes in.jpg
    40 KB · Views: 16
Very nice! I will be following this build. It looks like you have put alot of nice thought thus far into the systems design. What are the dems of the display? What kind of equipment will be used? What will be plumbed into this system i.e. frag tank(s), refugia, etc.? Stocking plans?


Thanks!

Garrett
 
Yea Canada :D I am about a 20min drive from you, I will have to come see the tank when its done ;) I will be following this ! Need more info on tank :)
 
Awesome!.. what is the dimensions of the tank? equipment line up? keep the pics Rollin brotha!...
 
Wow! Nothing like good planning an building from the ground up, and yes, dims and equipment spec!
 
Very nice! I will be following this build. It looks like you have put alot of nice thought thus far into the systems design. What are the dems of the display? What kind of equipment will be used? What will be plumbed into this system i.e. frag tank(s), refugia, etc.? Stocking plans?


Thanks!

Garrett

Thank you Garret

The tank measures 10 feet long by 36" wide and 56" tall

The filter will be made of two 300 gal vats in the basement to house refugium in one and equipment in the other

Skimmer is still under discussion/review as well other parts. We will give the business to the most reliable company

But so far this is the list

Skimmer rated for 1000 gal min.

Uv sterilizer by Pentair Aquatics model 160 watts

Ozone generator 500 mg by Sanders

4 Pumps Sequence Hammer Head

Calcium reactor ( still under review)

Lighting:

5 Lumen bright reflectors @ 400watts each/20K

16 T5 at 54watts each.

50 LED for Moon effect

So far I have 1000 lbs of premium fiji live rock curing and ready to go.

Since we have the whole room to go crazy of course I will develop a nursery for fragmentation and live foods.

Sincere regards,

Frank A.
 
Yea Canada :D I am about a 20min drive from you, I will have to come see the tank when its done ;) I will be following this ! Need more info on tank :)

Thank you and you are welcome.

The tank has been build but the pics are still processing

I promise more ASAP

Feel free to ask

Frank A.
 
I noticed in your second post, first pic, that the support walls under what I think are your floor joist's have a pine bottom plate instead of pressure treated wood which may rot out in the future especially since there is water already getting to it, this also can cause a mold to grow on the wood which can be bad for you and your family's health, I would recommend using pressure treated wood at the bottom plate everywhere especially in wet areas.. JMO!..
 
sweet! i liked to know what kind of skimmer you are using?

Thank you and the candidates are:

Royal exclusiv Bubble King 650

Reef flo Orca (2 of them)

Deltec

EuroReef offer a custom

Personally I've been looking for a "Volcano" but so far no answer....
 
Back
Top