You are using an out of date browser. It may not display this or other websites correctly.
You should upgrade or use an alternative browser.
You should upgrade or use an alternative browser.
Scrapz's Ultimate Gamble 3x3 SPS Cube
- Thread starter scrapz
- Start date


scrapz
Saturation+100
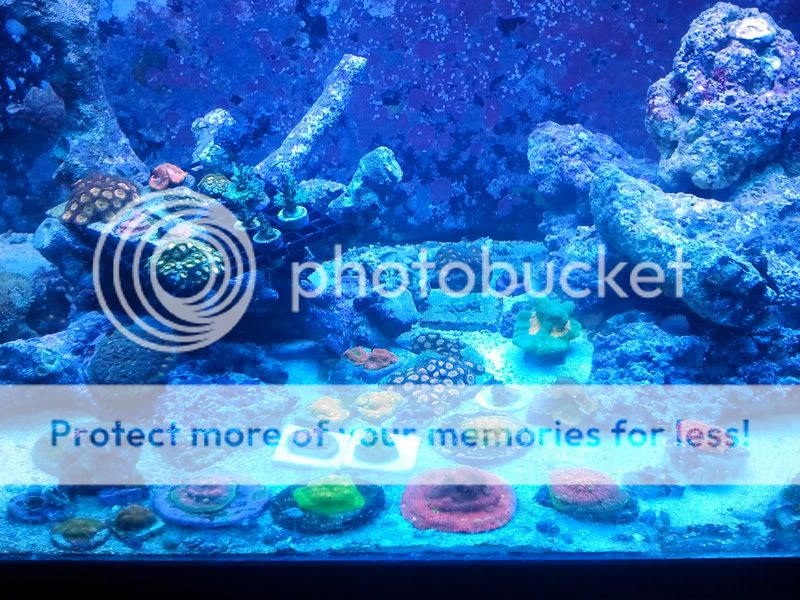
Originally tore down the tank due the losing battle with AEFW. I would dip all my corals, everything would look great for a month or two and bam, out of nowhere they were everywhere again.:headwally: Eventually I just gave up and tore down my tank, only keeping my sump running for the few fish I had left, one being the first clown I got when I started the hobby. He's about 9 years old now.
Anyways, it's been a few years since I've had a reef tank up. Finally had to opportunity to resetup my tank.
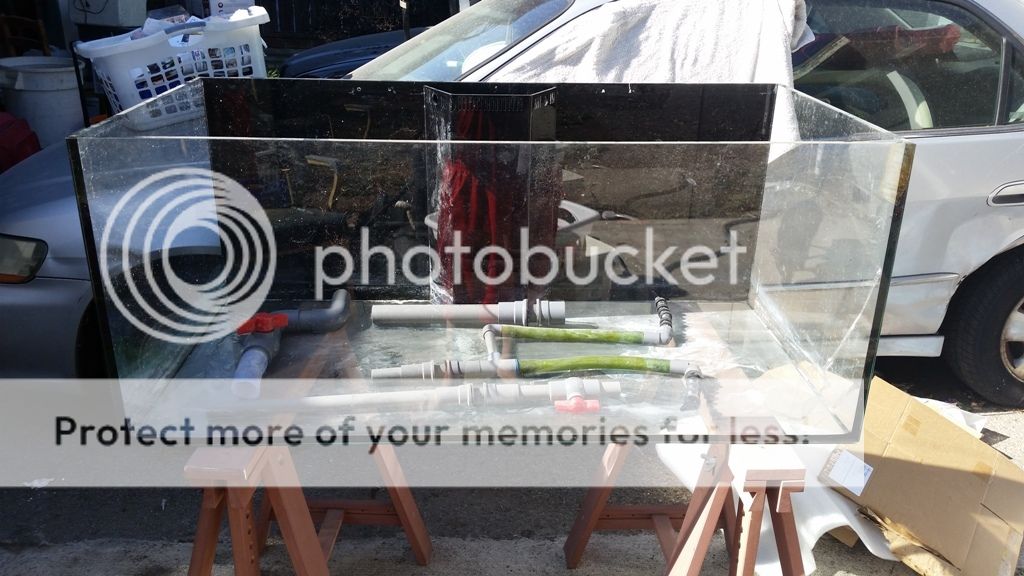
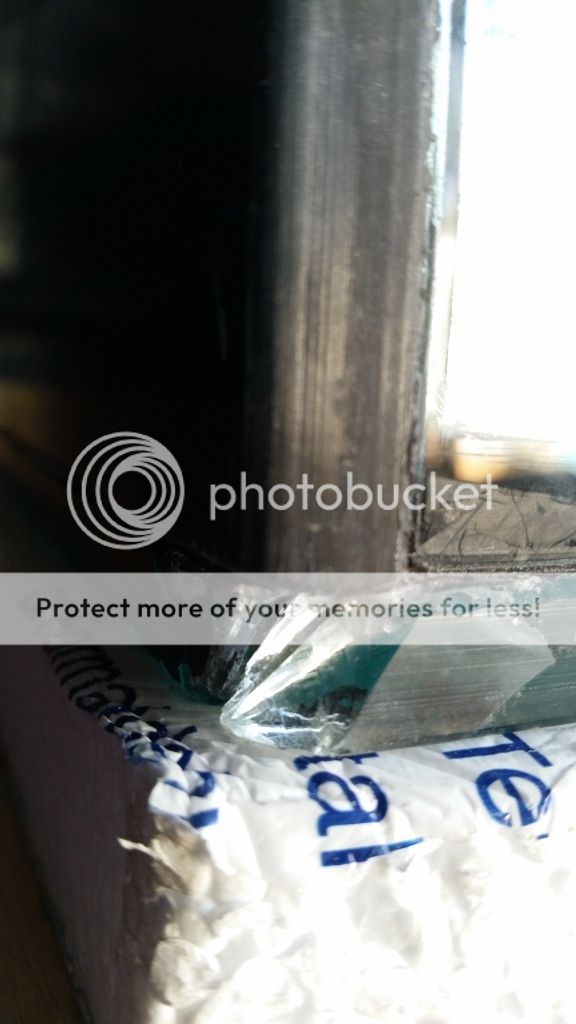
The original plan was to to setup a Cadlights 48x24x20 rimless tank but a 3x3 cube showed up for sale for $75 bucks. Only downside was the corner had been chipped but was said to hold water. I figured it was worth the gamble so me and Jimmy007 headed out to to pick up the tank.
Anyways, it's been a few years since I've had a reef tank up. Finally had to opportunity to resetup my tank.
The original plan was to to setup a Cadlights 48x24x20 rimless tank but a 3x3 cube showed up for sale for $75 bucks. Only downside was the corner had been chipped but was said to hold water. I figured it was worth the gamble so me and Jimmy007 headed out to to pick up the tank.
scrapz
Saturation+100
The Geek List:
Tank: 36x36x22 Eurobraced /w rear center overflow.
Stand : DIY
Sump: Looking for a 32x32 cube.
Lighting: Undecided (I have an ATI 6x39, 250w and 400w Galaxy Radium 20k Setup, 63 3W Cree LED Setup) - We'll see, maybe everything will be retroed to work together..
Skimmer: SWC 230 /w new Laguna 1350 pump.
Return Pump: Undecided (Have a laguna 2400 but seems a bit excessive)
Flow: 2x Jebao RW-8 /w JBWave Controller. 1x Vortech MP40. 2x Tunze 6045
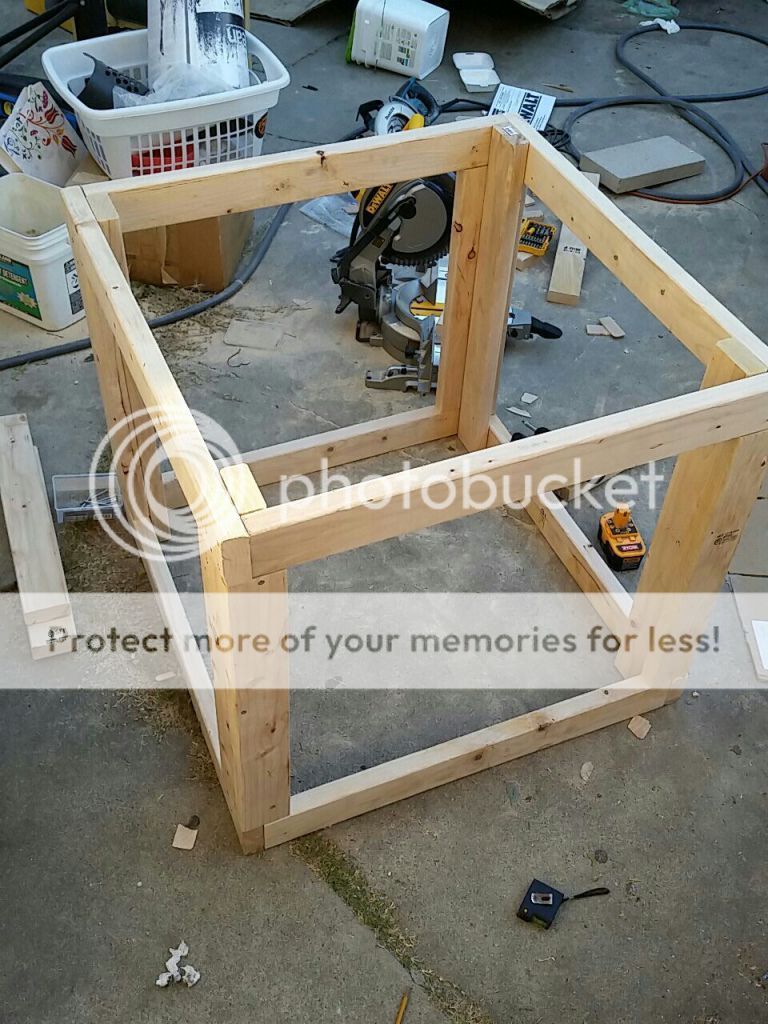
So first business is to leak test the tank and pray for the best but before I can do that, I'll have to get a stand built. Off to home depot I go, little did I know I would be going back 4x in the same day:facepalm:
Parts list for DIY Stand:
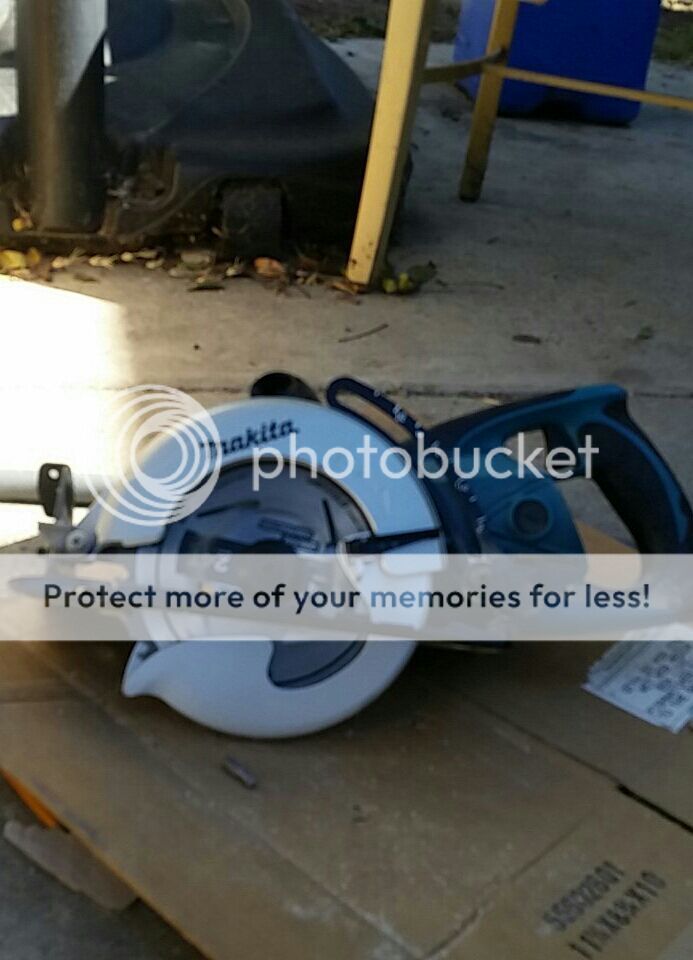
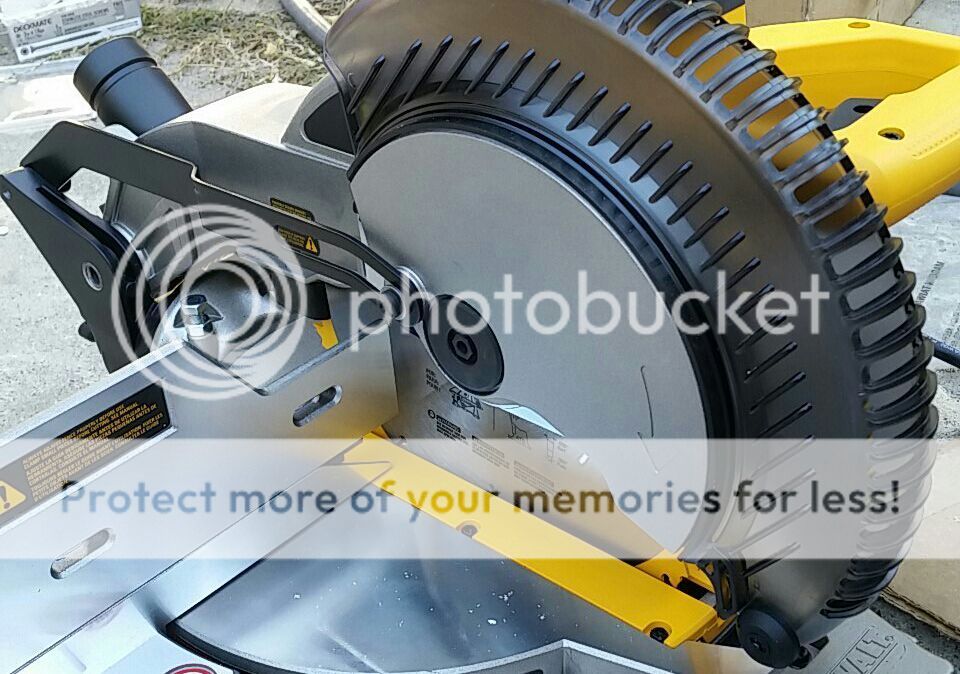
Makita Circular Saw (My first saw!) $139.00
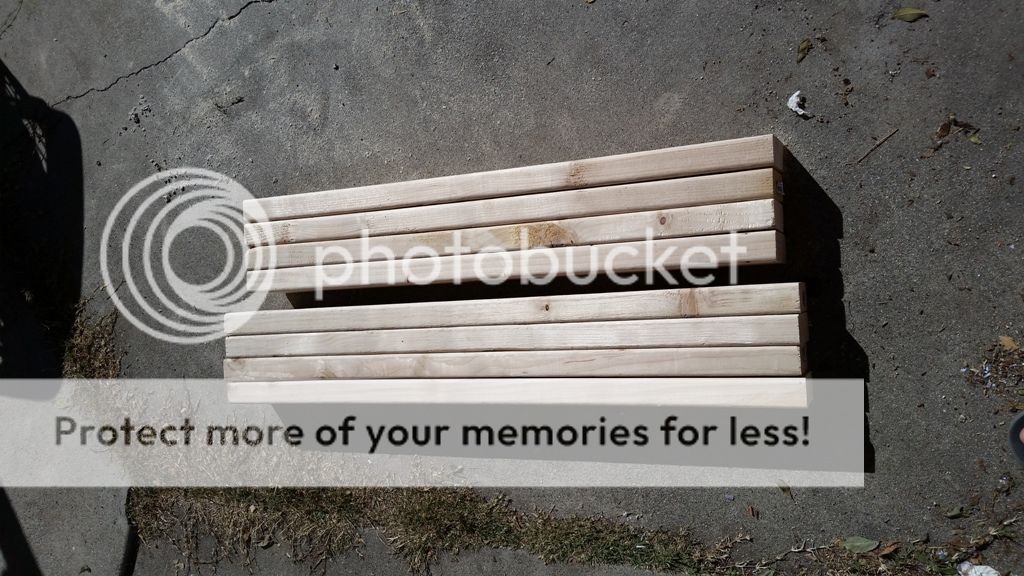
9x 2x4 $35
1x Sheet of ply $17
4x8 3/4" Foam Sheet $20
A box of 3" deck screw $12
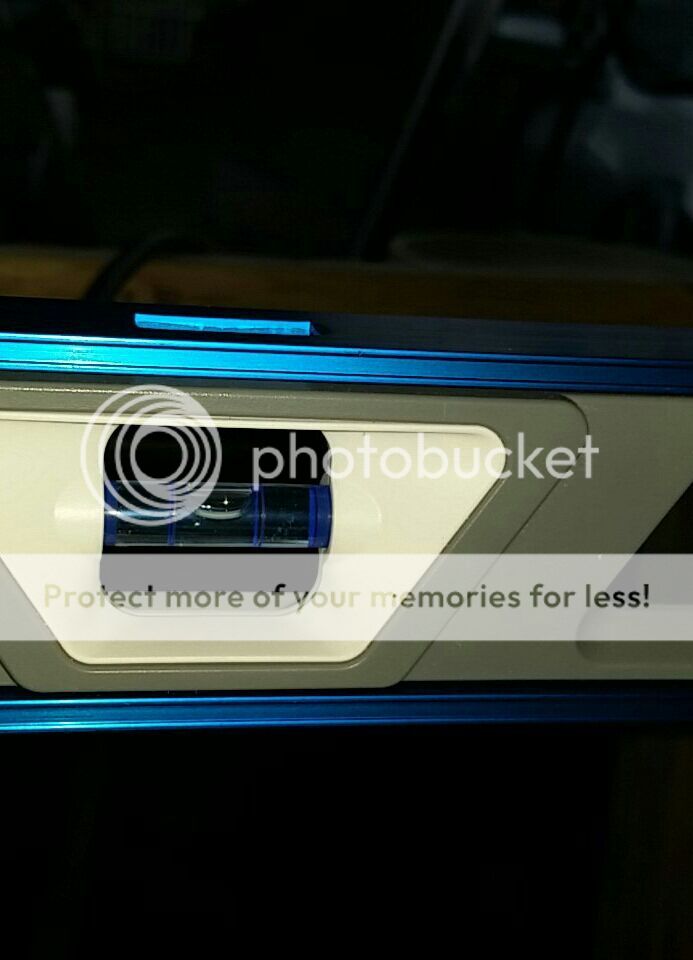
4' Empire Magnetic Level $30
Total cost came out to around $220. The stand itself cost around $60.
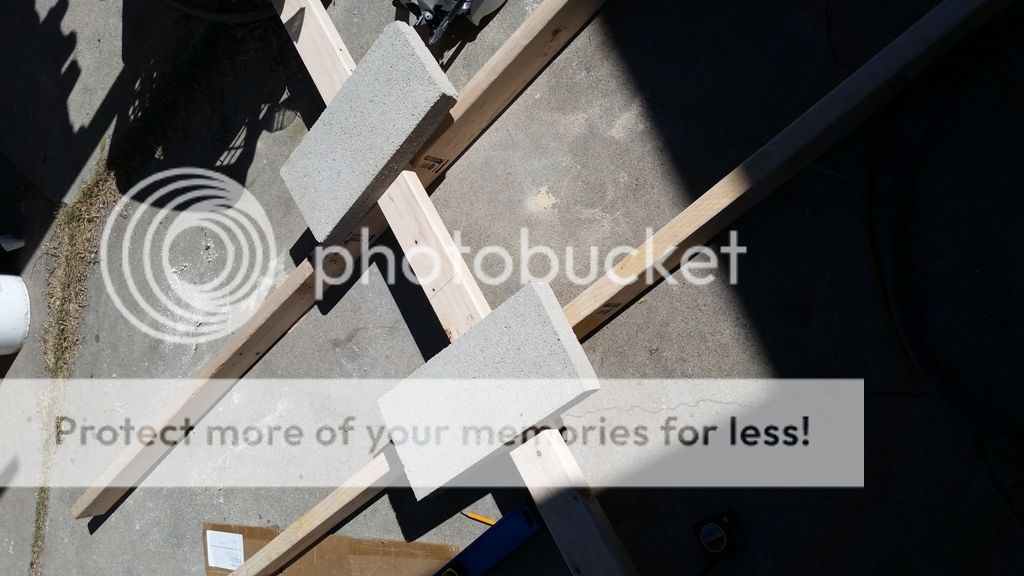
So my stands were being used to hold the Cadlights tank. Used my Chinese ingenuity and made a building station with cinderblocks and 2x4 supports. Time to practice my Vietnamese squat and build the stand on the floor.
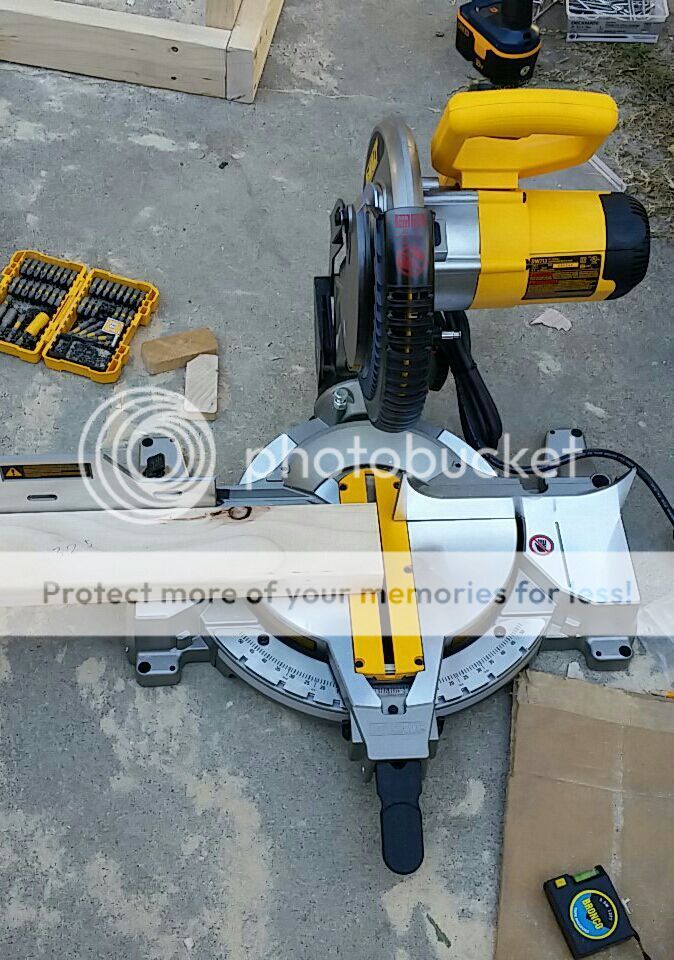
Yeah, these cuts aren't so straight. So off to Home Depot I go again. This time I pick up this badboy.

scrapz
Saturation+100
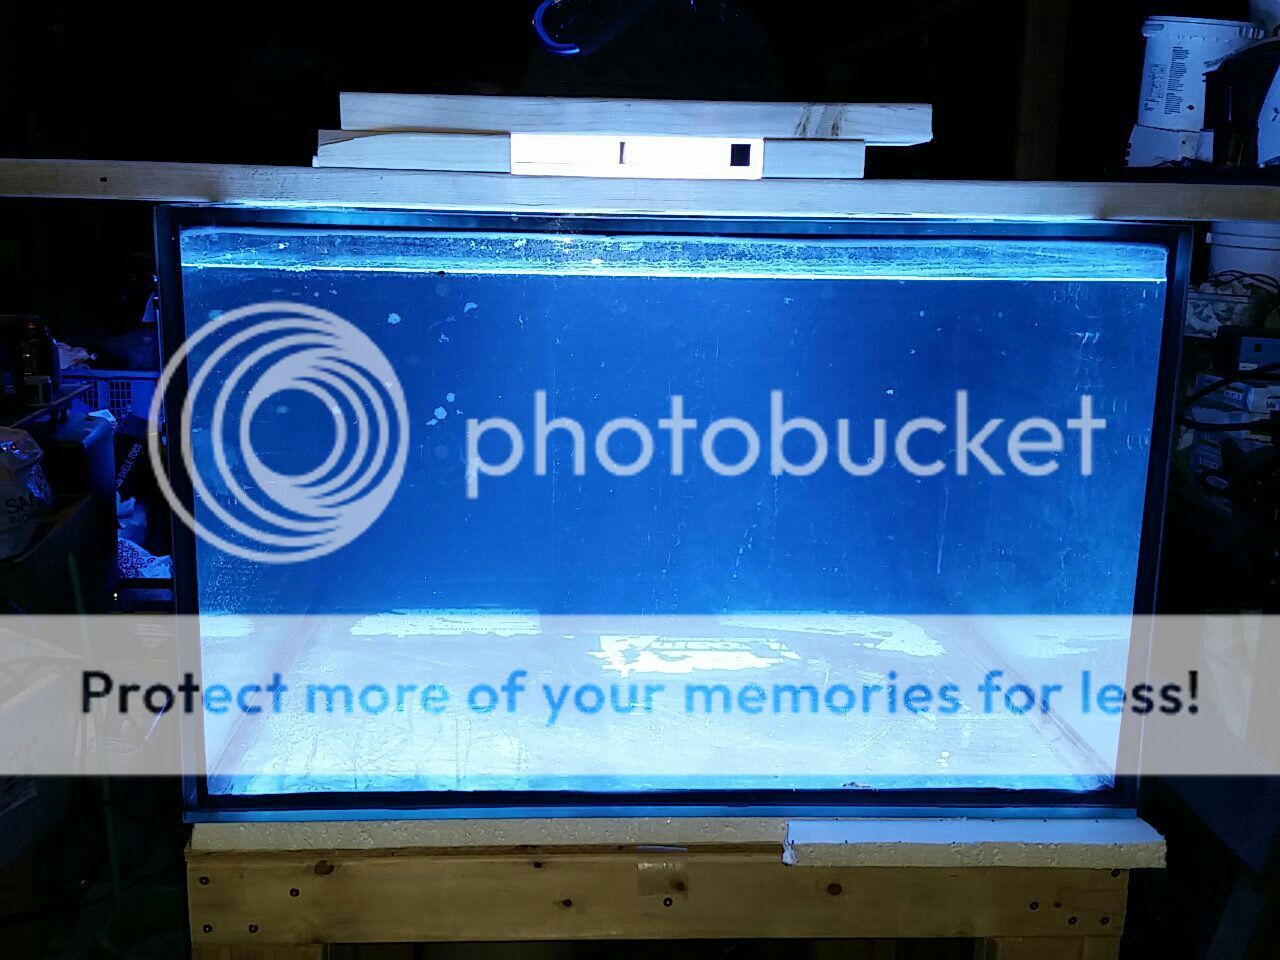
RIP. Leak detected.. :sad1:
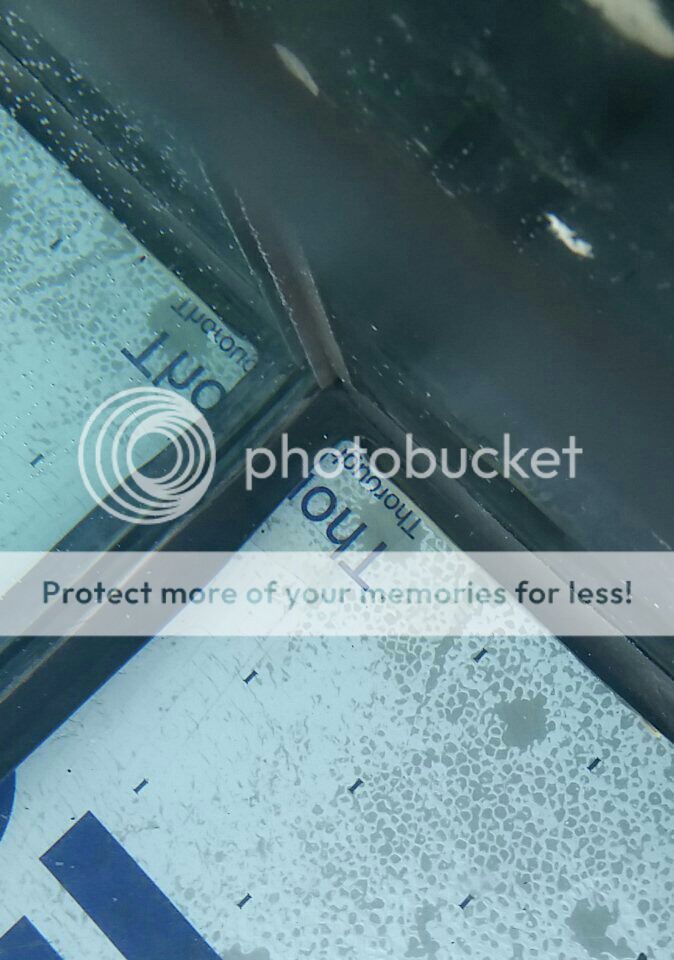
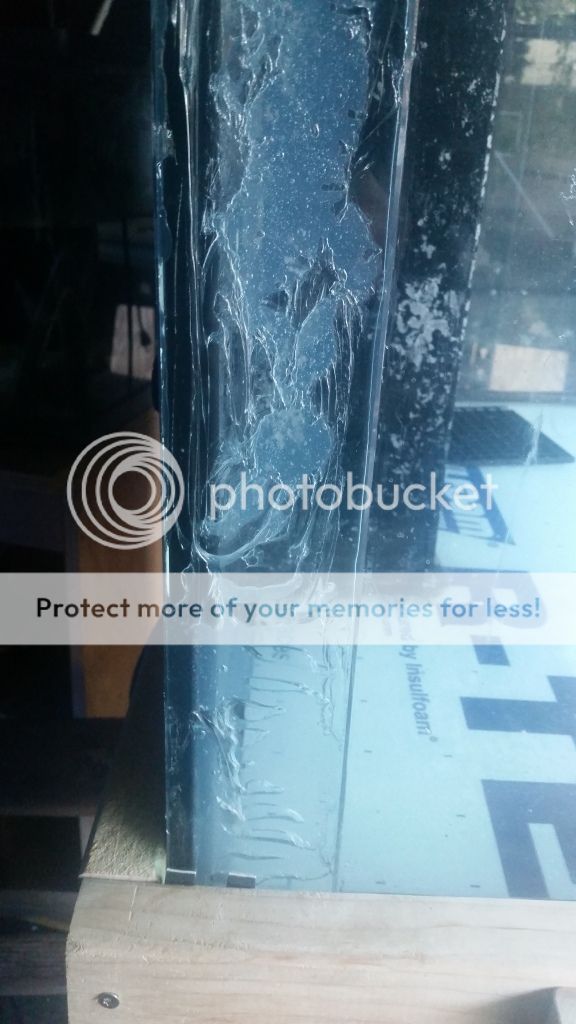
Or at least I thought it was leaking. After going through the whole tank I found the source of the leak. Thankfully it wasn't from the corner but from the overflow. Still I went ahead and got some aquarium sillicone and ordered a 3"x22" piece of glass so I could give the chipped corner a little more support.
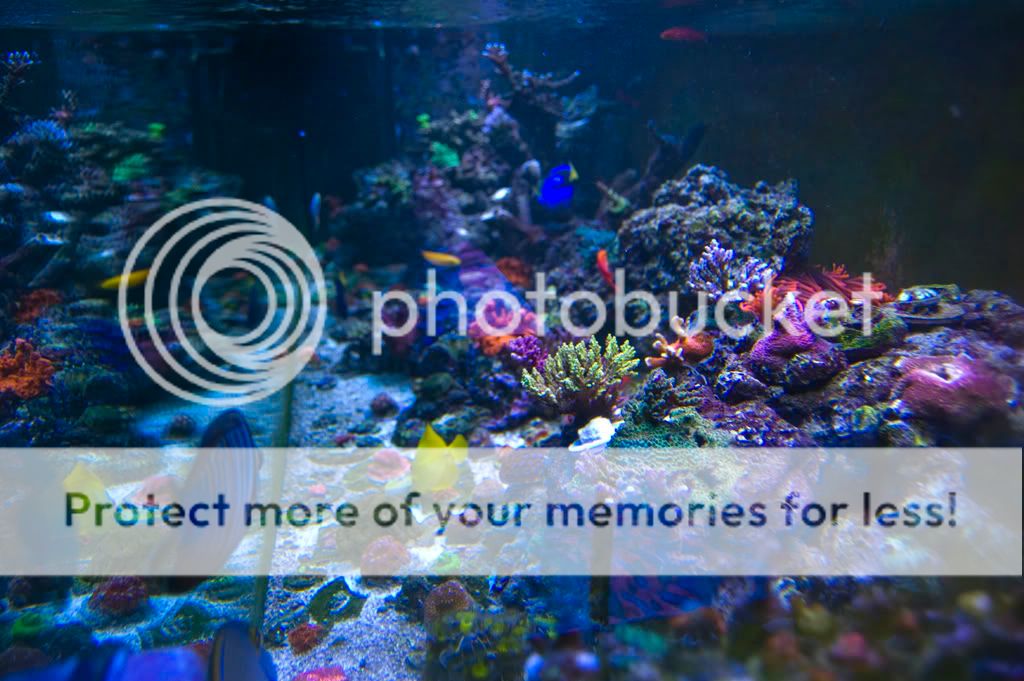
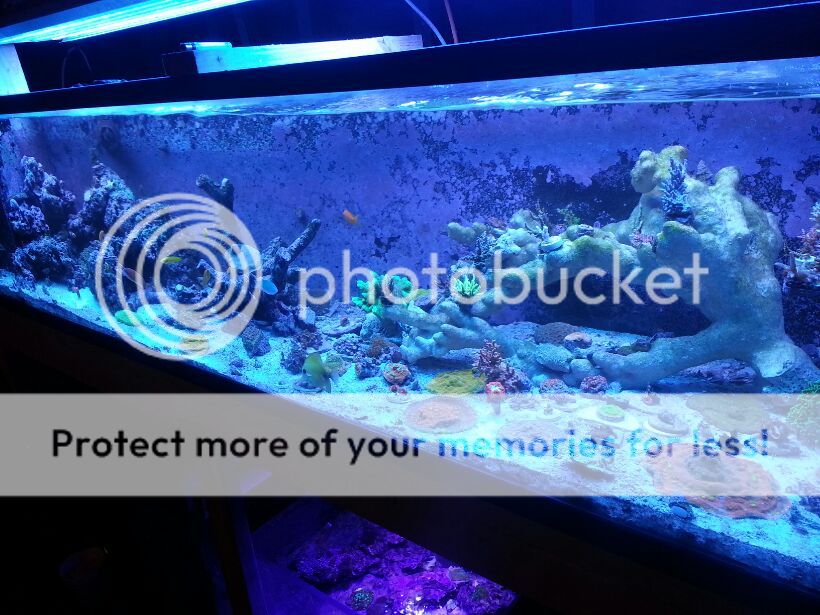
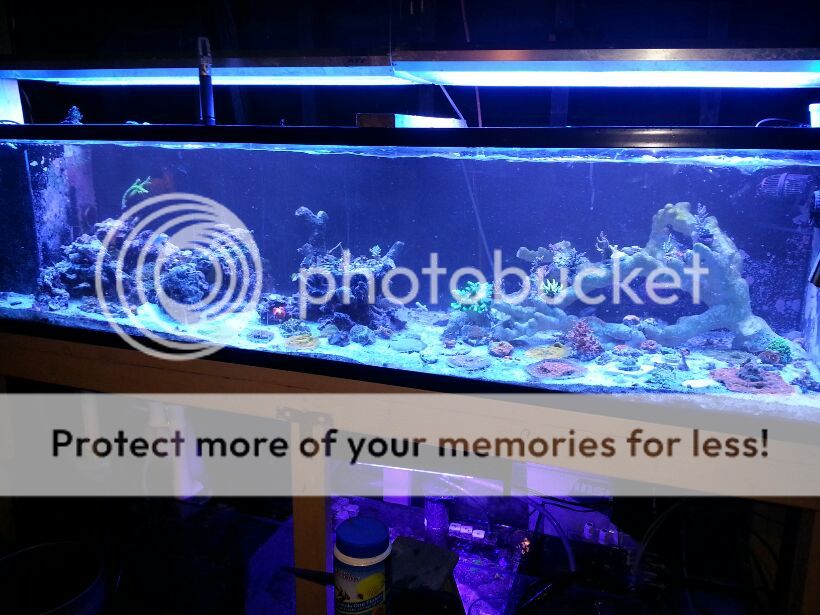
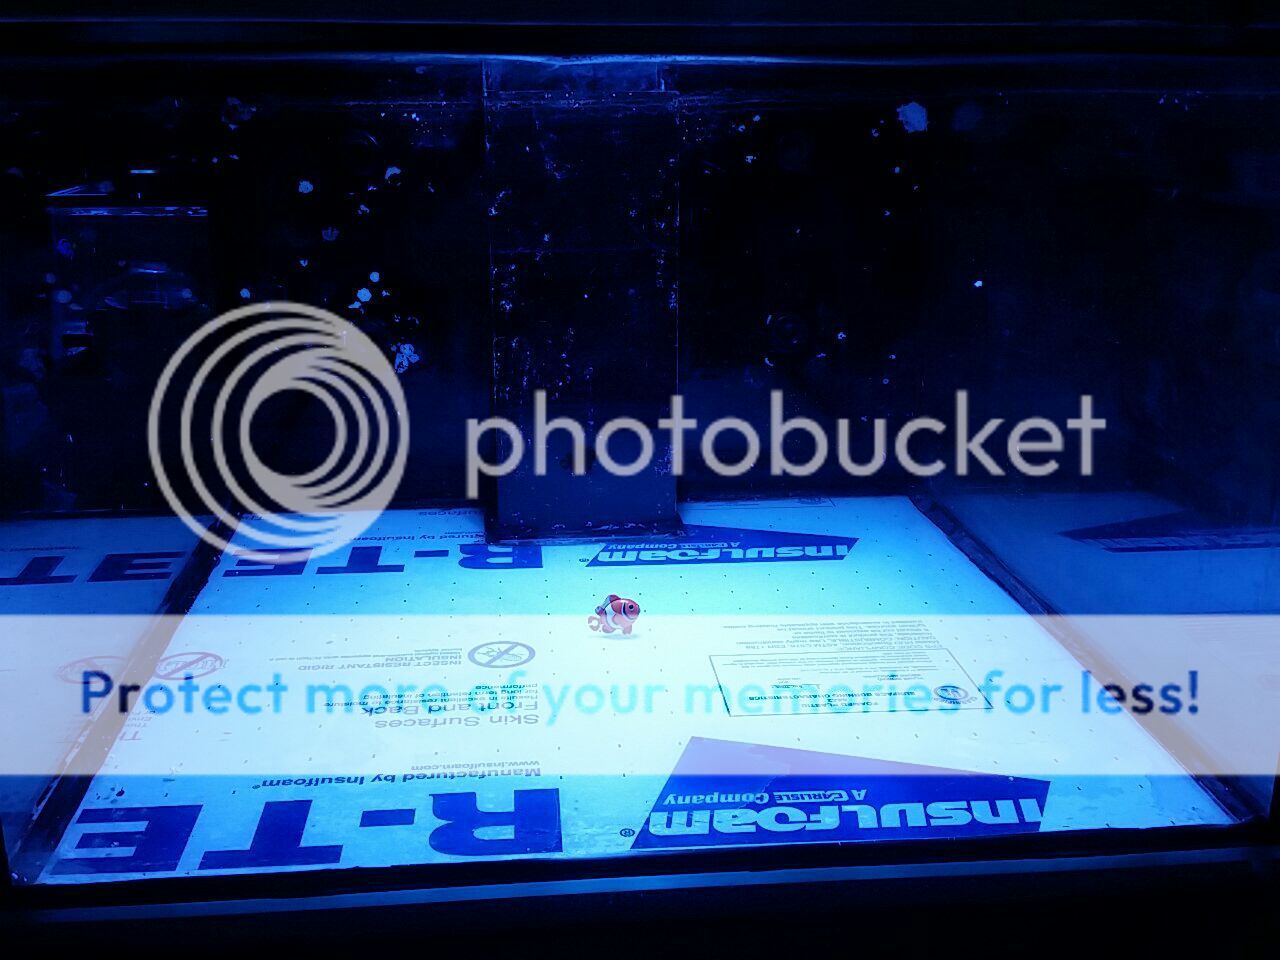
So while that is being taken care of, time to test some lights. Oh yeah, meet my first inhabitant.
First is a 250w Radium 20k on a Galaxy ballast. There seems to be some shading on the sides but the color is just amazing.
Next is a ATI Sunpower T5 6x39 I picked up for $180 from Eric Torres. Fixture was in pretty much perfect condition with no rust on the inner panel.
The coverage was much better with all t5.

As far as the led setup. Billyzbear (on RC) is waiting on some parts to arrive from stevesled.com and is going to help me wire it up.
Whatever lighting I decide to go with will be a mix of two. Either T5/LED, T5/MH or MH/LED.
That's it for now until I acquire a new sump.
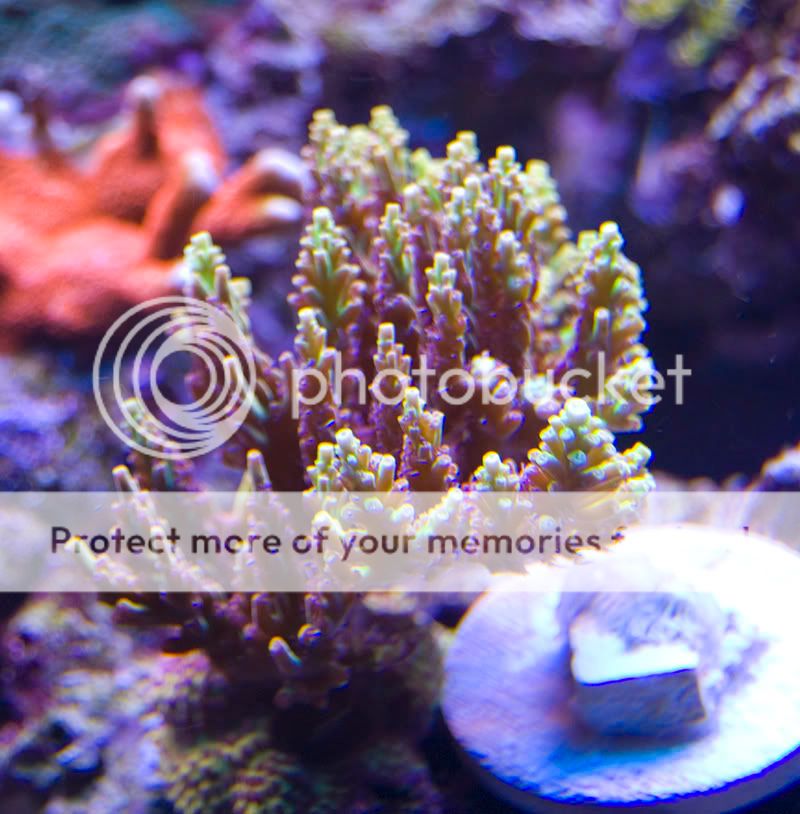
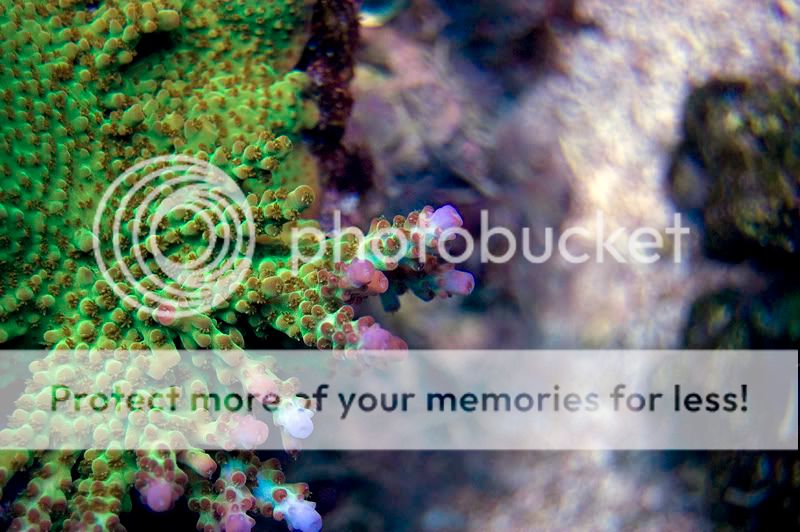
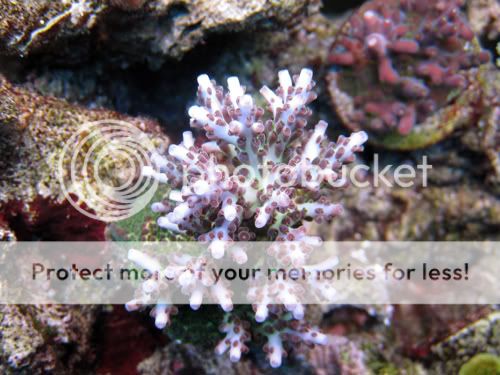
I am looking for OLDSCHOOL SPS if anyone has them available.
Or at least I thought it was leaking. After going through the whole tank I found the source of the leak. Thankfully it wasn't from the corner but from the overflow. Still I went ahead and got some aquarium sillicone and ordered a 3"x22" piece of glass so I could give the chipped corner a little more support.
So while that is being taken care of, time to test some lights. Oh yeah, meet my first inhabitant.
First is a 250w Radium 20k on a Galaxy ballast. There seems to be some shading on the sides but the color is just amazing.
Next is a ATI Sunpower T5 6x39 I picked up for $180 from Eric Torres. Fixture was in pretty much perfect condition with no rust on the inner panel.
The coverage was much better with all t5.
As far as the led setup. Billyzbear (on RC) is waiting on some parts to arrive from stevesled.com and is going to help me wire it up.
Whatever lighting I decide to go with will be a mix of two. Either T5/LED, T5/MH or MH/LED.
That's it for now until I acquire a new sump.
I am looking for OLDSCHOOL SPS if anyone has them available.
goldencoralfarm
New member
With tank size and see the corner chip, I don't think it would cause you any problem from bursting though.
scrapz
Saturation+100
@fred
Kind of like my girlfriend..:lolspin:
Just kidding, love you baby")
@vinhle
Thanks. I'm Vinh too!
@icefire
You're going to love those dimensions. I'm actually thinking of ordering a new little project turns out to be a bust if this one doesn't work out. 36x36x28 just a little taller though.
@ goldencoralfarm
It's actually not too large but its just a few mm from the next seat.
Kind of like my girlfriend..:lolspin:
Just kidding, love you baby
@vinhle
Thanks. I'm Vinh too!
@icefire
You're going to love those dimensions. I'm actually thinking of ordering a new little project turns out to be a bust if this one doesn't work out. 36x36x28 just a little taller though.
@ goldencoralfarm
It's actually not too large but its just a few mm from the next seat.
scrapz
Saturation+100
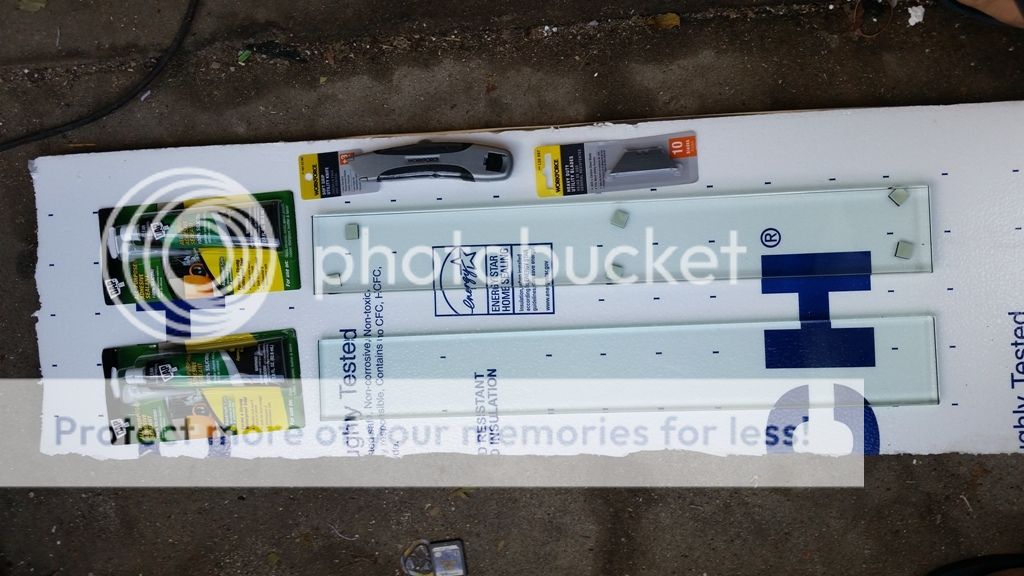
Originally I wanted to order a 3"x5" but the shop said they could not do a piece that small so I went ahead and just ordered a 3"x22" to secure along the whole read panel, bottom panel and left panel. The piece of glass I ordered today was ready for pickup but when I showed up, he had 2 pieces for me instead of just 1. Oh well, better for when I mess up.
Stopped by home depot for the milllionth time, got home and watched a few videos on youtube but nothing detailed the exact job I was trying to do.
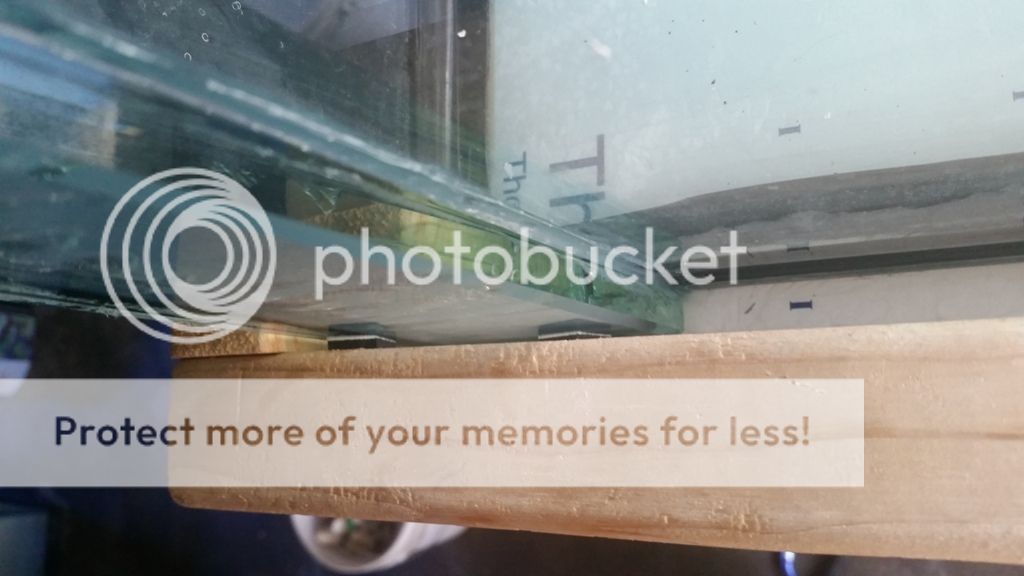
First I cleaned both surfaces with 92% ISO alcohol. The left panel which attached to the bottom/read panel was off by almost 1/4" inch so extra silliconed needed to be applied along the bottom 5" section. To be expected, the first glass I tried to glue did not have enough sillicone. Second time, still not enough silicone but enough to secure the lower 5" of the tank I was most worried about. If I were to do this same job over, I would just run sillicone on the outer edges then Since I didn't have a clamp to hold down the piece while it was drying, I made myself one out of 2x4 scraps.
I'll have to admit that piece is pretty ugly. The plan is to paint it with krylon black that piece when I touch up the rear panel anyways. Should look fine but only time will tell.
Ghetto DIY at it's best.

Stopped by home depot for the milllionth time, got home and watched a few videos on youtube but nothing detailed the exact job I was trying to do.
First I cleaned both surfaces with 92% ISO alcohol. The left panel which attached to the bottom/read panel was off by almost 1/4" inch so extra silliconed needed to be applied along the bottom 5" section. To be expected, the first glass I tried to glue did not have enough sillicone. Second time, still not enough silicone but enough to secure the lower 5" of the tank I was most worried about. If I were to do this same job over, I would just run sillicone on the outer edges then Since I didn't have a clamp to hold down the piece while it was drying, I made myself one out of 2x4 scraps.
I'll have to admit that piece is pretty ugly. The plan is to paint it with krylon black that piece when I touch up the rear panel anyways. Should look fine but only time will tell.
Ghetto DIY at it's best.
scrapz
Saturation+100
So here's the light setup to be mounterd in a floating canopy that I drew up, excuse my paint skills.
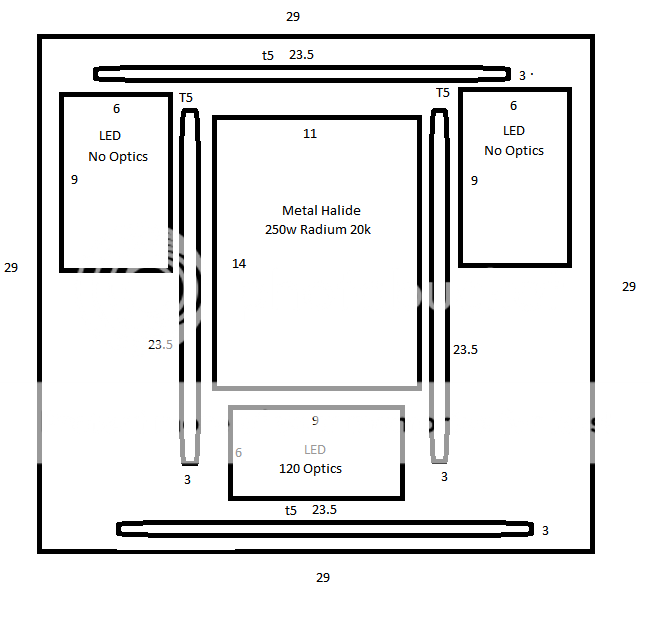
As you can see from the picture above, MH typically spread their light in a cone shape. Being that this is going to a SPS dominant tank, I plan to alleviate the dropoff in par towards the rear with 2x21w LED fixtures. The front LED fixture will be placed on whatever corner I decide to place the last island and LPS will be placed on the opposite end.
Light schedule will start with the LEDs ramping up from 0-70% throughout the 10 hrs. T5 will turn on at the 4 hr mark and run for a total of 4 hrs. The Radium will be the last to turn on and only be on for 3 hrs. This should allow me to change my MH/T5 bulbs every 1.5 years.
scrapz
Saturation+100
@snipersps
Hook it up with some frags Hugo
@BryanR
It's definitely a sick *** dimension. Any tanks I get from now on will have to be a minimum of 36" deep. I'd love to go to 28" height though to really give the illusion of vast depth, peaks and dropoffs.
@Sahin.
Honored to see you in my thread.
Sorry for not responding, it was just too depressing fighting the same battle and losing over and over again. This time I'll persist through the problems like you.
Similar threads
- Replies
- 18
- Views
- 2K
- Replies
- 28
- Views
- 3K
- Replies
- 68
- Views
- 21K